Date: April 4, 2023
Location/Route Map: Smith-Dorrien
Elevation: 2454 m
Elevation Gain: 1150 m (including 4 extra laps in eastern bowl)
Distance: 14 km
Rating: Class 2 - Easy
Notes: The Pig's Back circuit is an awesome little ski objective, but it demands respect! Although small in stature, the route passes through some serious avalanche terrain and should not be underestimated!
GPS Track: Download
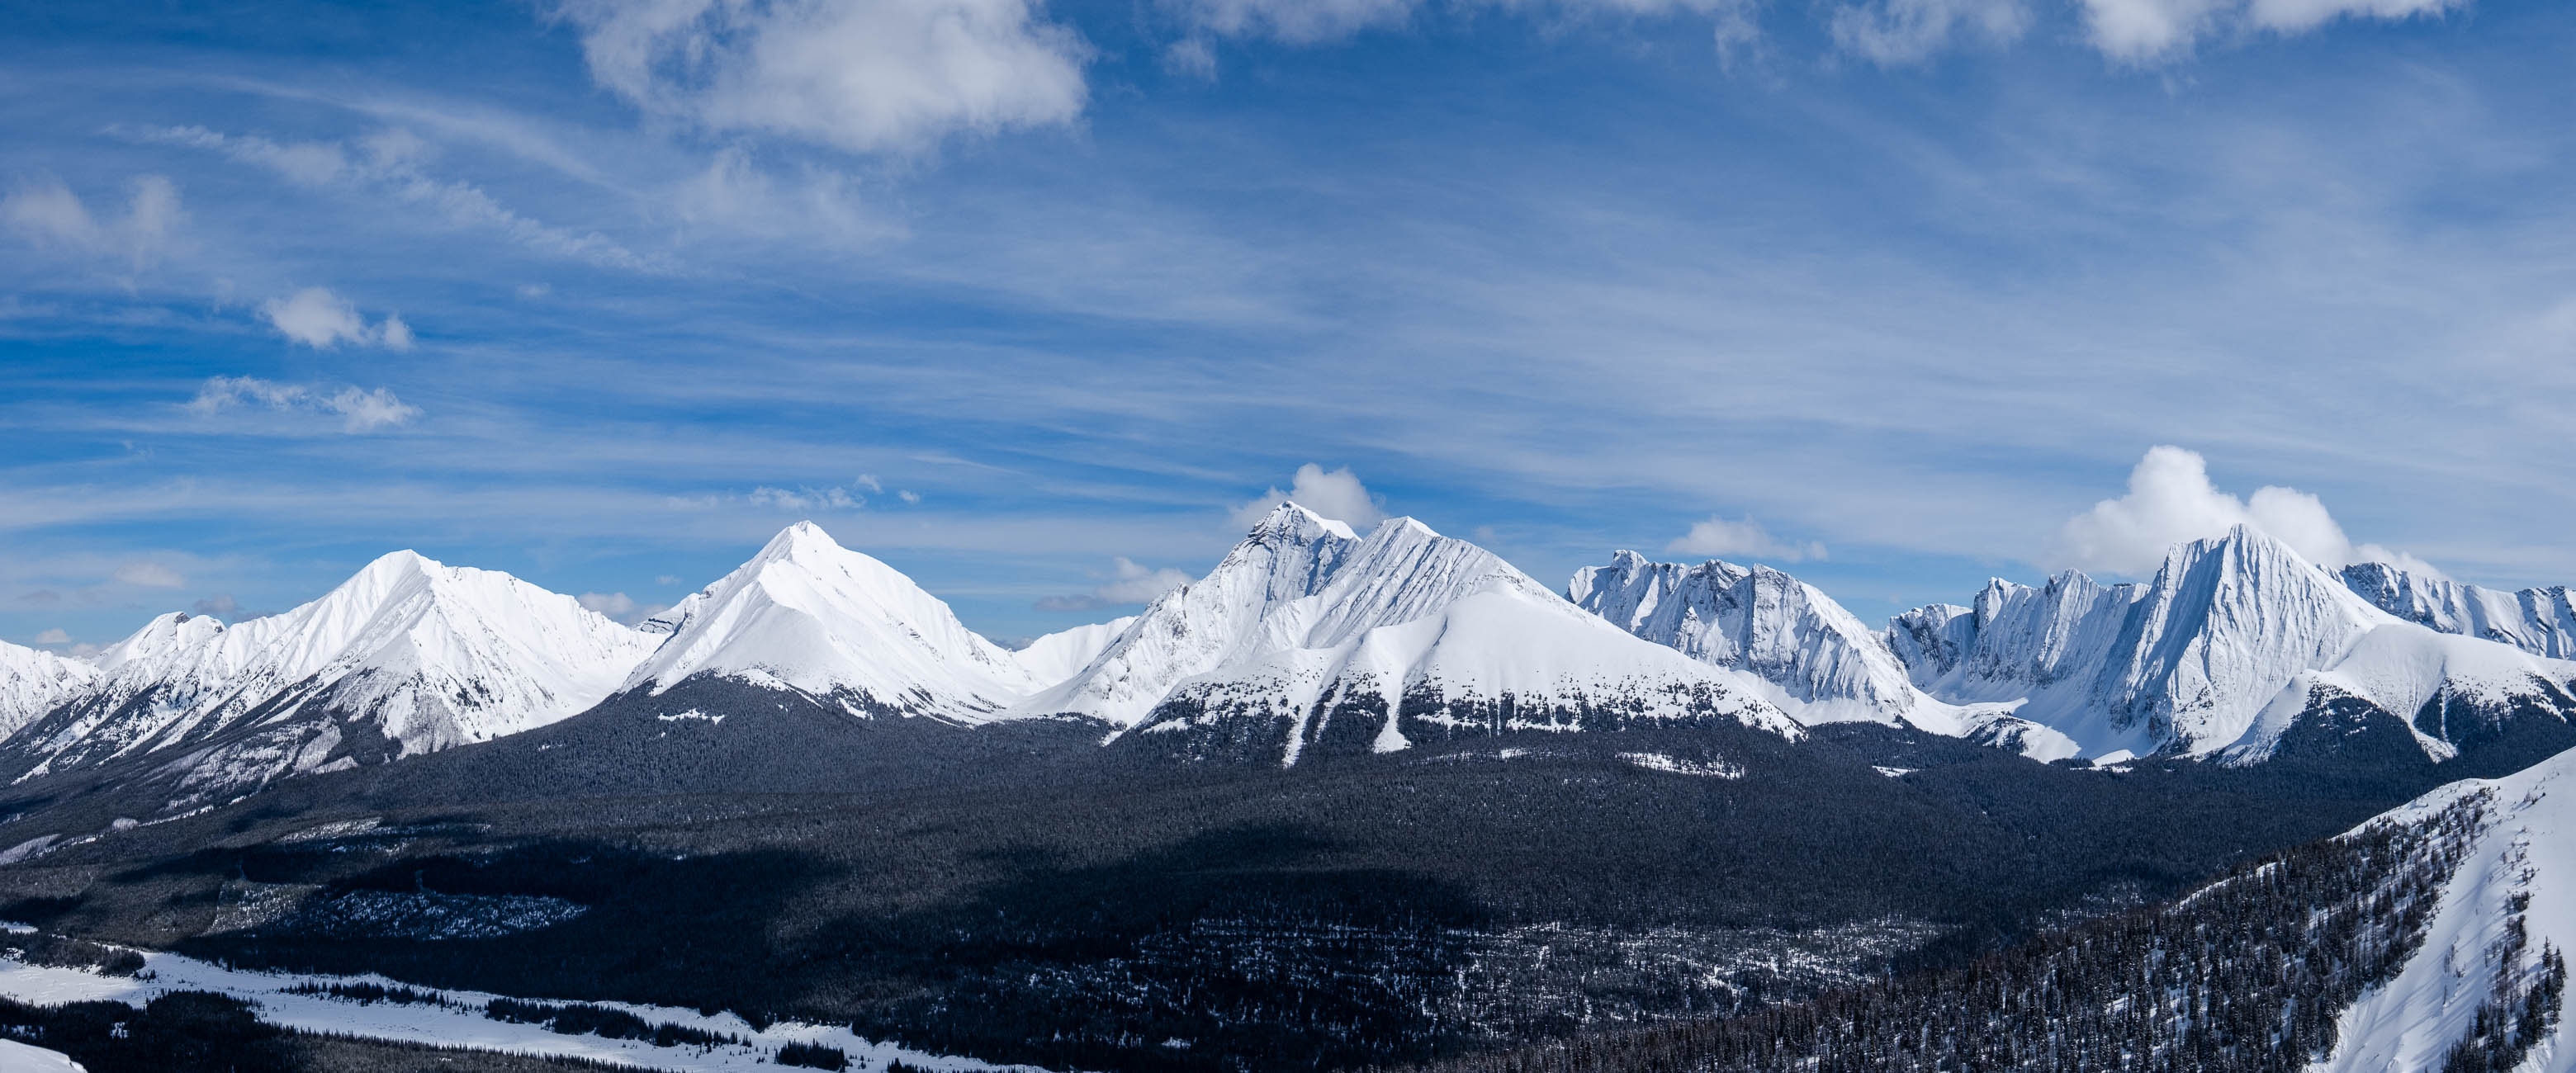
Pig's Back is one of those ski objectives that I've been eyeing since I first got into ski touring last year. Due to its "central" placement up Commonwealth Creek, this small peak promises absolutely stunning views on a clear day, with the likes of Commonwealth Peak and Mount Birdwood towering to the south, and the equally impressive Mount Smuts and The Fist rising directly across the valley to the west! What's even better, is how perfectly tailored this ascent is to be completed on skis, with the option to complete a circuit, and cruise down the bowl on the west side of the mountain, right to the valley bottom! So why haven't I bagged it already you ask? Avalanches. The route up Pig's Back isn't exactly a "walk in the park" where avalanche risk is concerned, and puts you in some vulnerable positions when snow blankets the mountain. Kananaskis received a fresh dump of snow a couple days before we set off for the mountains on the first Tuesday of April, and I was surprised to find the avalanche forecast drop from CON to MOD in the alpine, for what felt like the first time this season. With the decreased avalanche risk and a fresh layer of fluffy stuff just waiting to be skied, it felt like the perfect time to finally give Pig's Back a go!
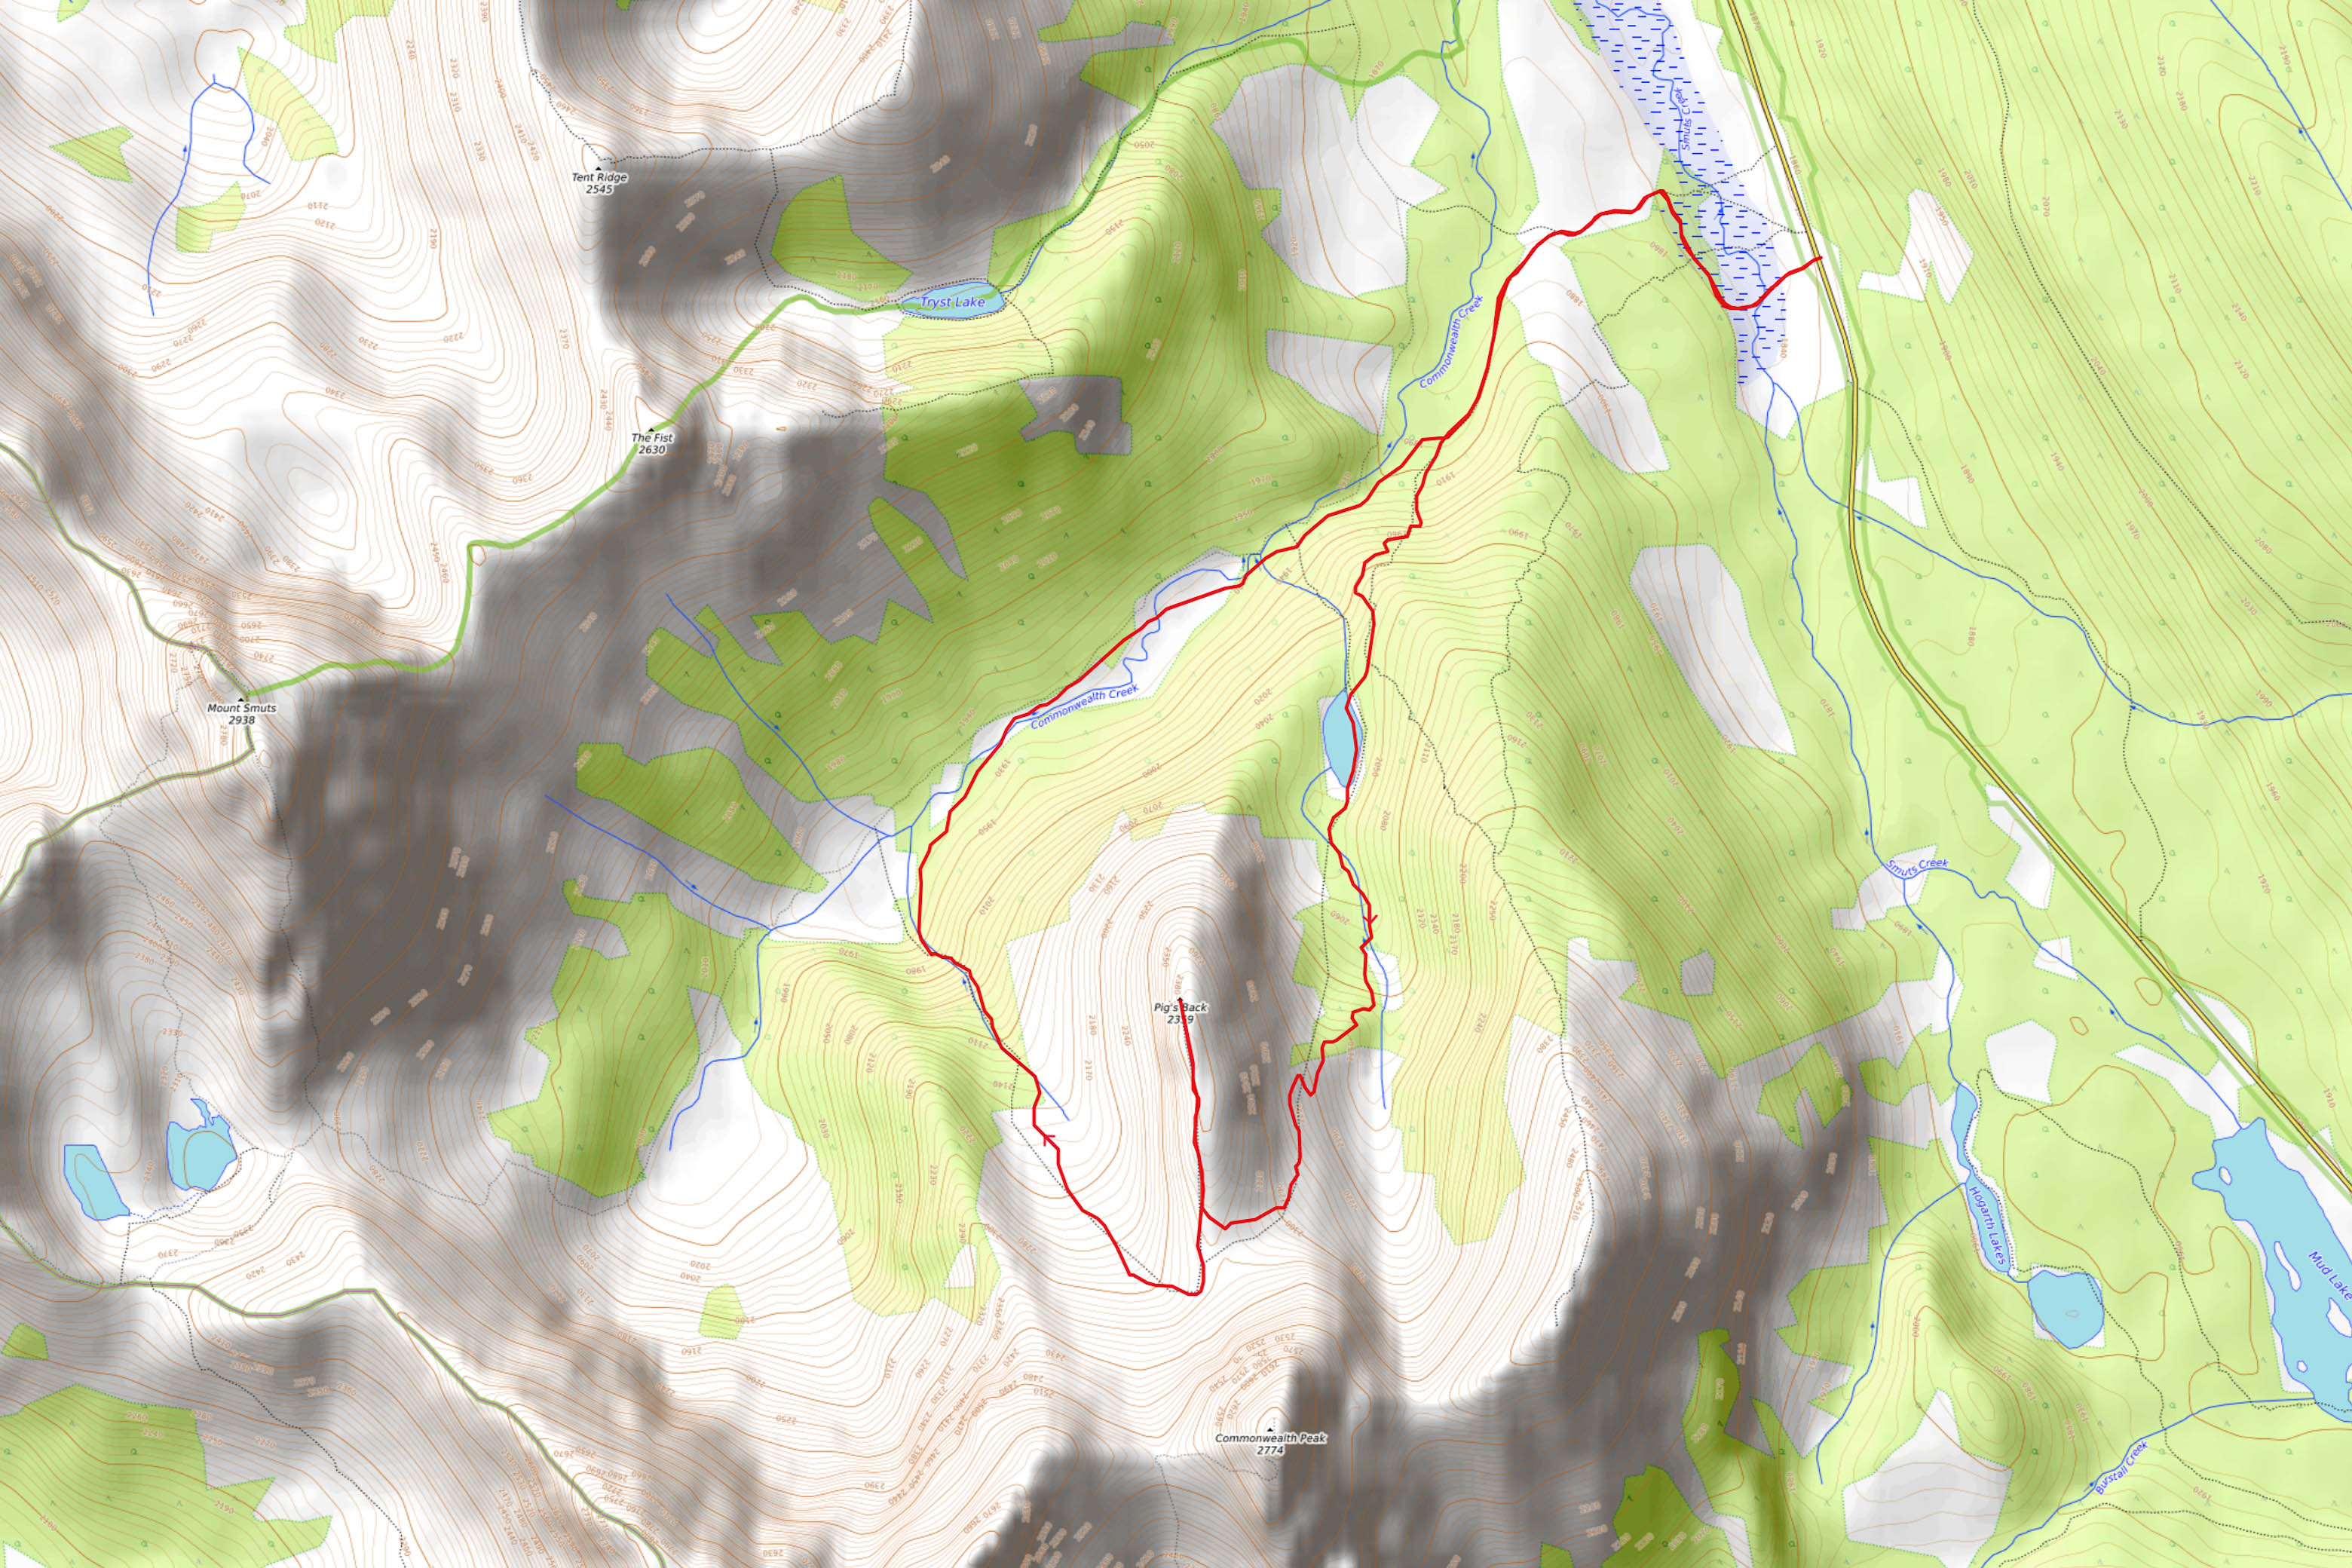
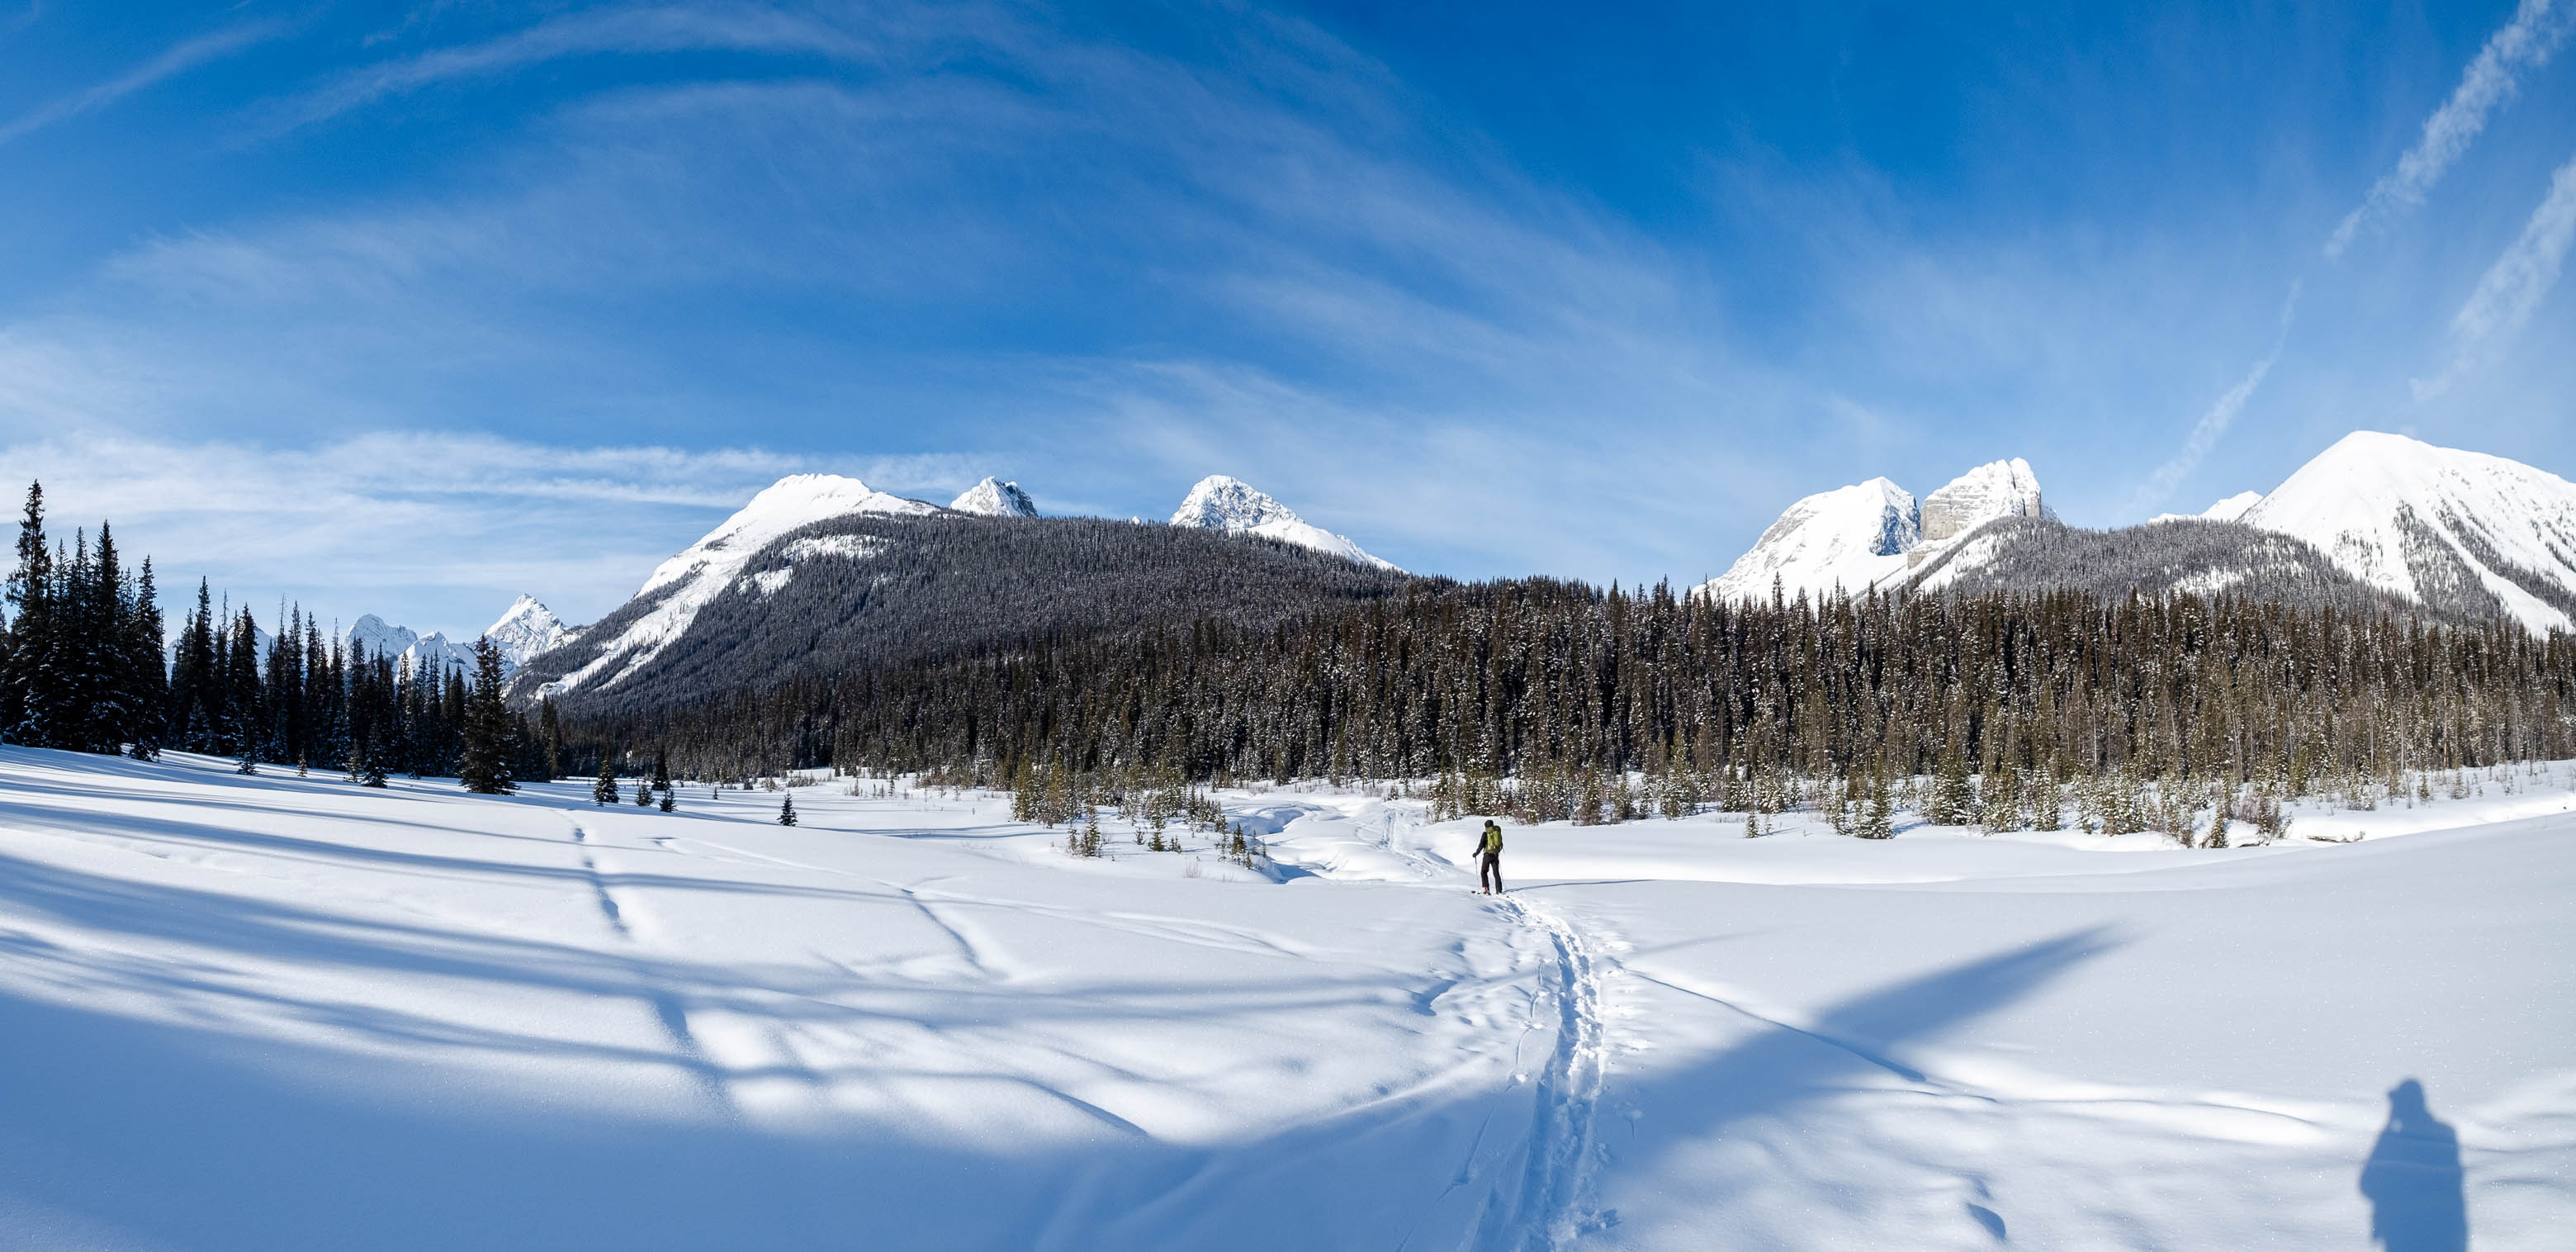
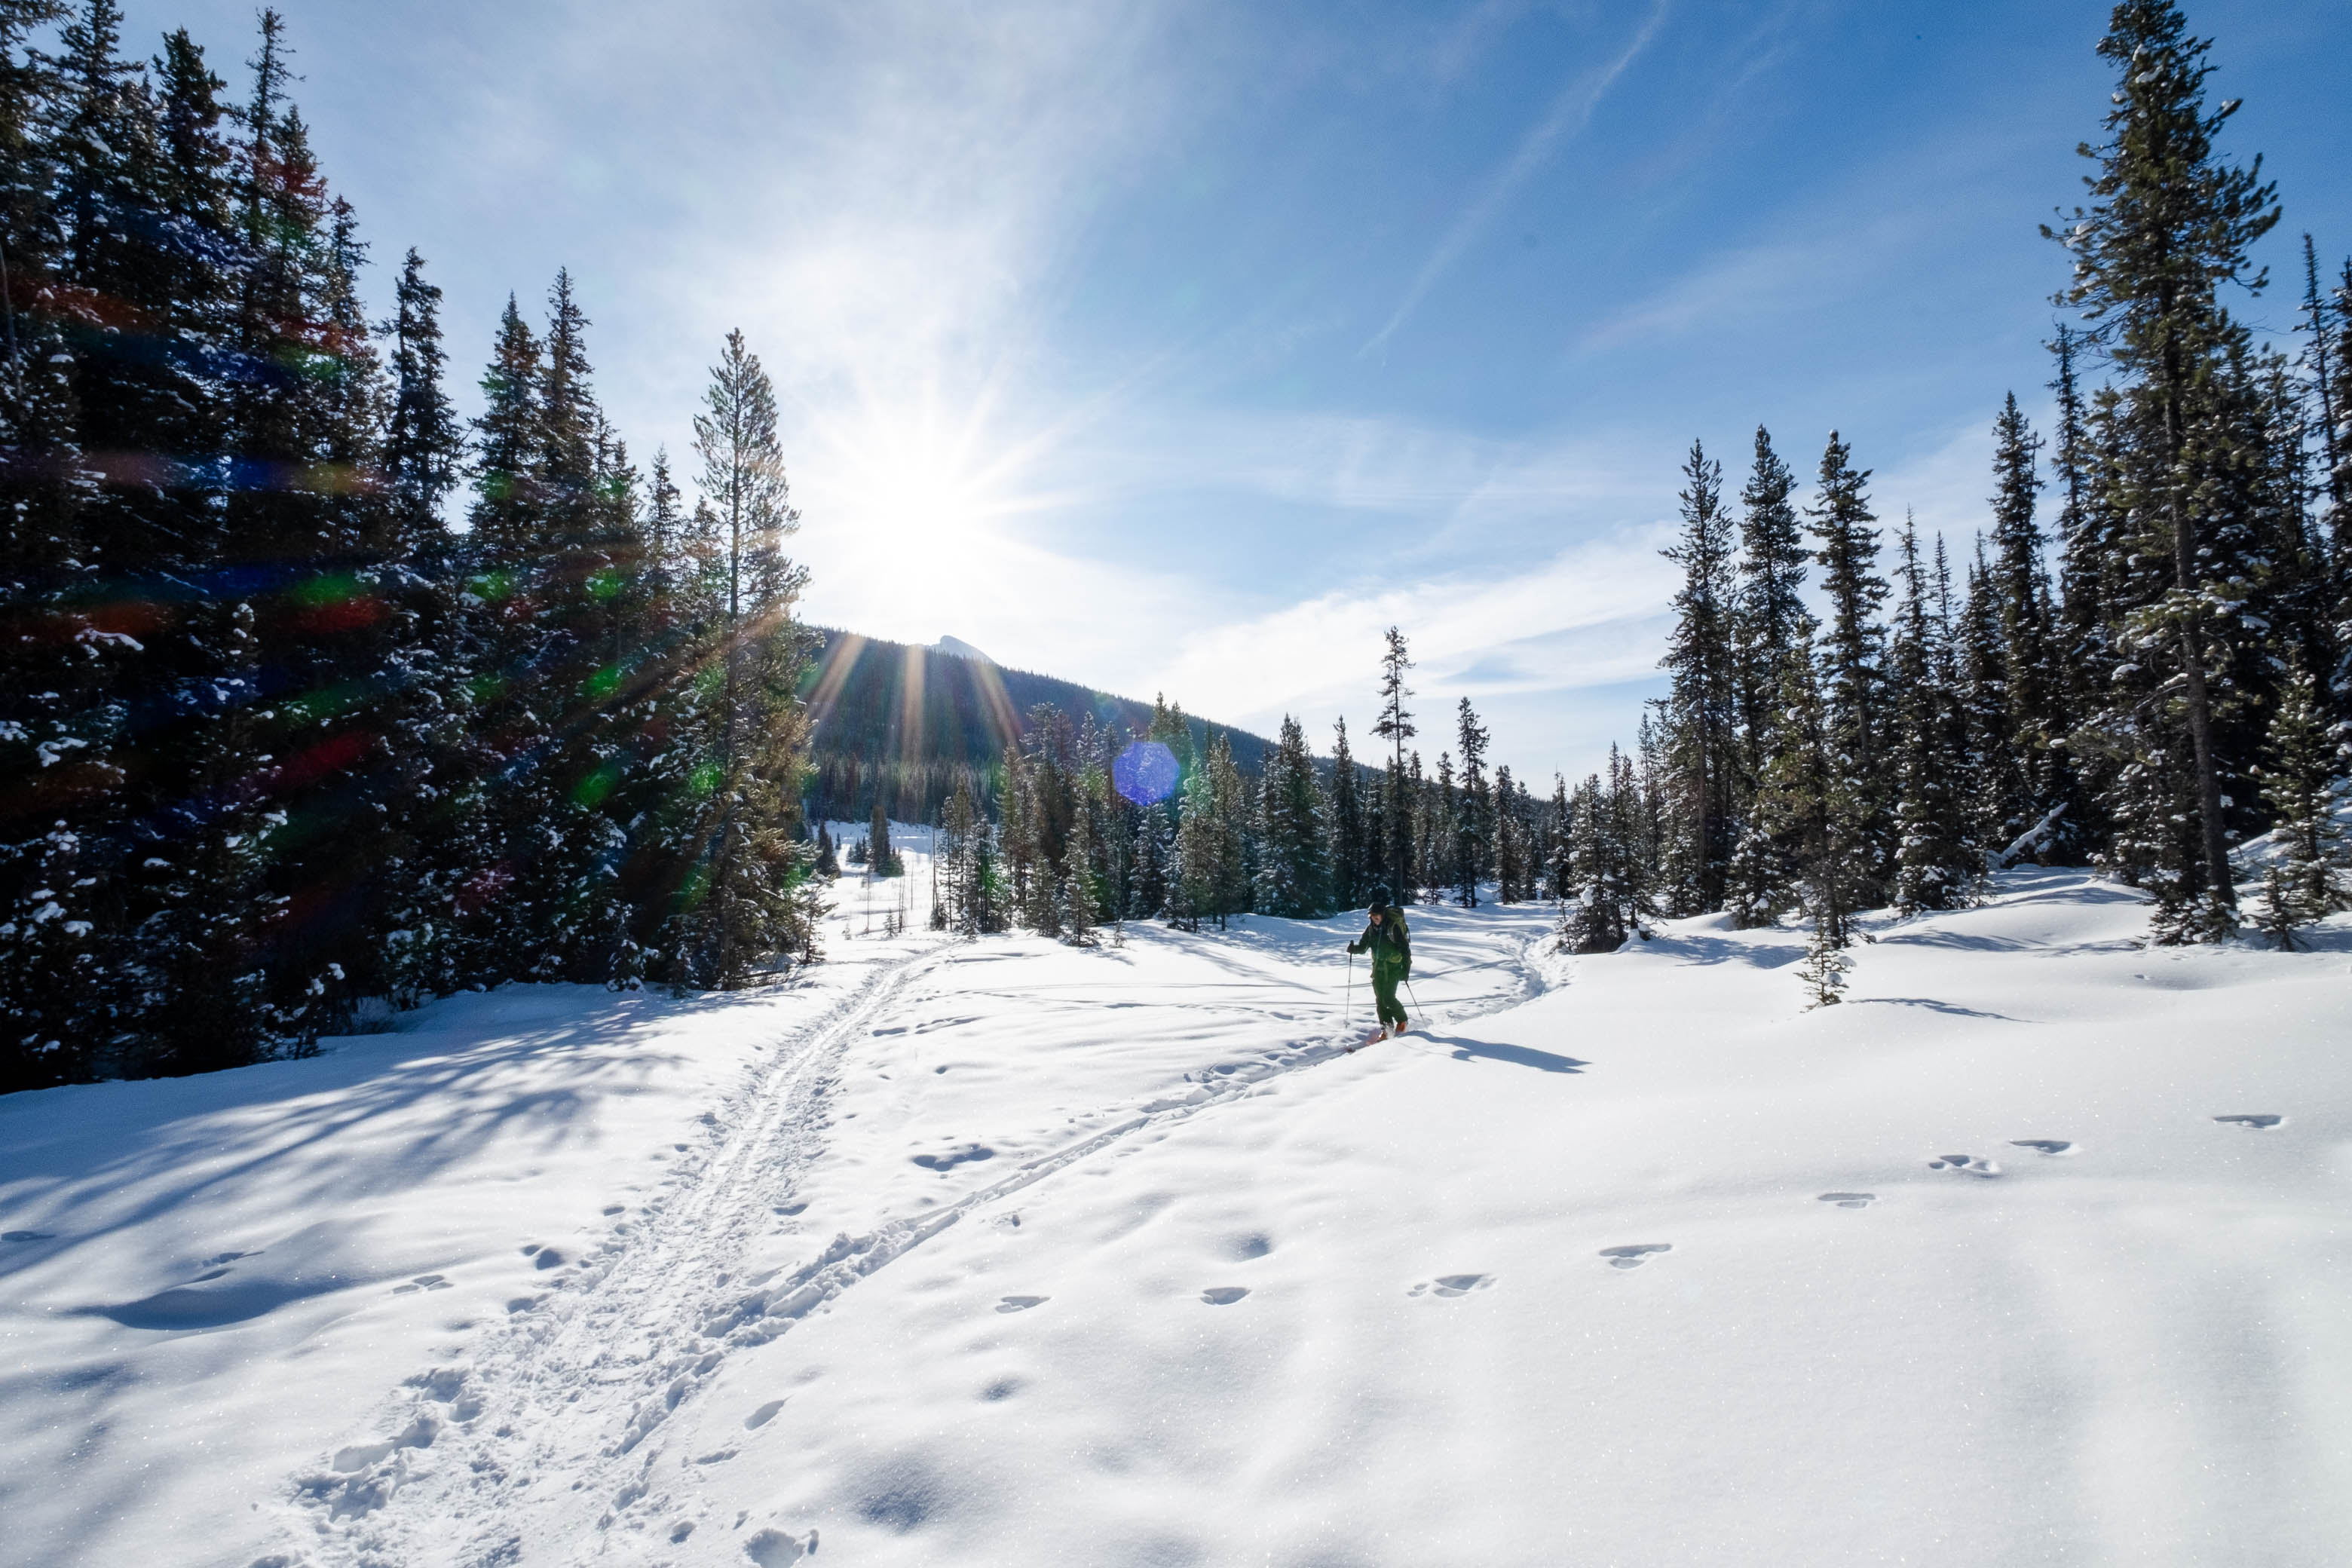
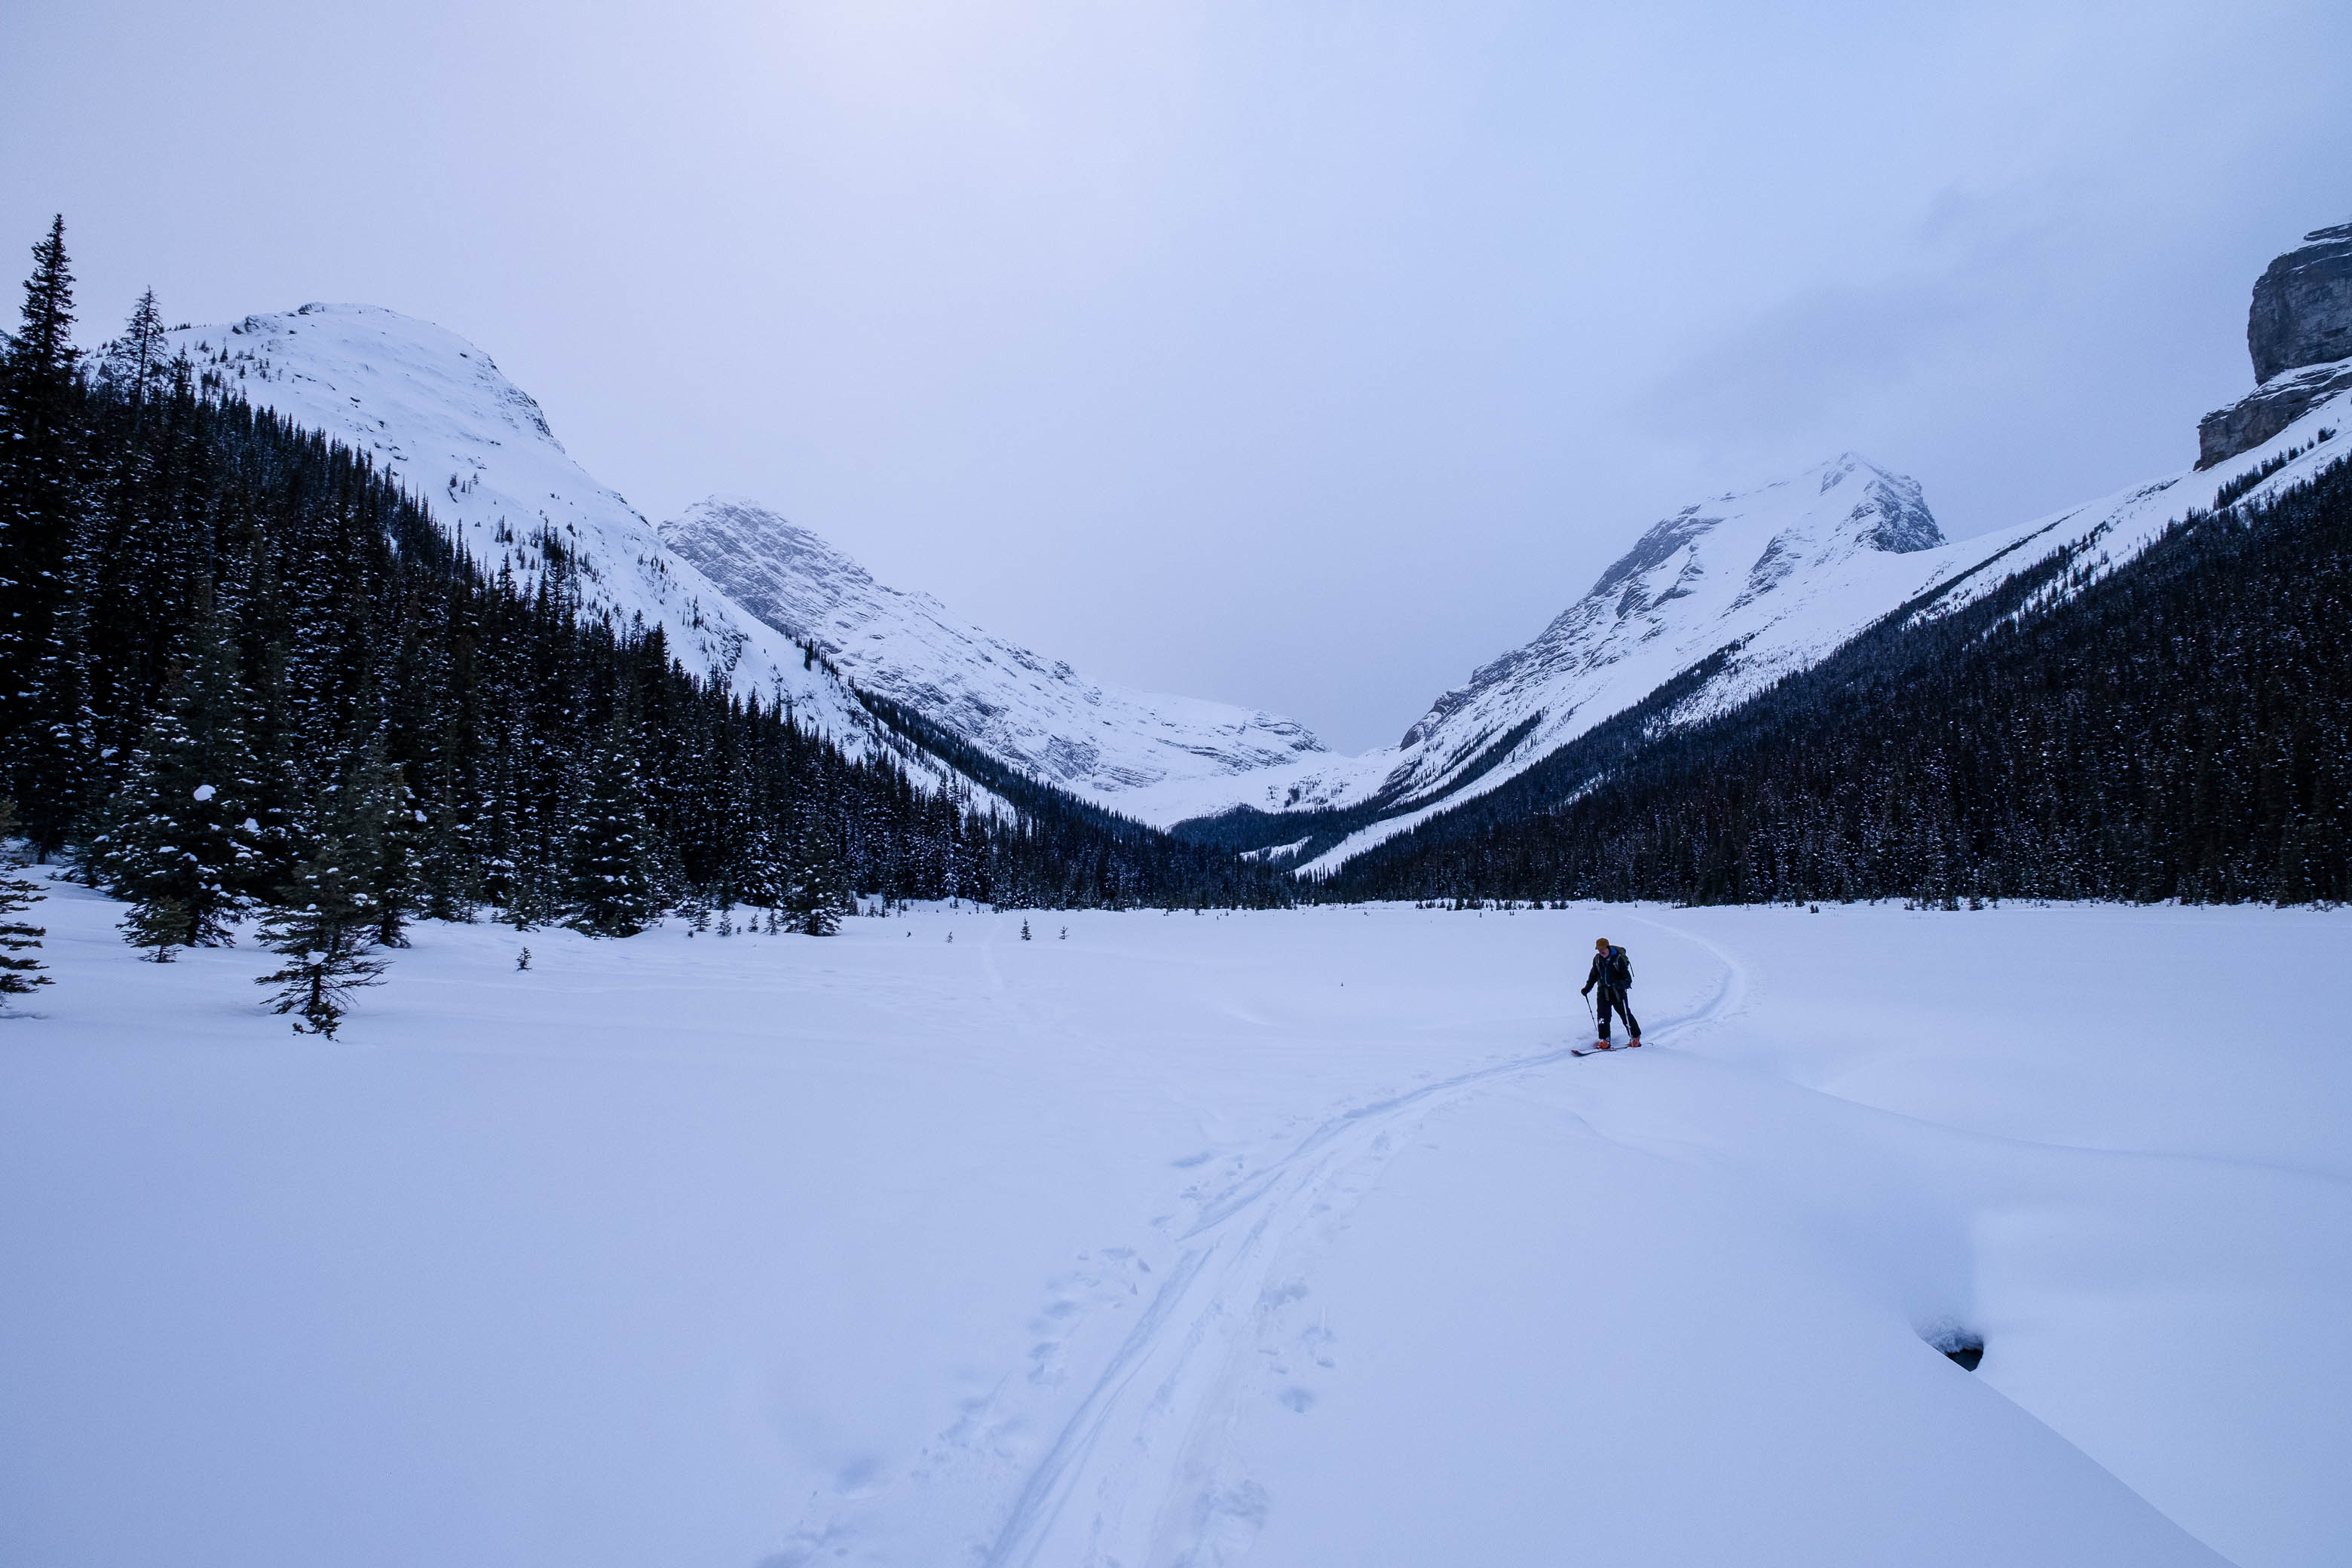
Parking on the side of the Smith-Dorrien Highway, about 2.5 km south of the Mount Shark turnoff, we dropped down from the road and followed an old skin track crossing the Smuts Creek flats. Upon reaching the opposite side of the flats, the track turned right, paralleling the edge of the forest for ~ 350 m, before reaching the "gap in the trees" that Nugara mentions in his snowshoeing guidebook. Here we joined with a significantly more traveled trail, starting up through the forest. (Pro Tip! Park a few hundred meters north of where we did and then you can just head straight across the flats...We make the mistakes so you don't have to. 😉)
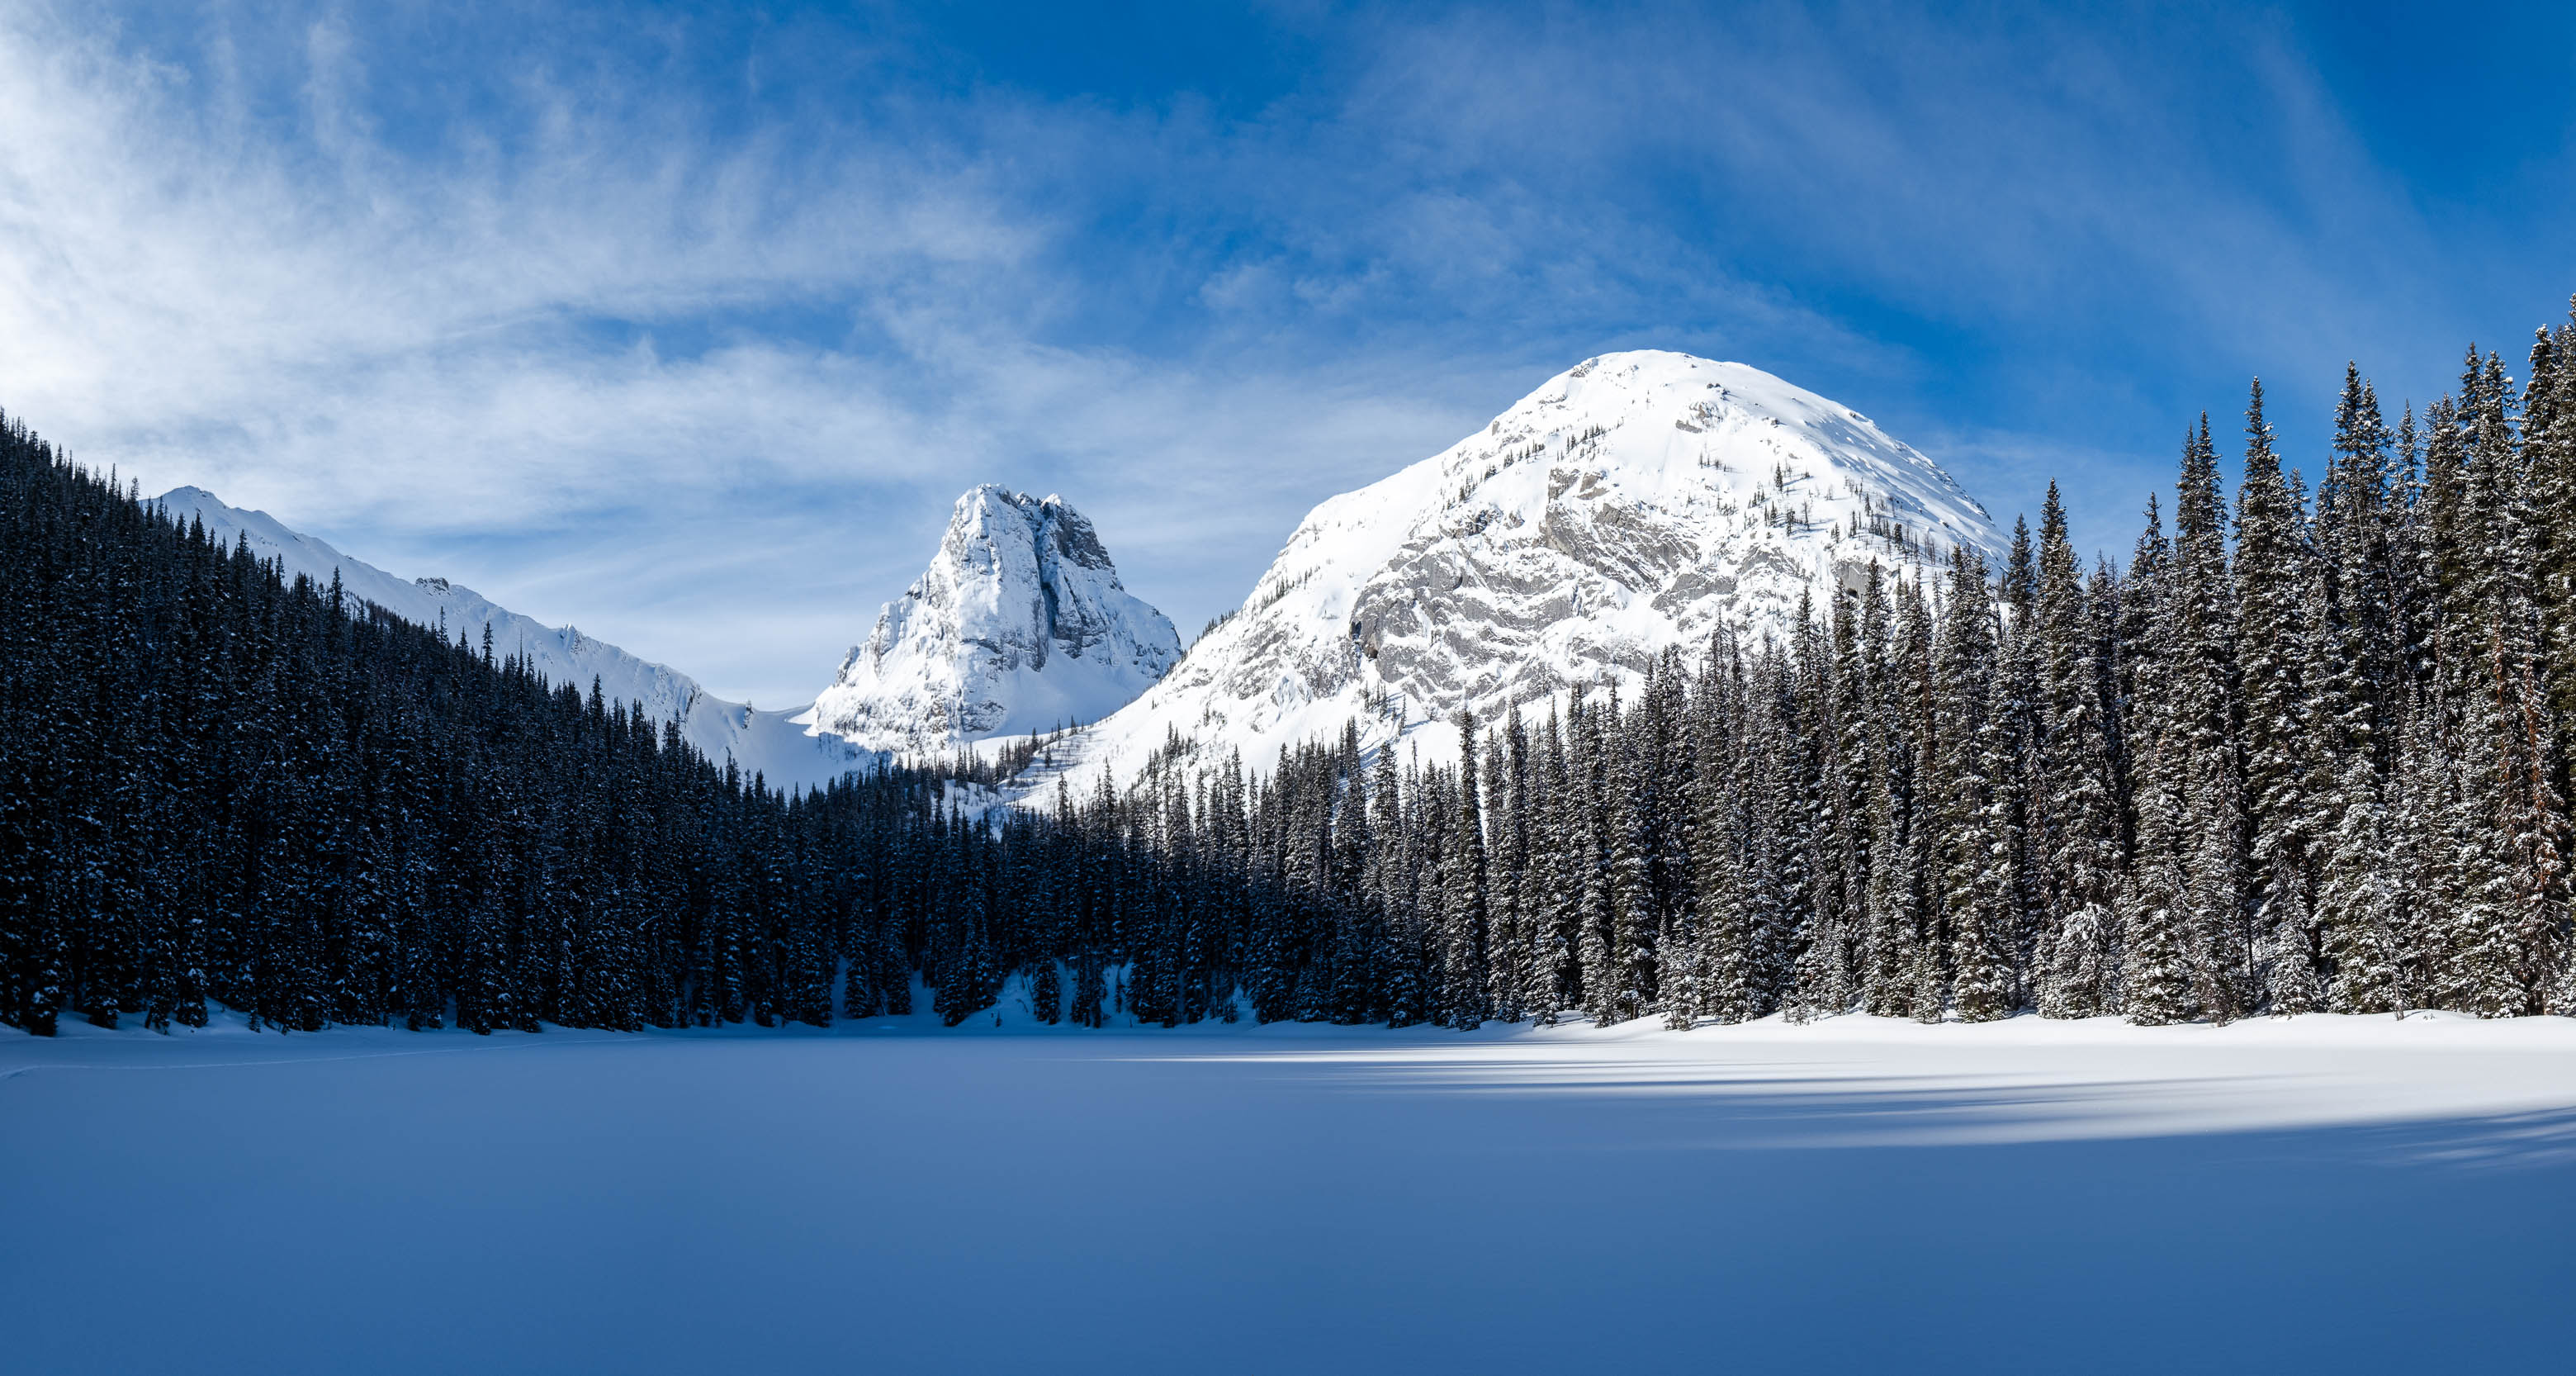
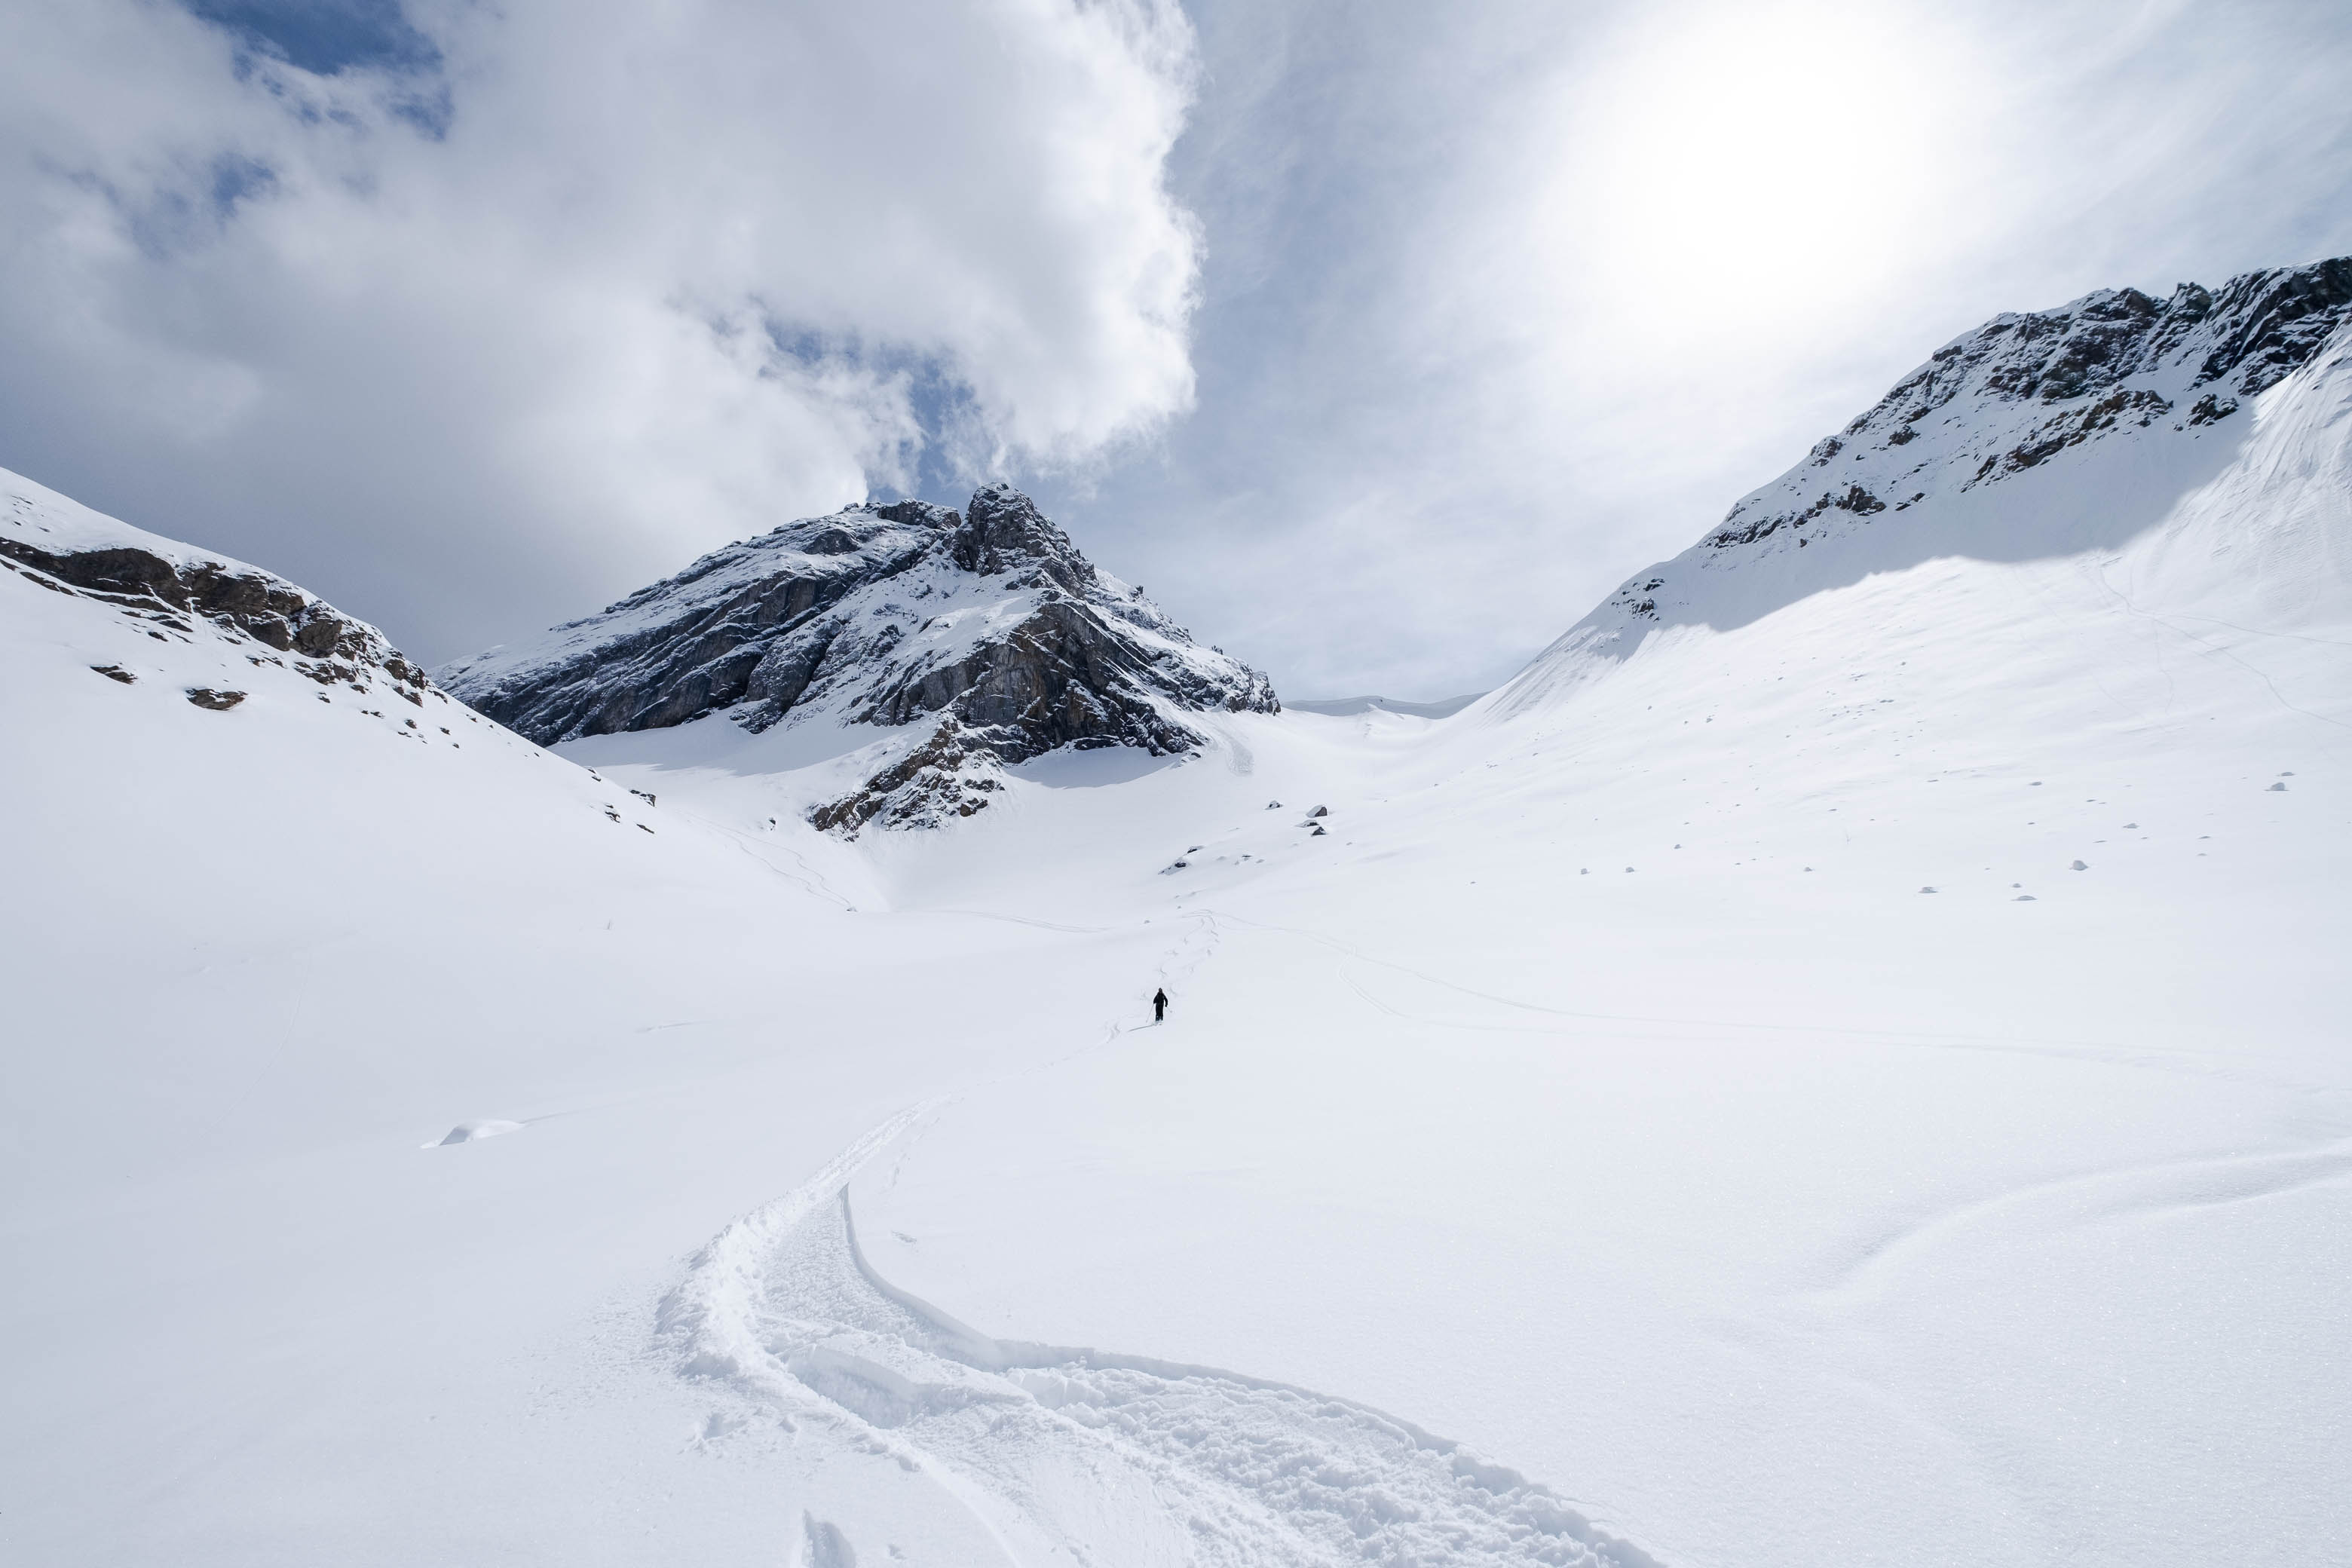
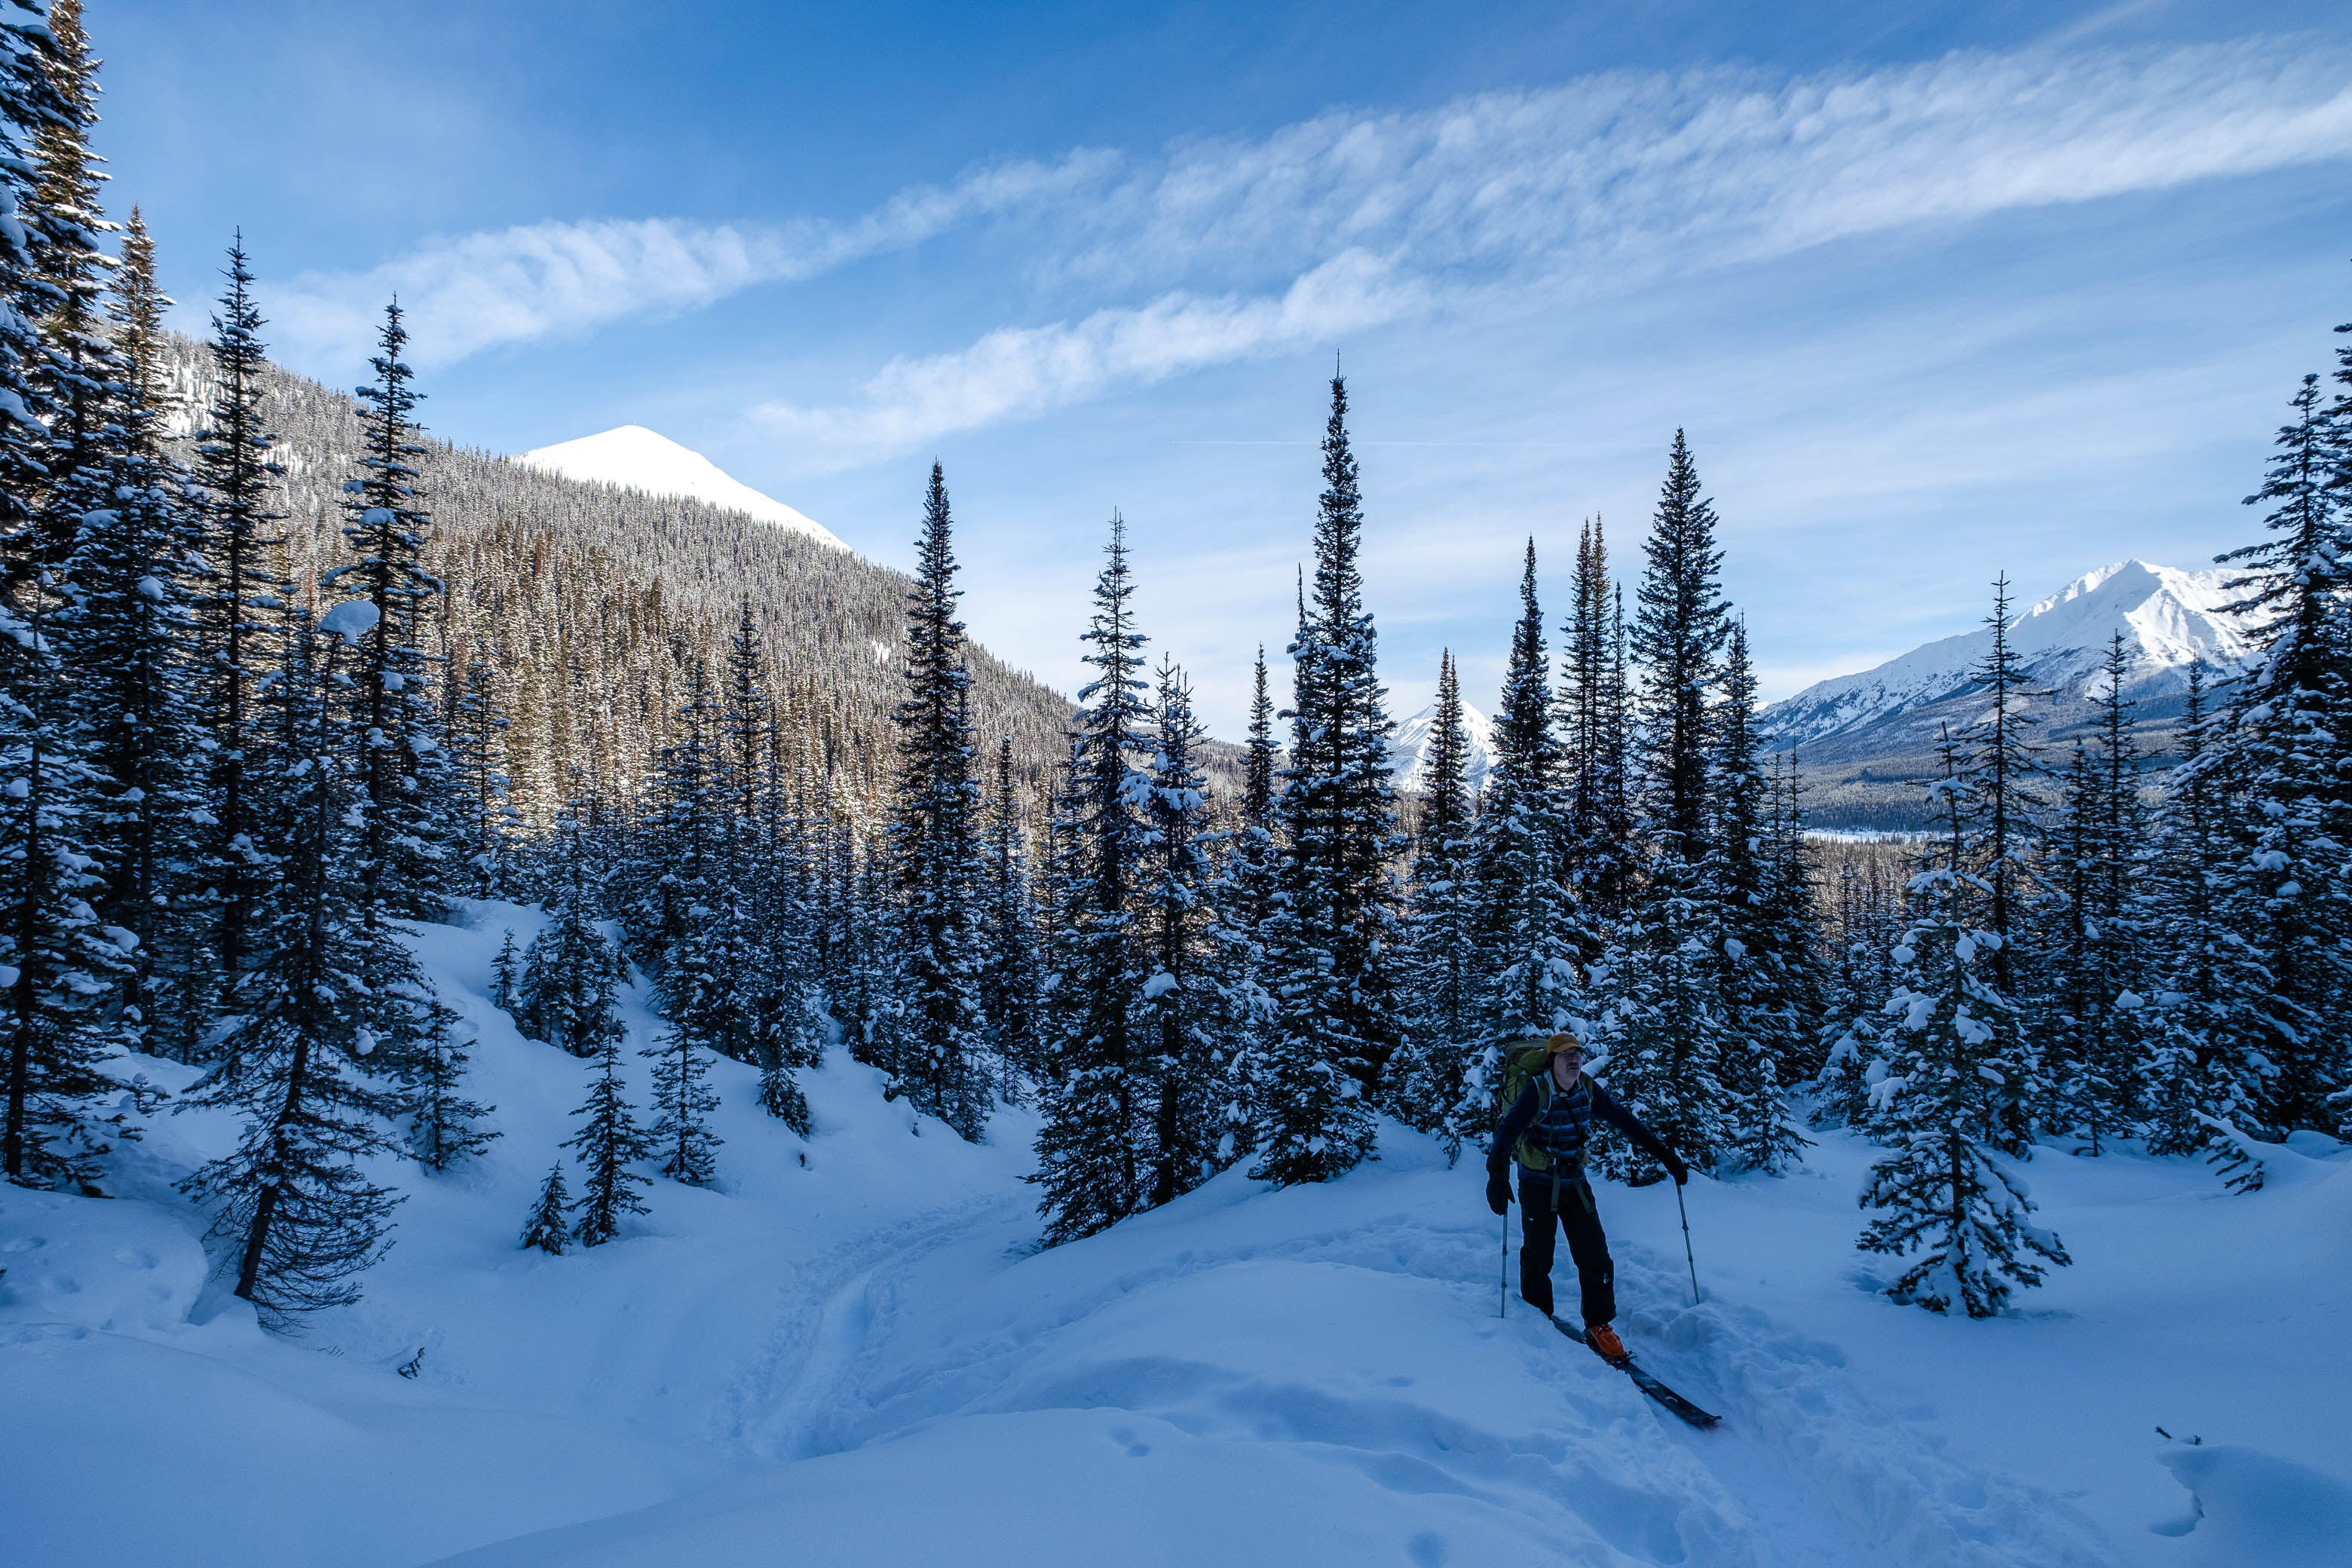
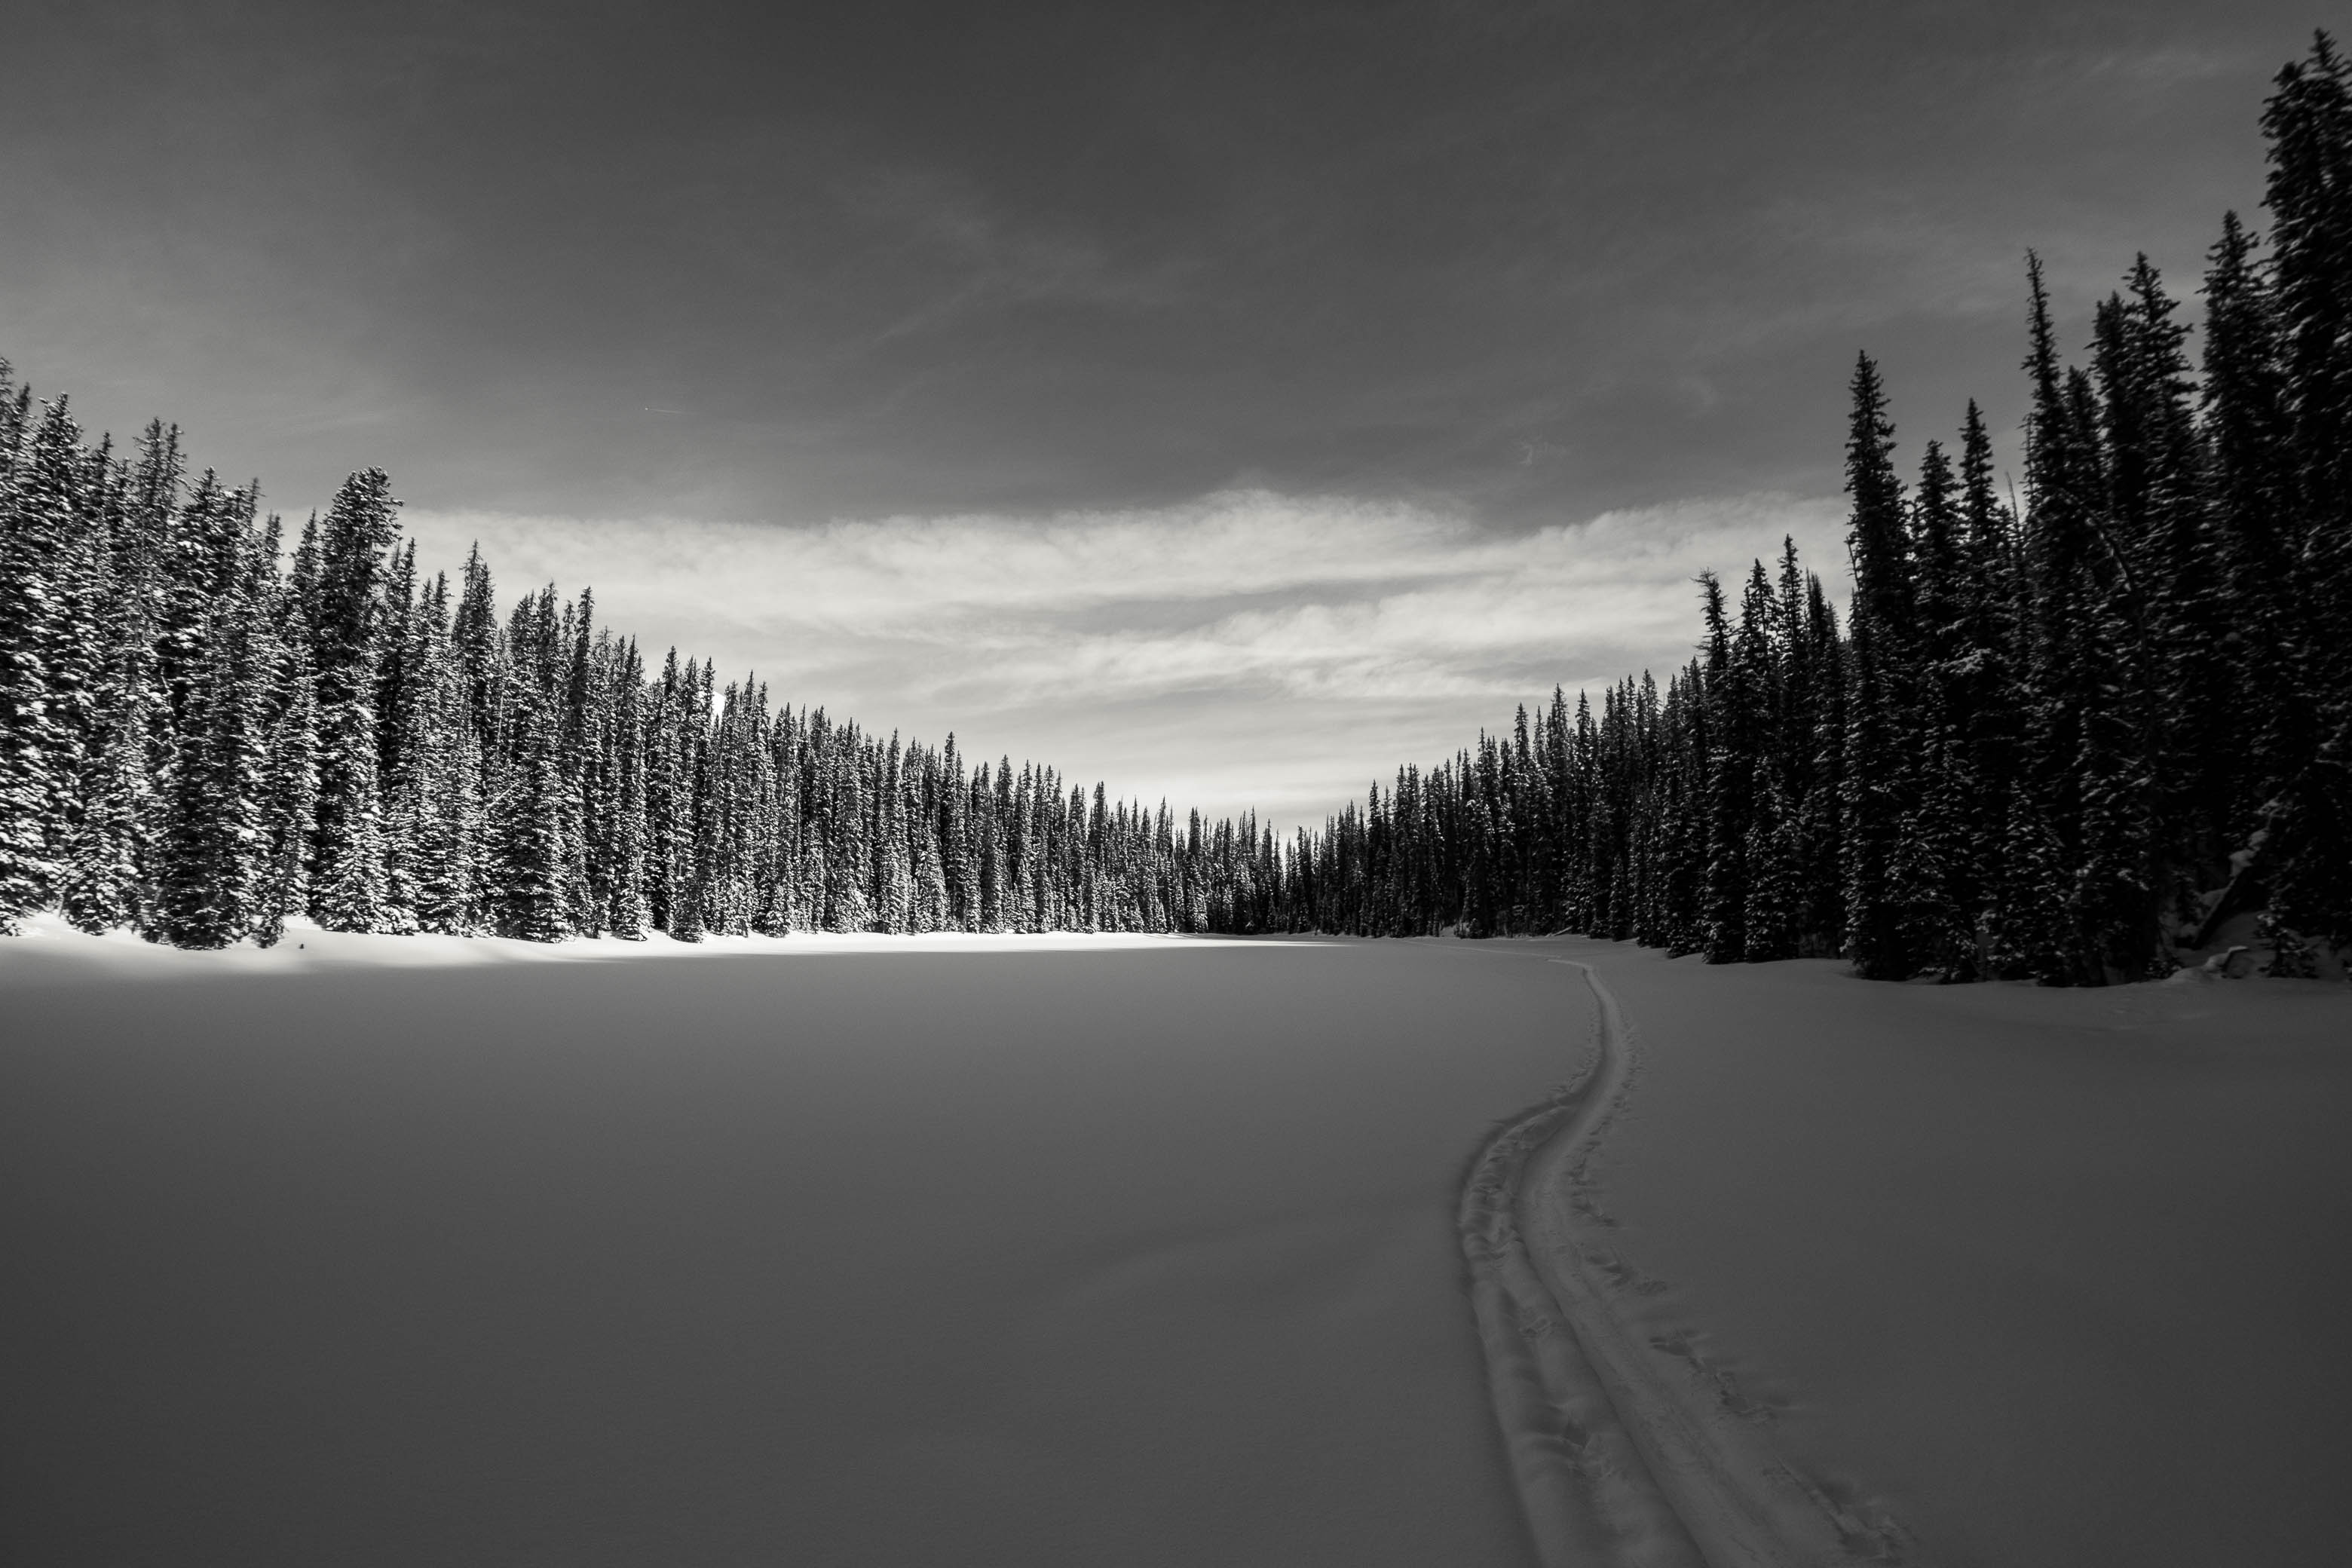
After following this new-found trail up along Commonwealth Creek for about 1 km, we arrived at a fork with the option to either A. continue following the creek, or B. head left and angle up Commonwealth Ridge's lower, forested slopes. We chose the latter of the two options - planning on completing a circuit and making our descent via option A - and followed the skin track as it switch-backed up the steep mountainside, traversing southwest and eventually emerging from the forest at the northern edge of Commonwealth Lake...And wow, is this little lake stunning! The low, morning sun cast long shadows across its blank, white canvas, and lit up the impressive east faces of Commonwealth Peak and Pig's Back, still high above. I was not at all expecting Commonwealth Lake to be such a sight of its own, and we paused for a few minutes to admire the peaceful, secluded beauty of this hidden gem.
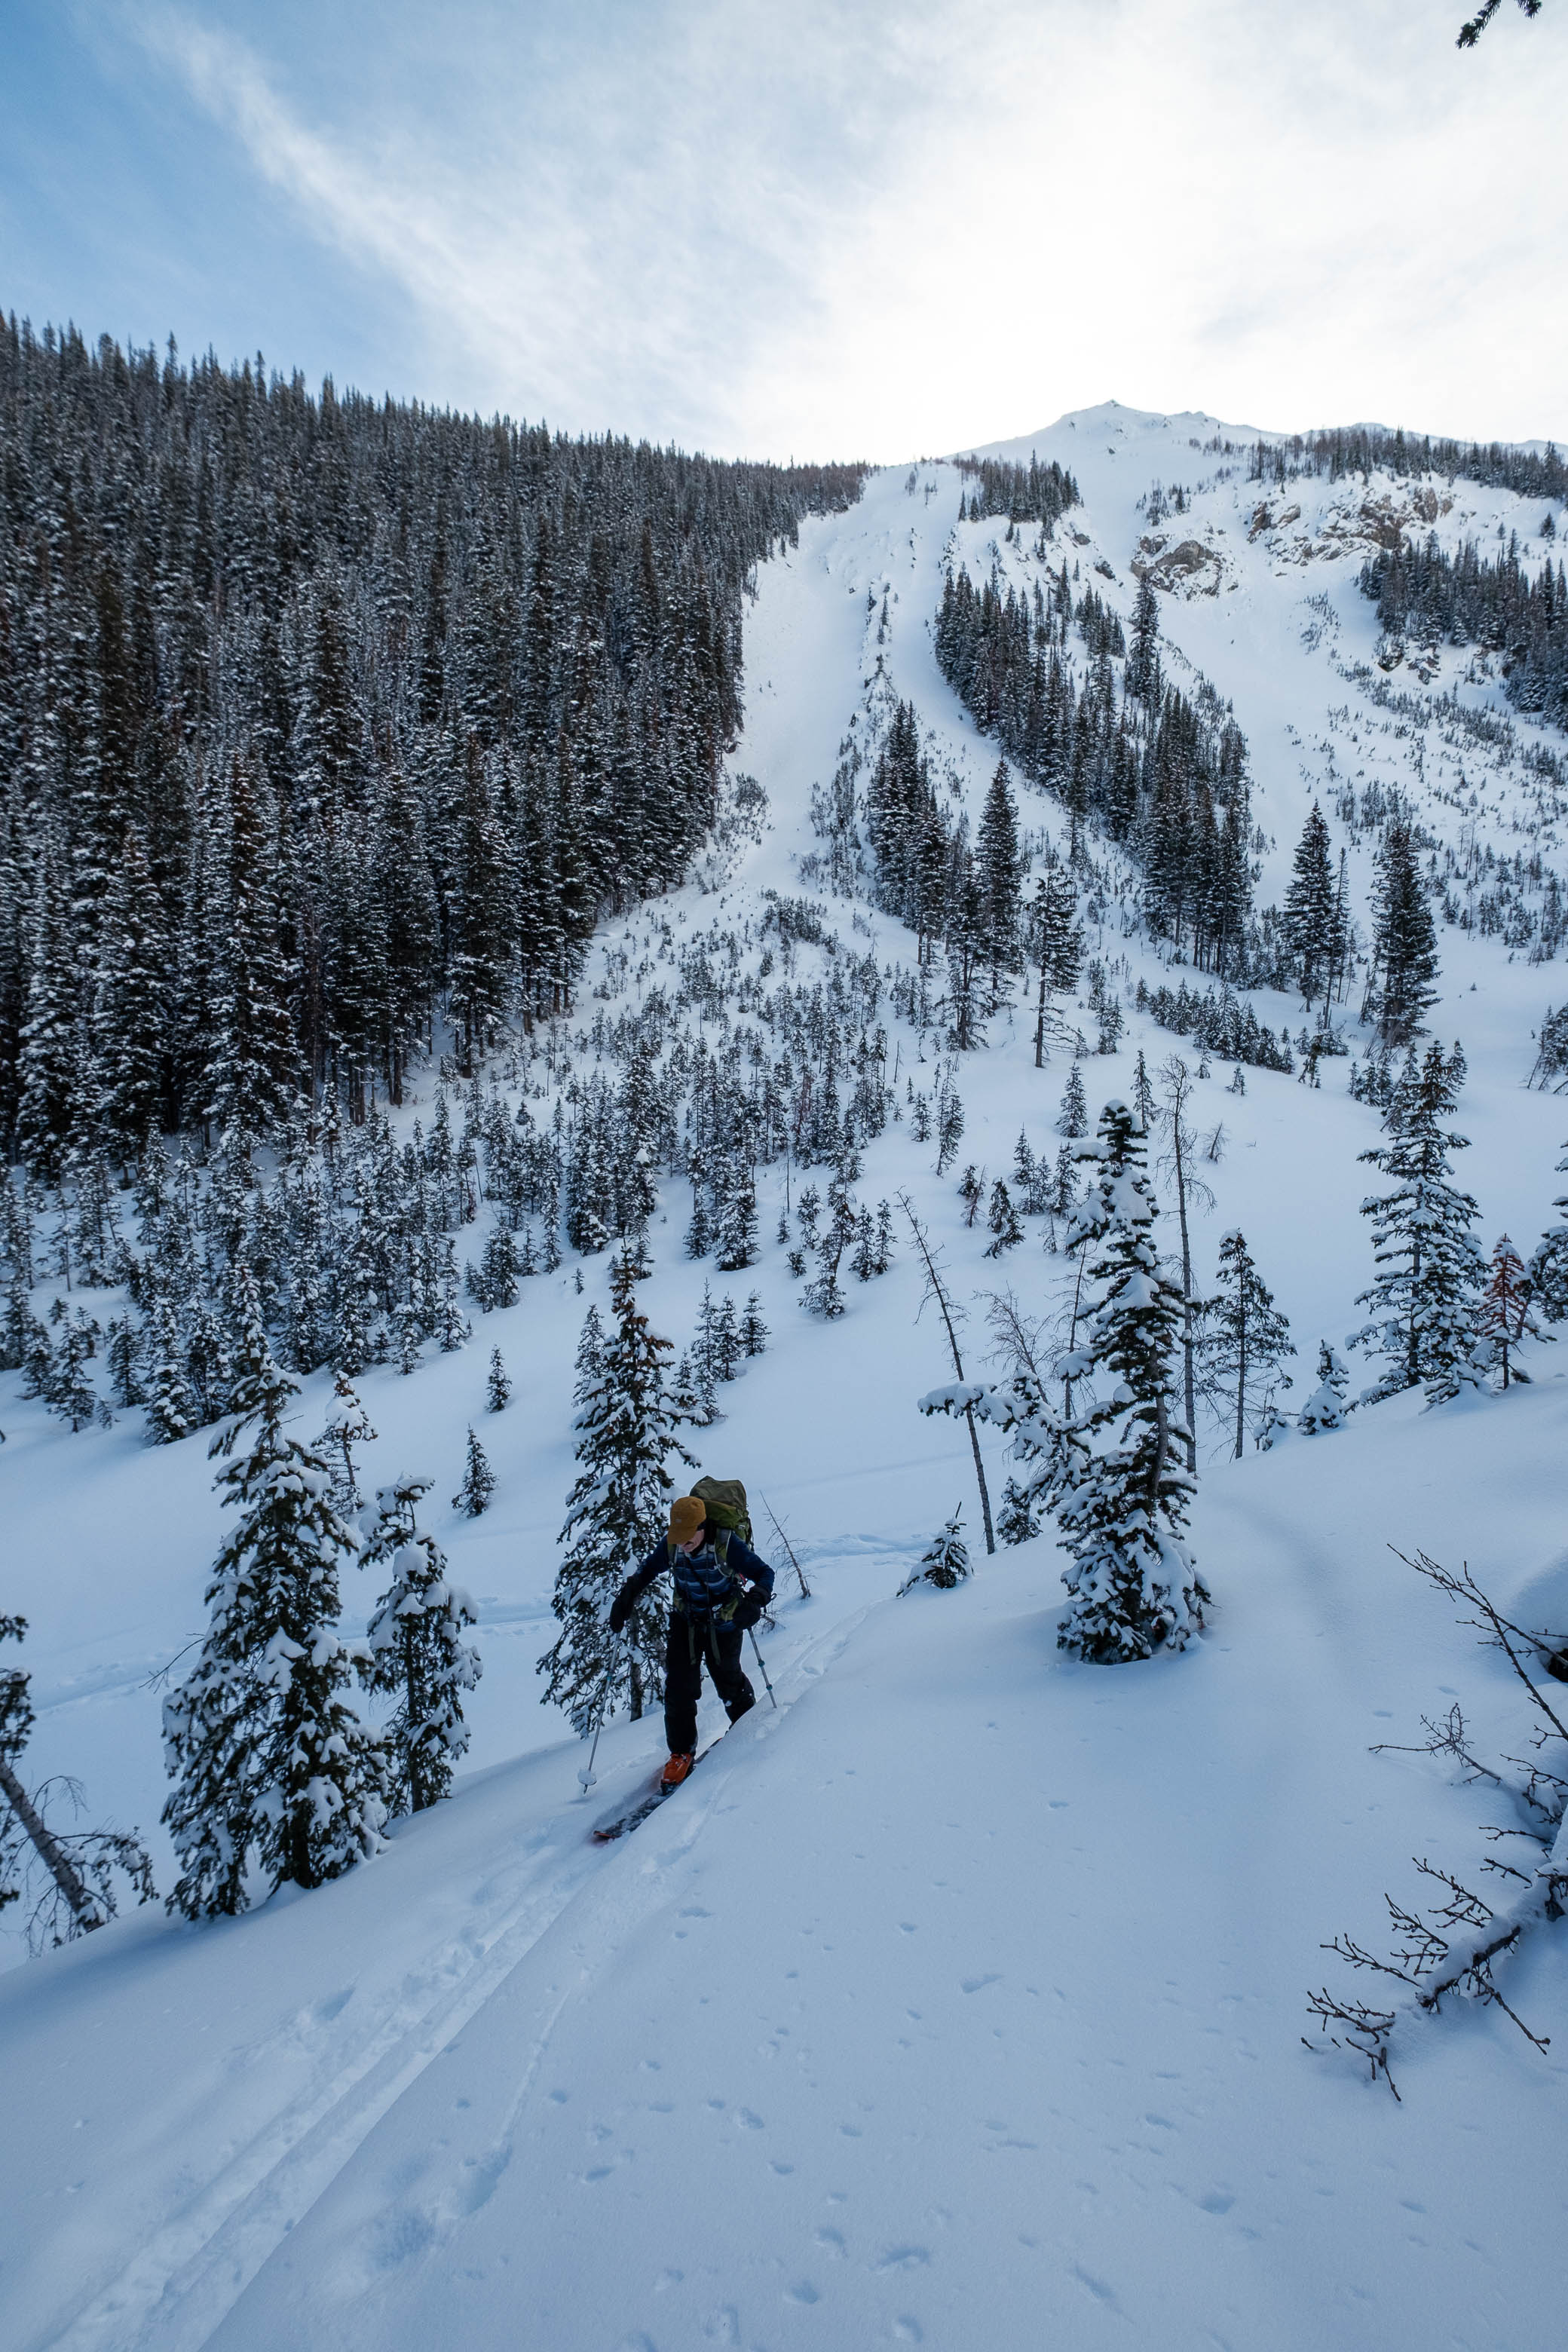
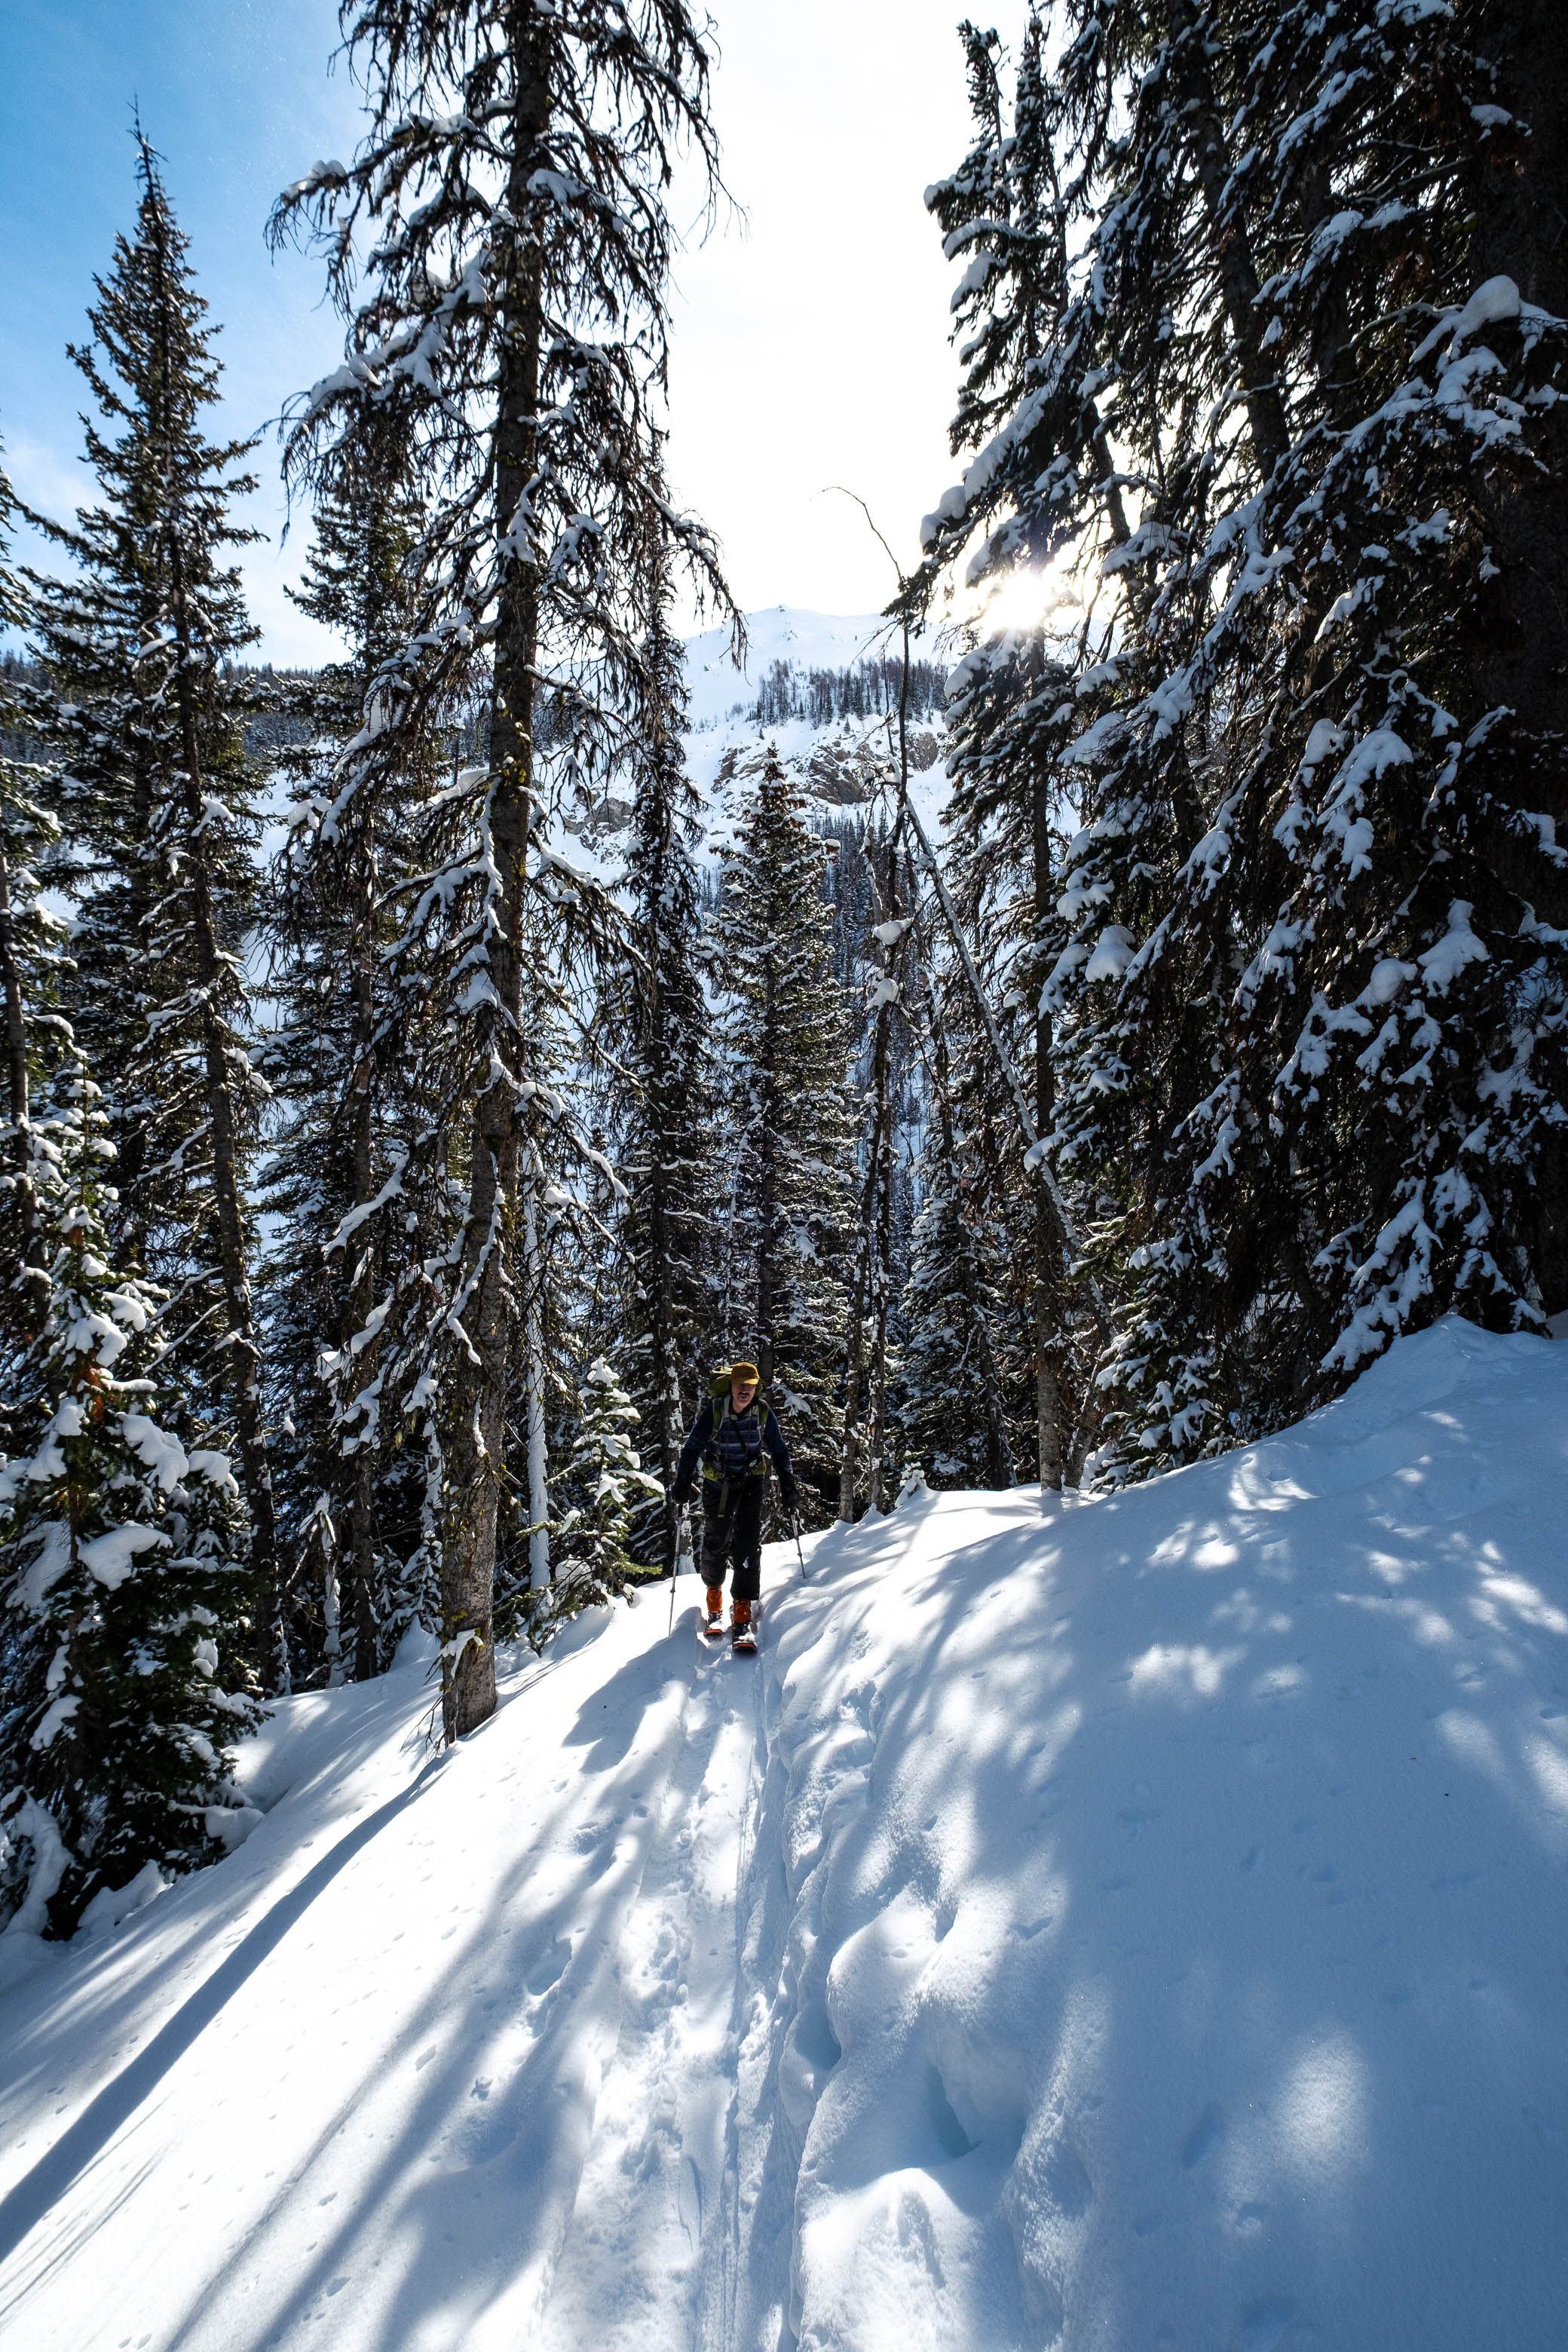
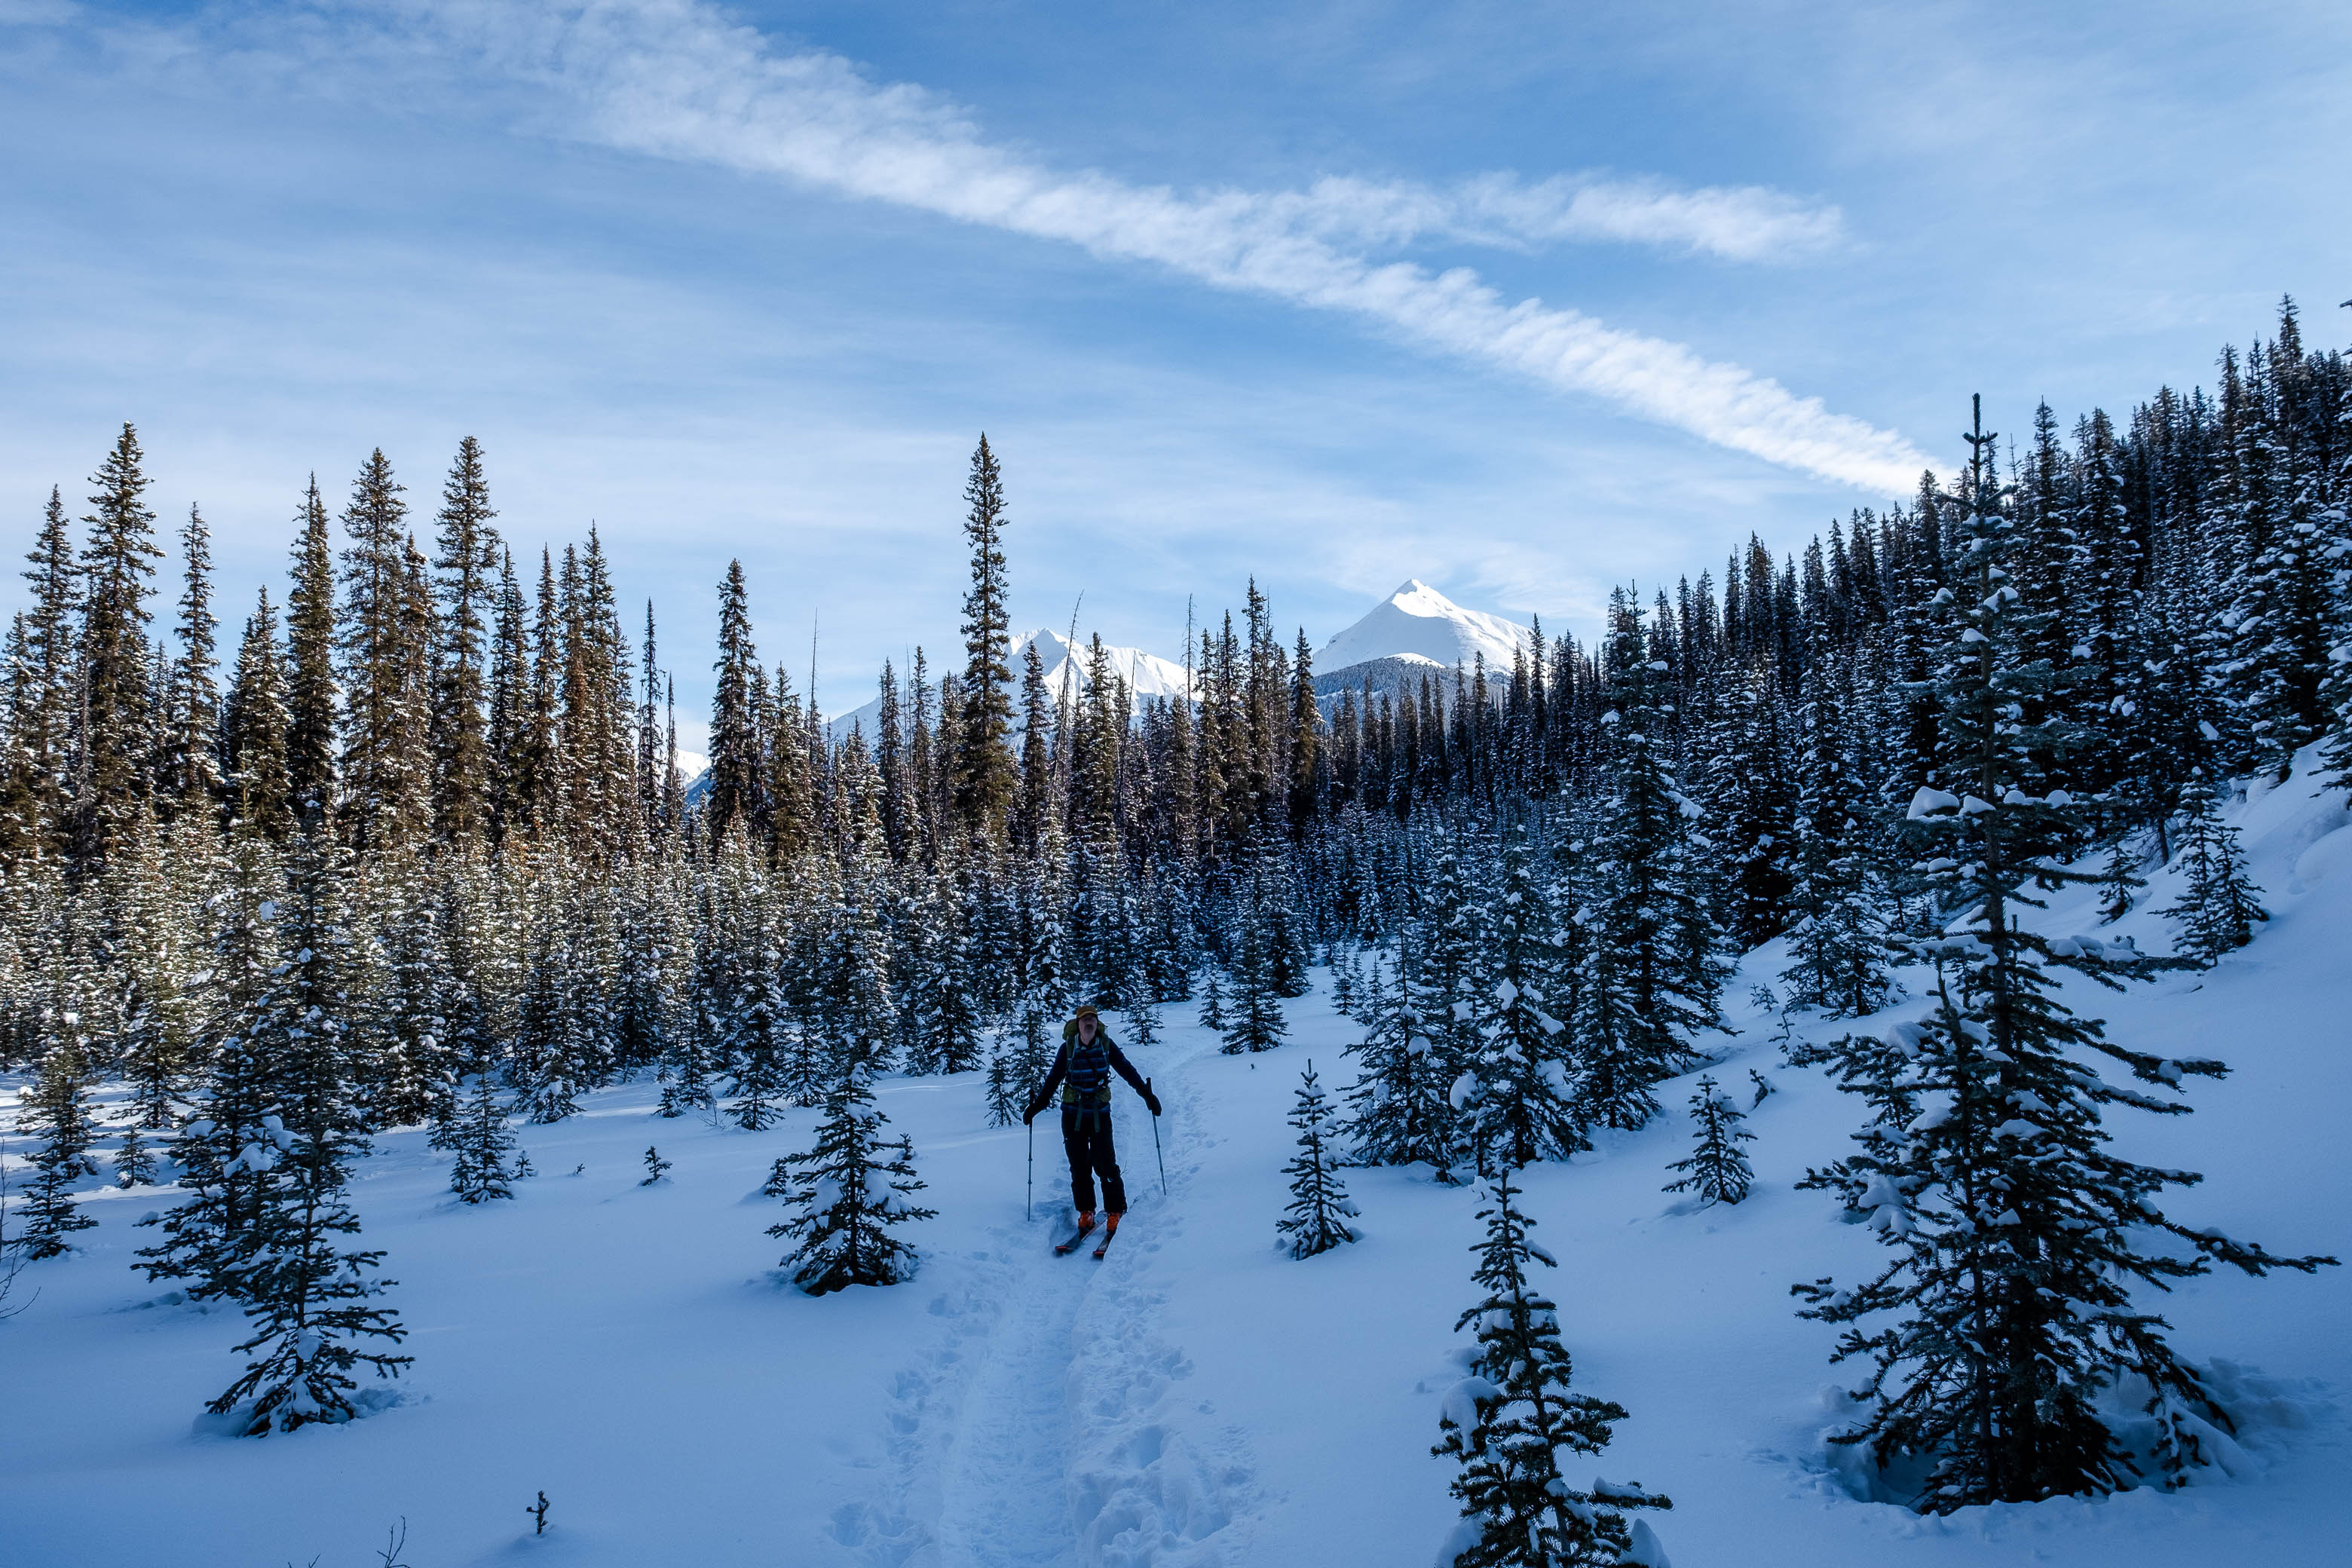
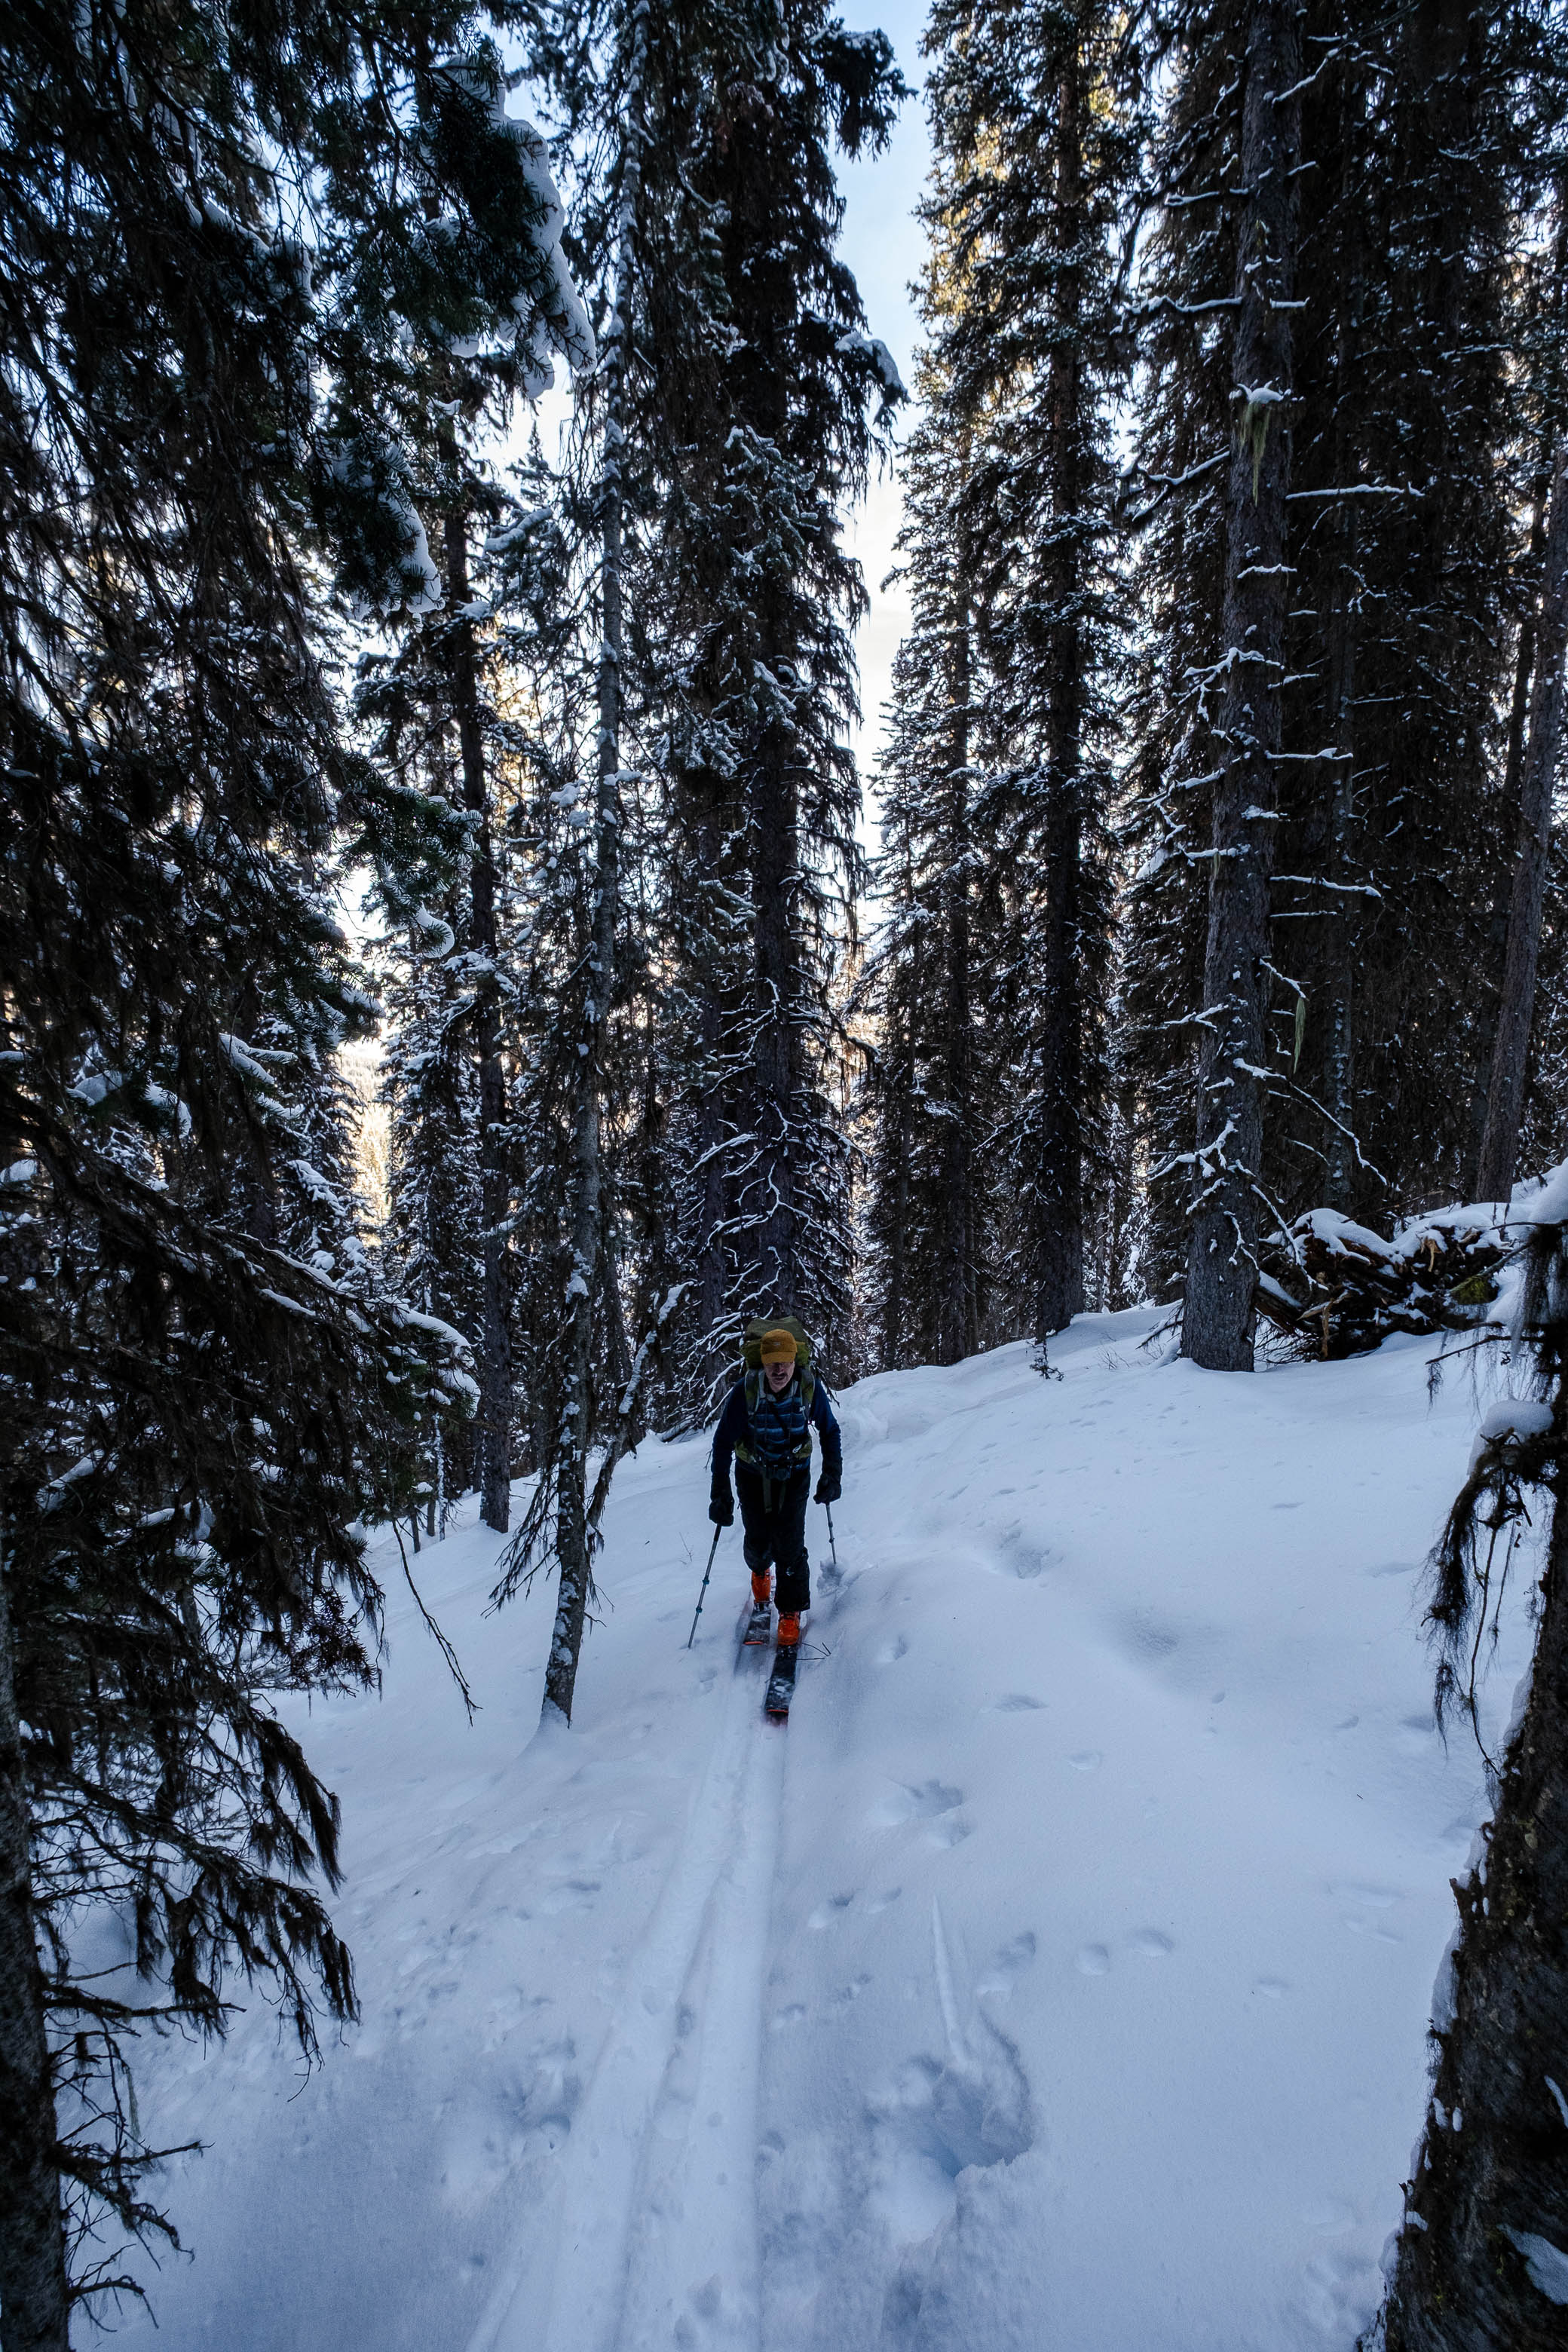
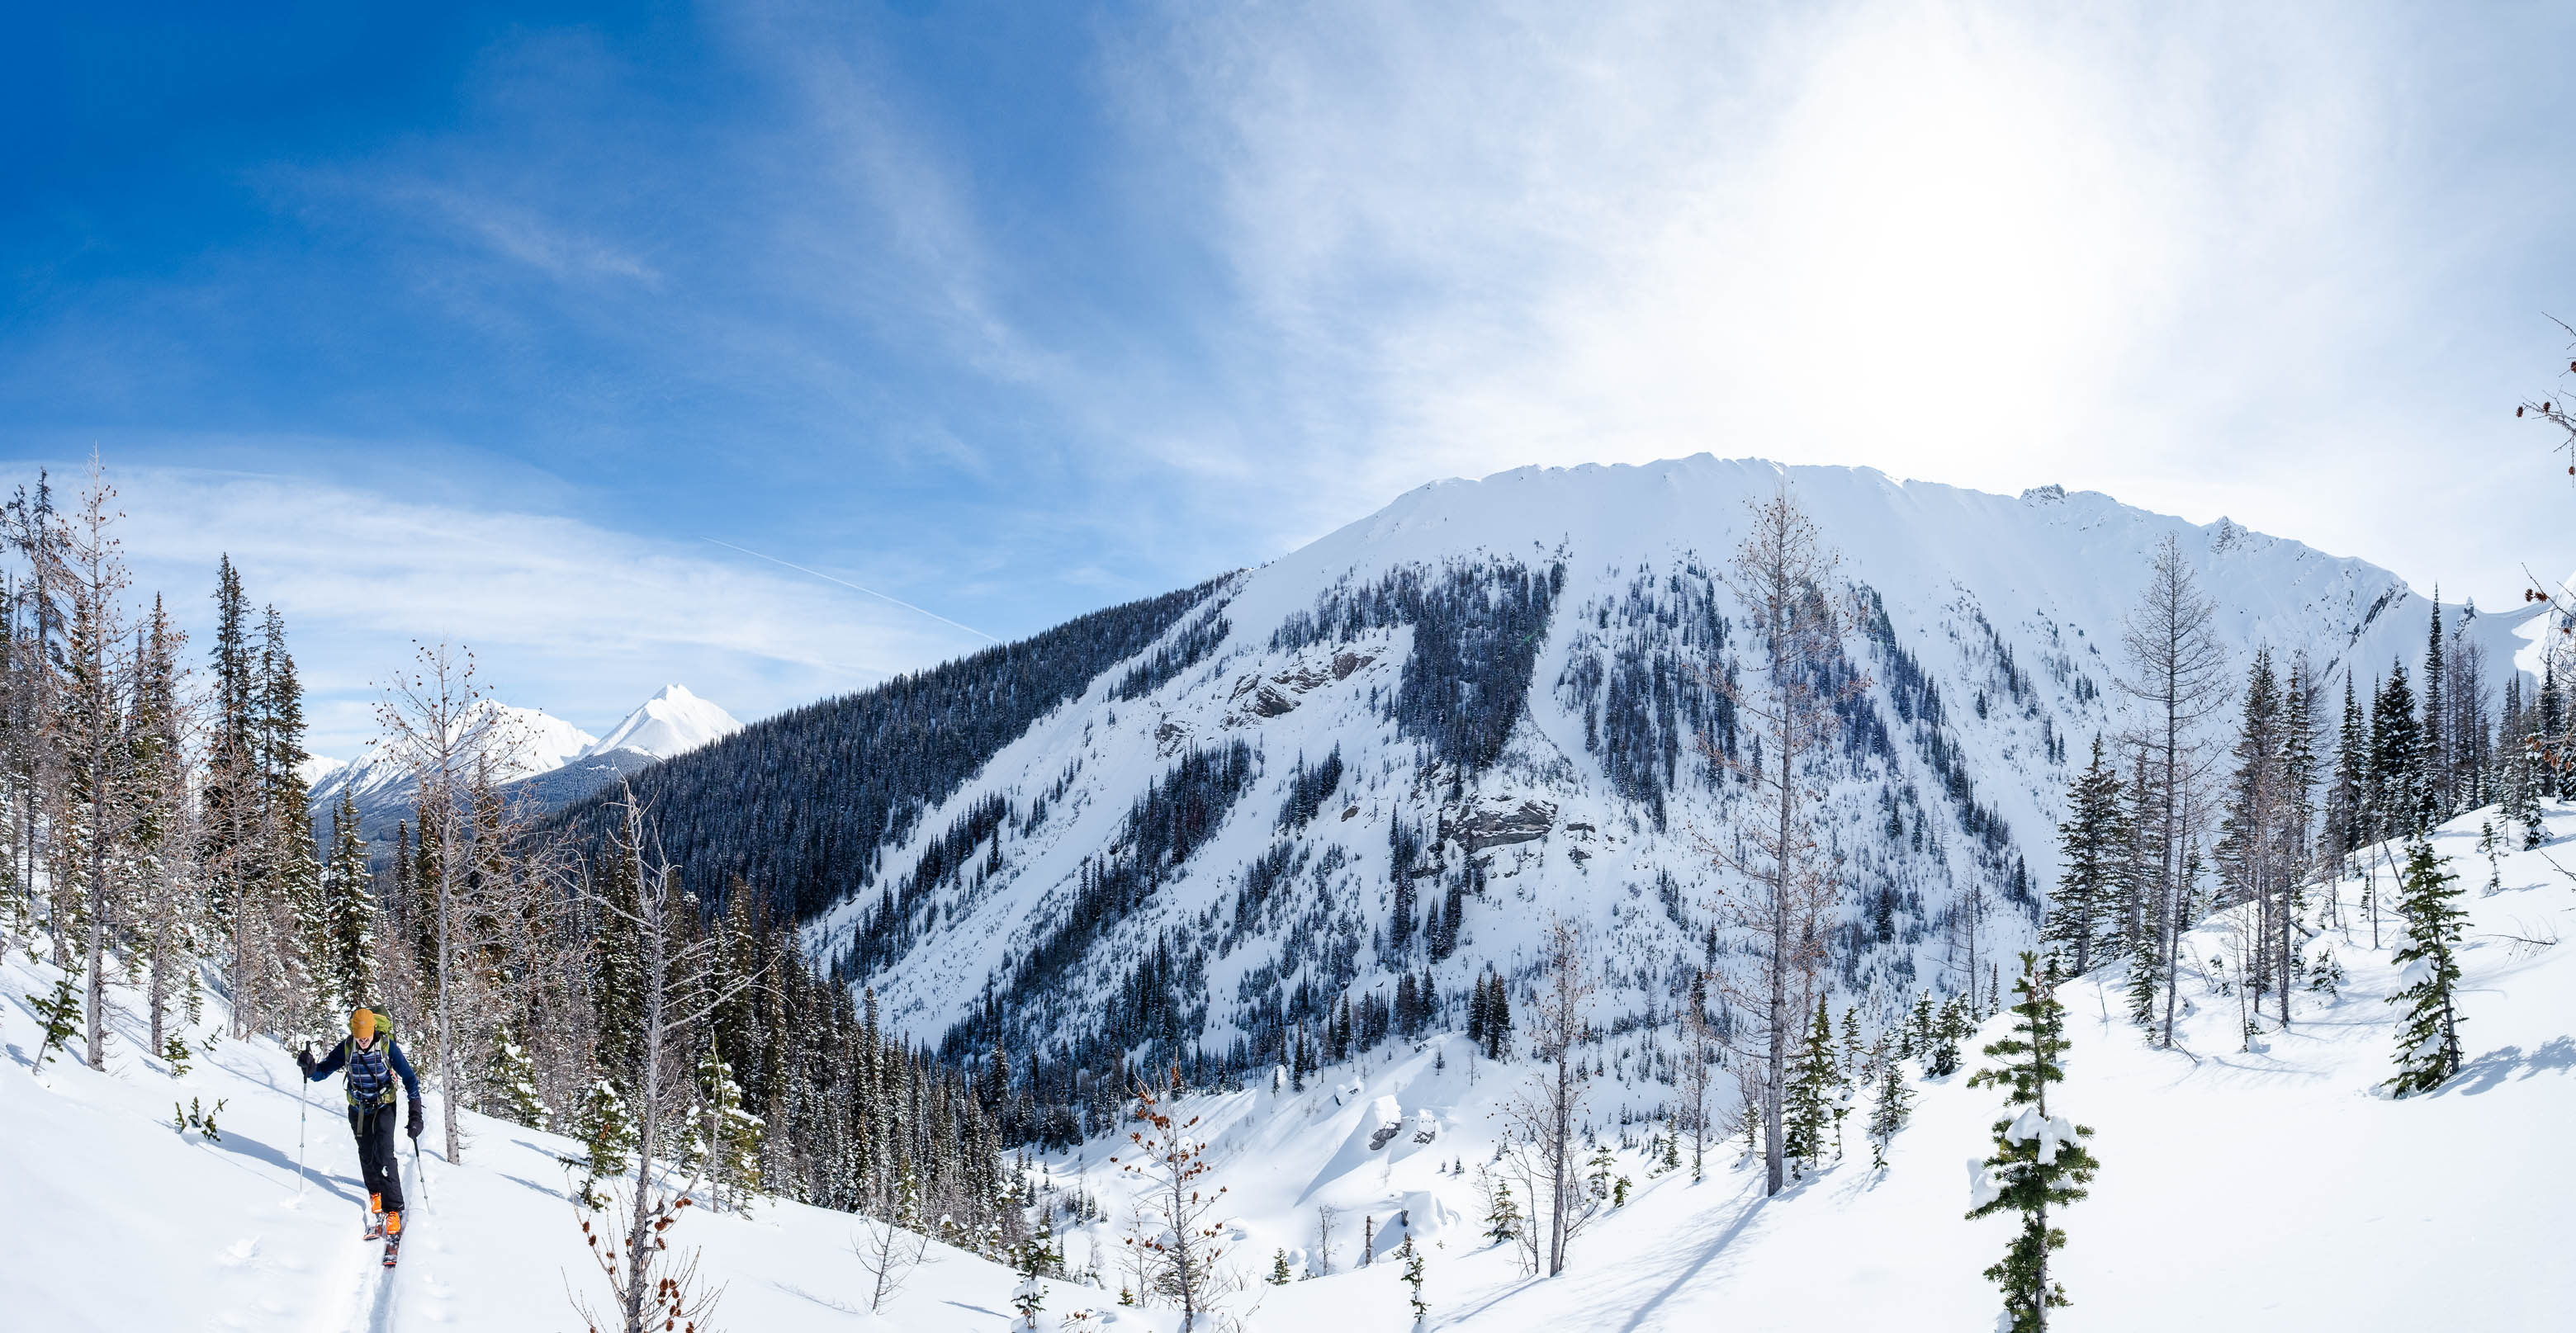
While Commonwealth Lake more than justifies a trip of its own, we had bigger fish to fry, and eventually continued across the lake, re-entering the forest on a "fading" skin track and heading deeper up the valley. Shortly after leaving the lake, the terrain opens up, and we followed the track as it left the valley bottom and gained the treed "ridge" to climber's right. While Nugara's route continues along the base of the valley - arriving at a boulder field before starting up Pig's Back's steep eastern slopes - I wasn't completely sold on that route, and hoped this ridge might gradually take us above said slope, minimizing at least some of our time spent in avalanche terrain.
Lucky for us, the "ridge route" turned out to be exactly what I was hoping for, and it wasn't long before we emerged from the trees directly above "Nugara's slope"!
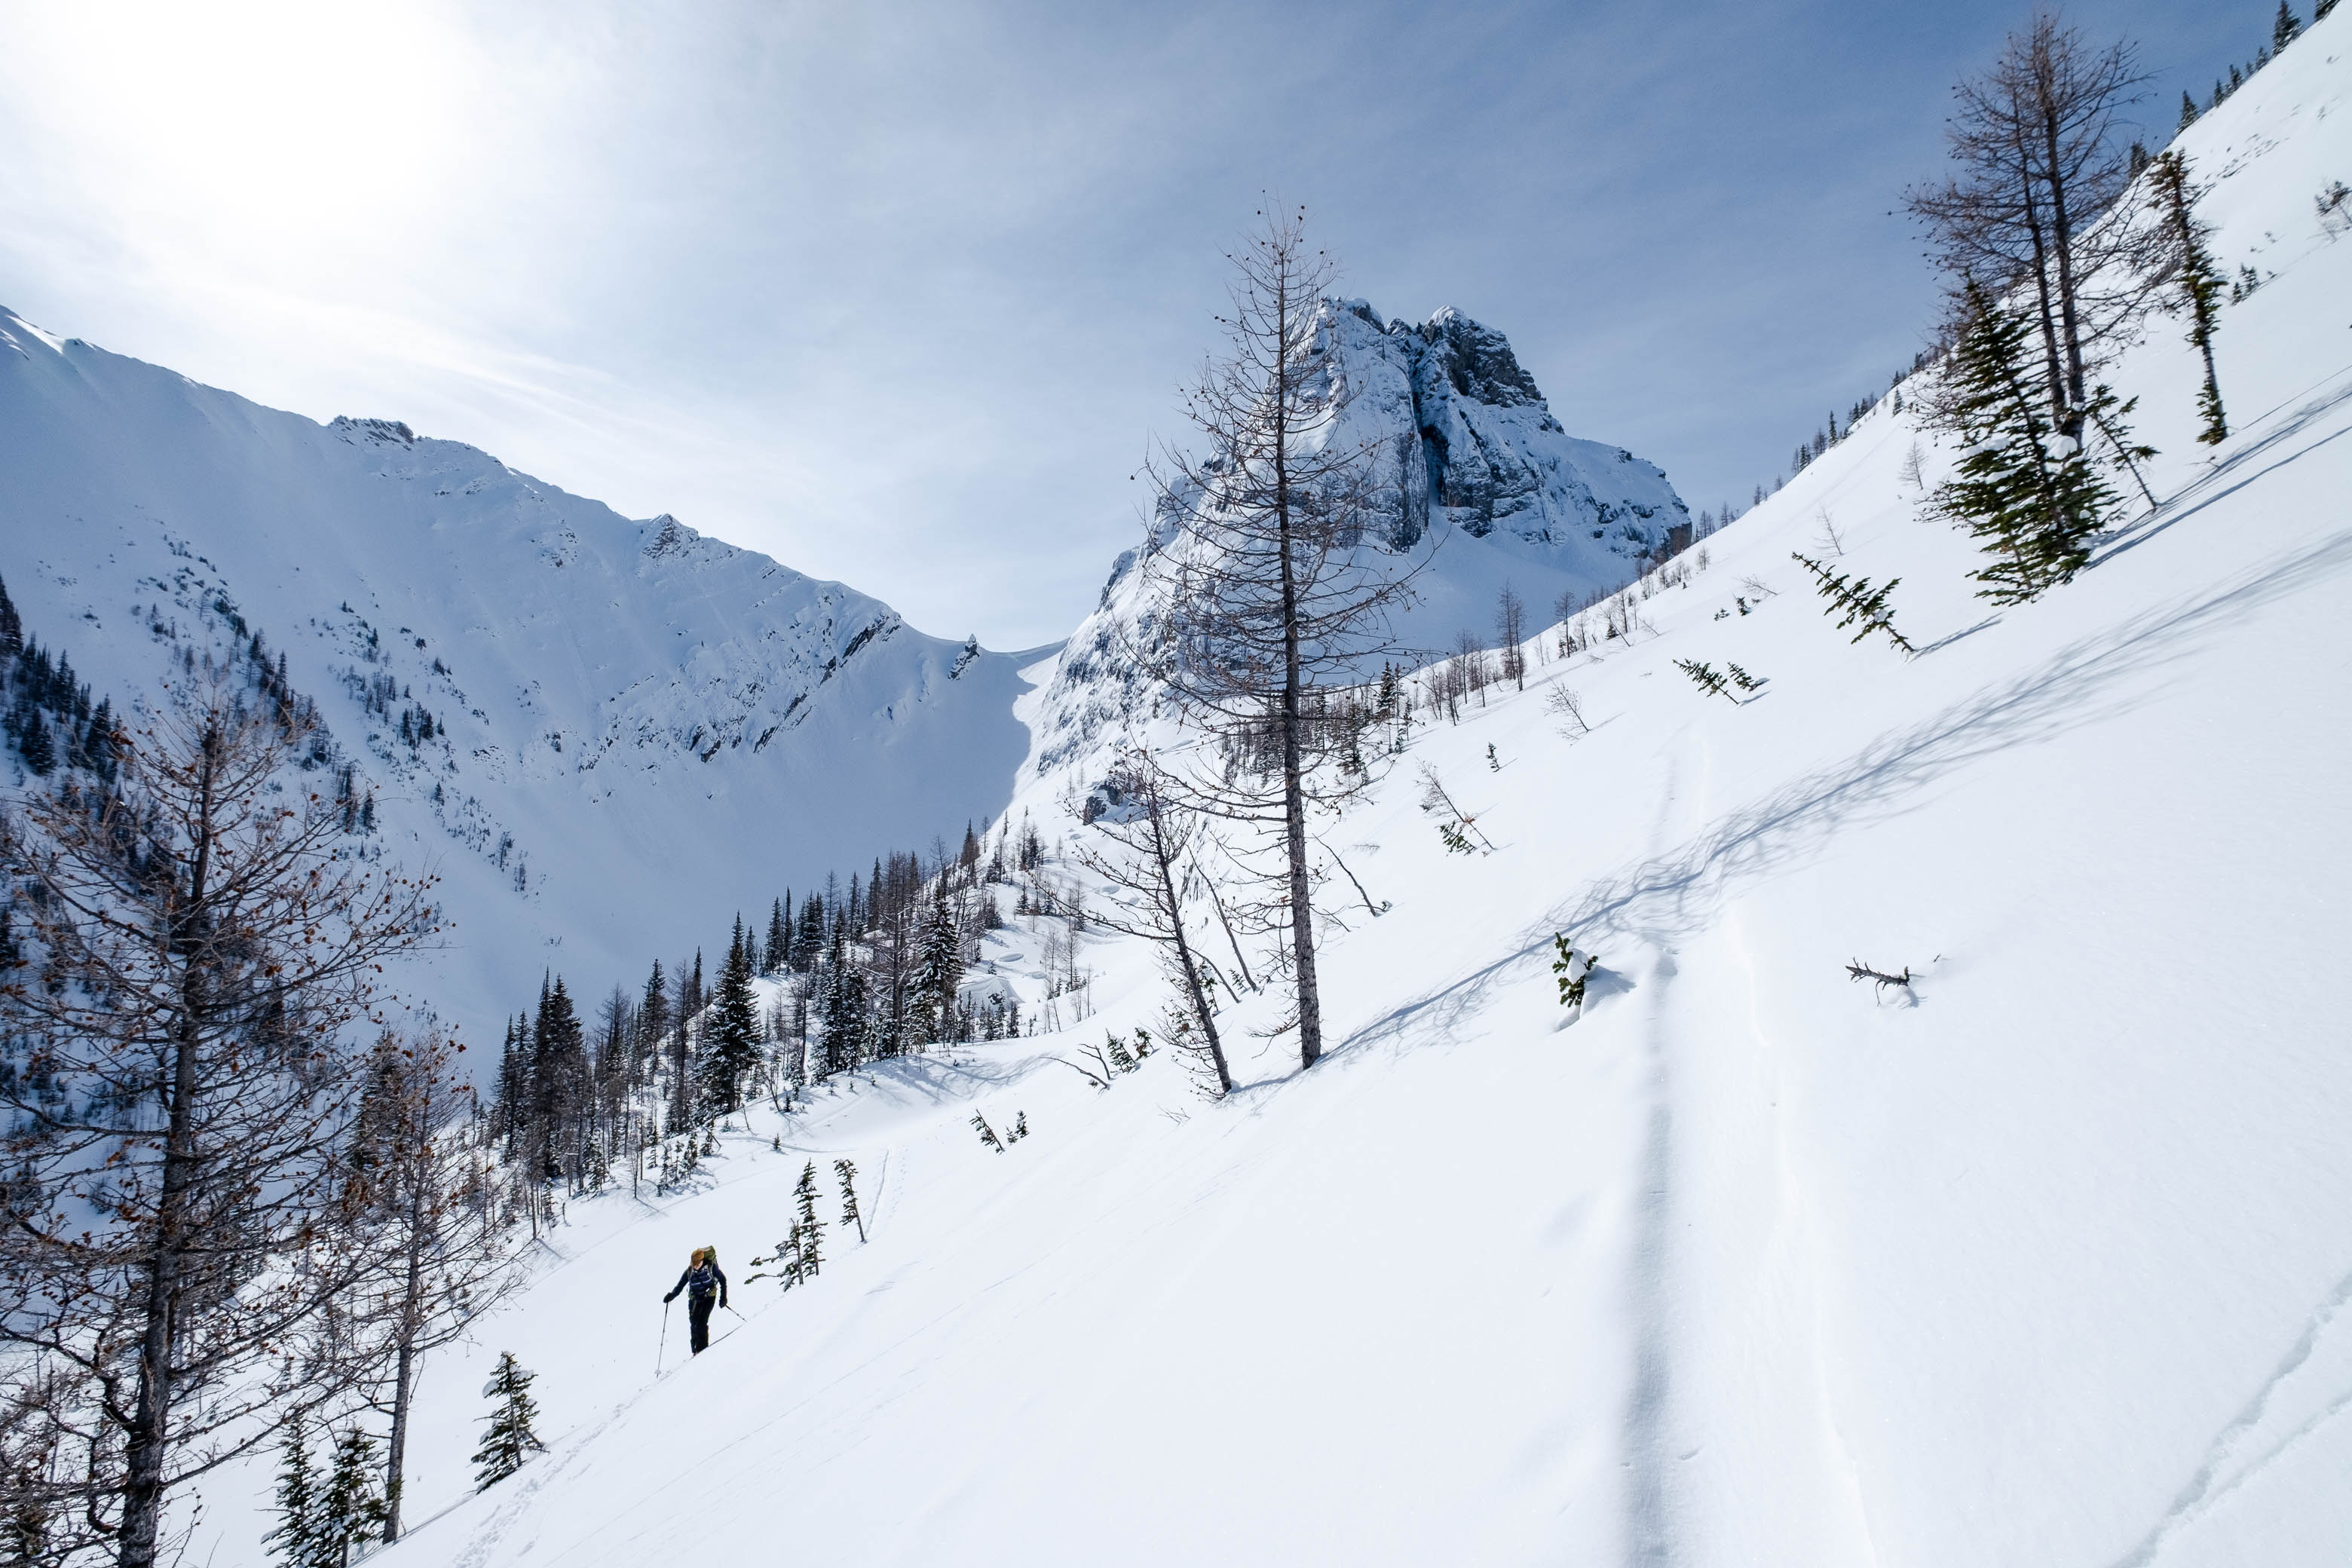
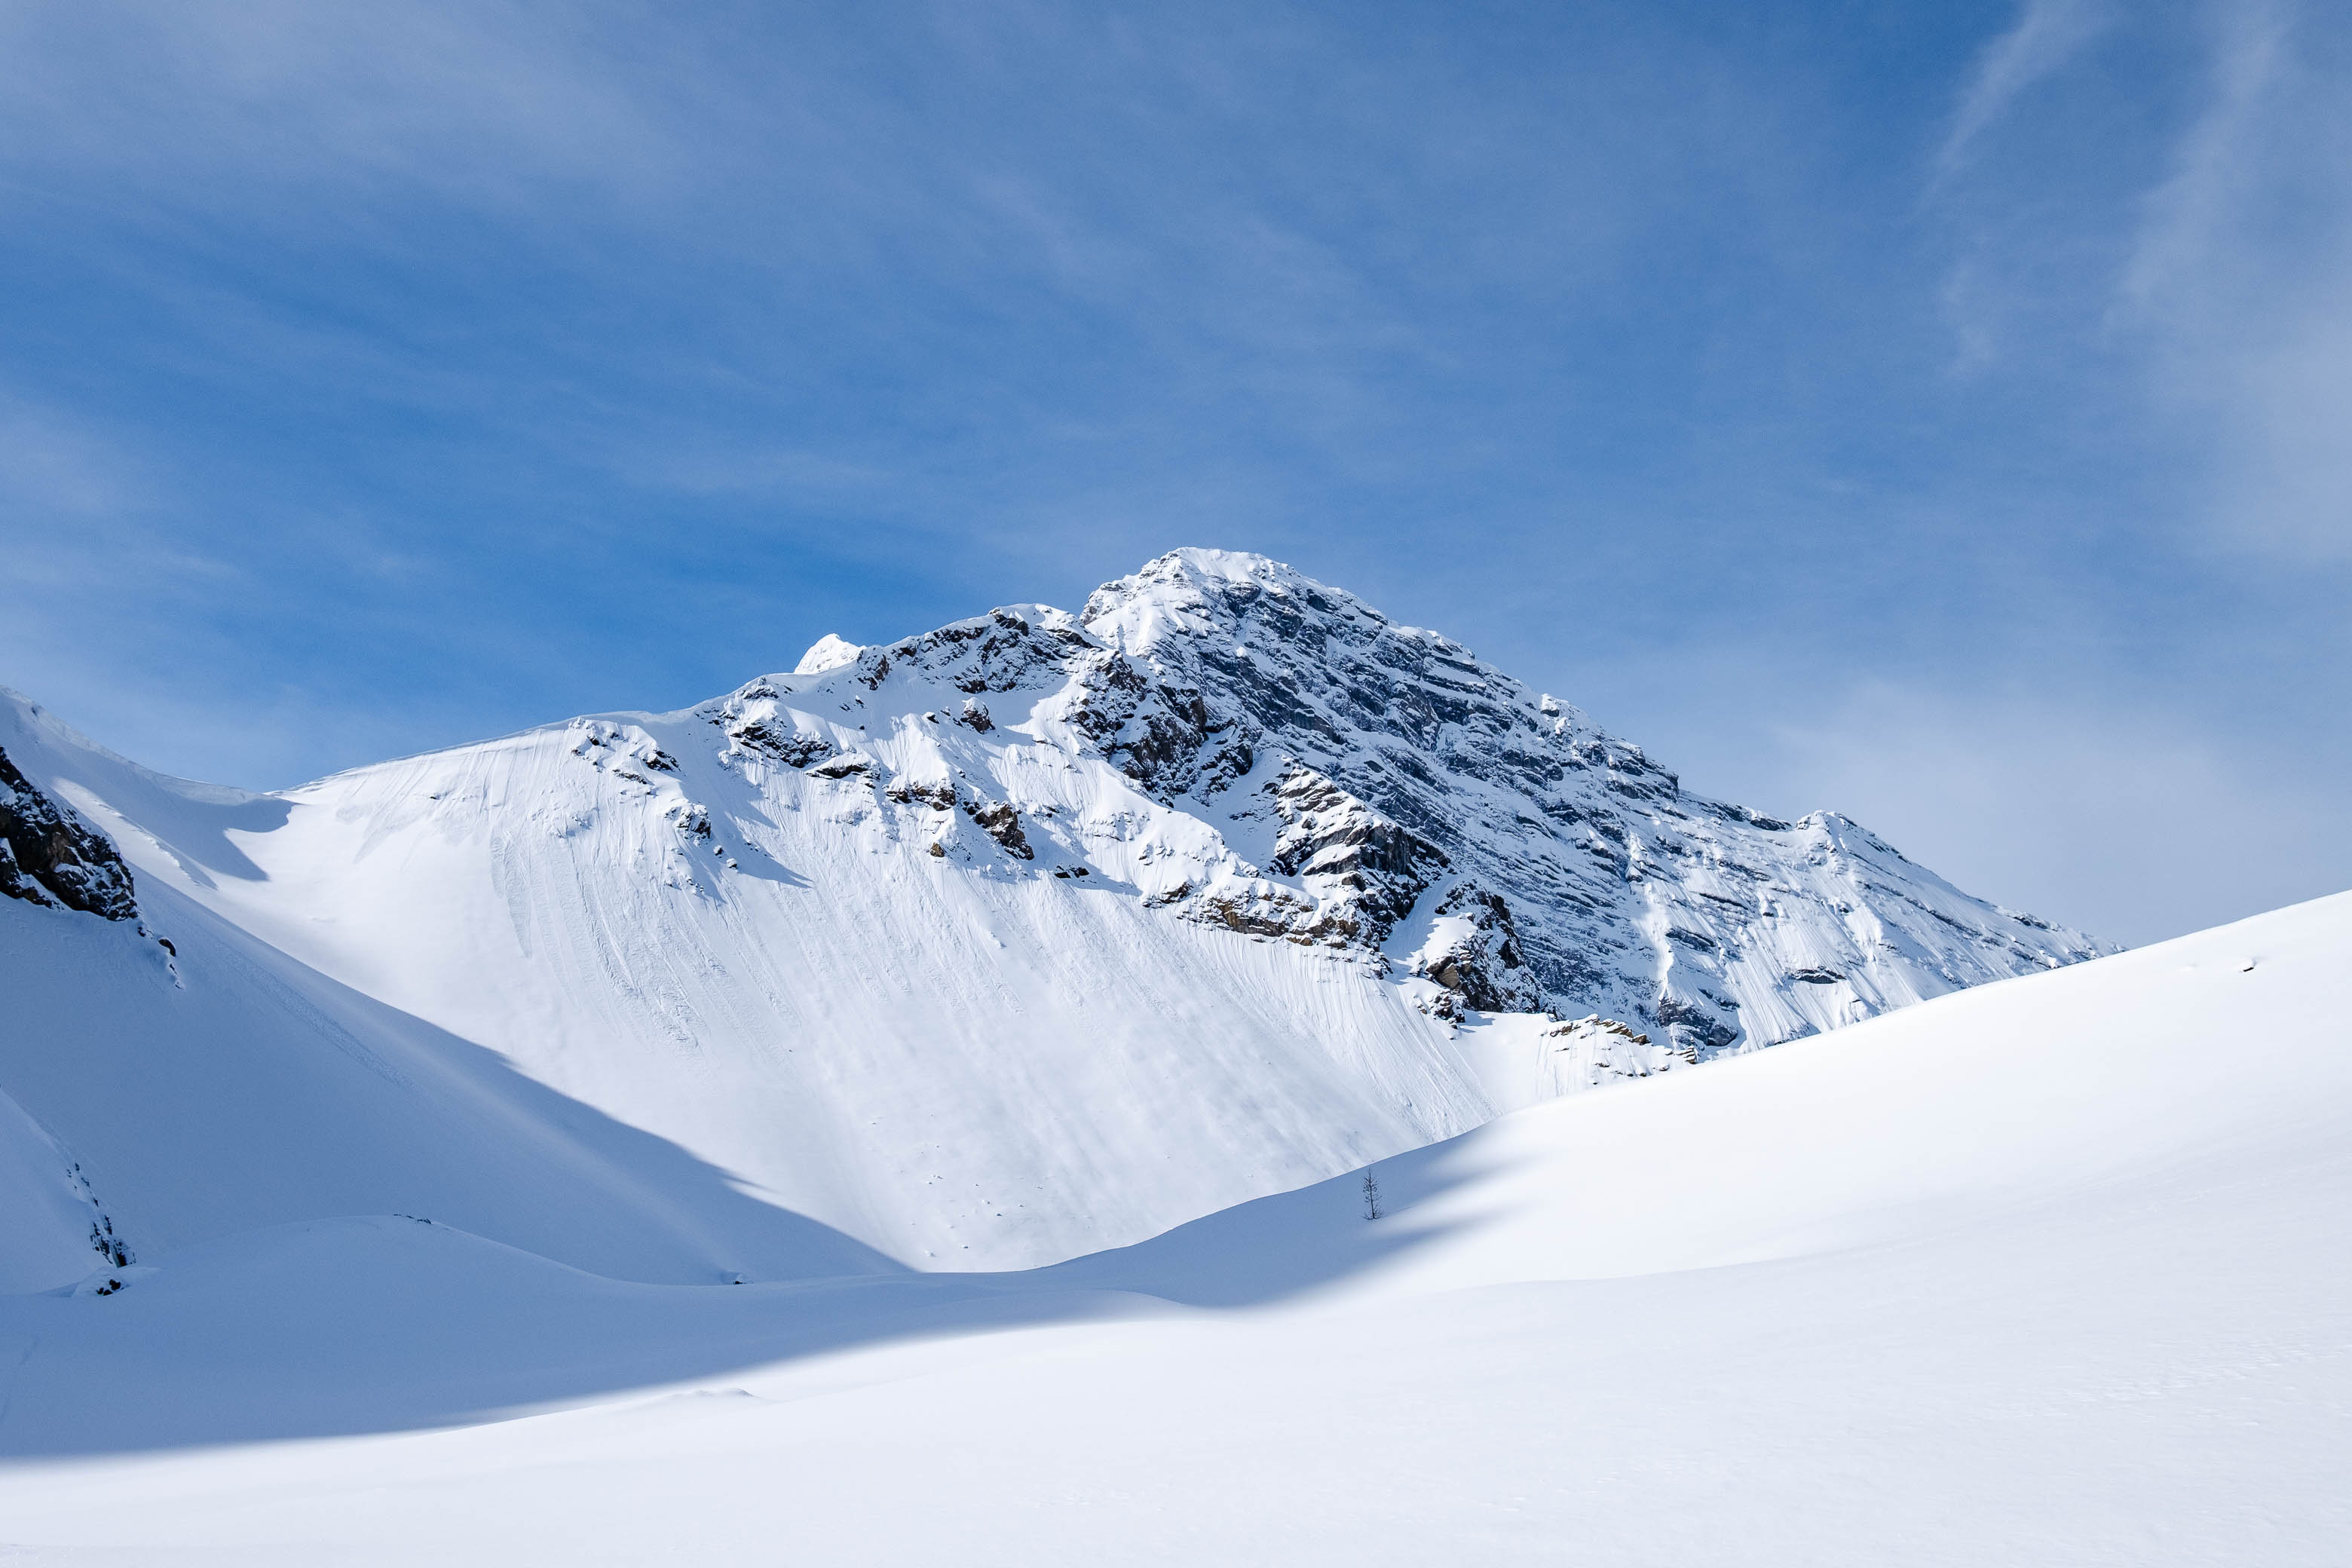
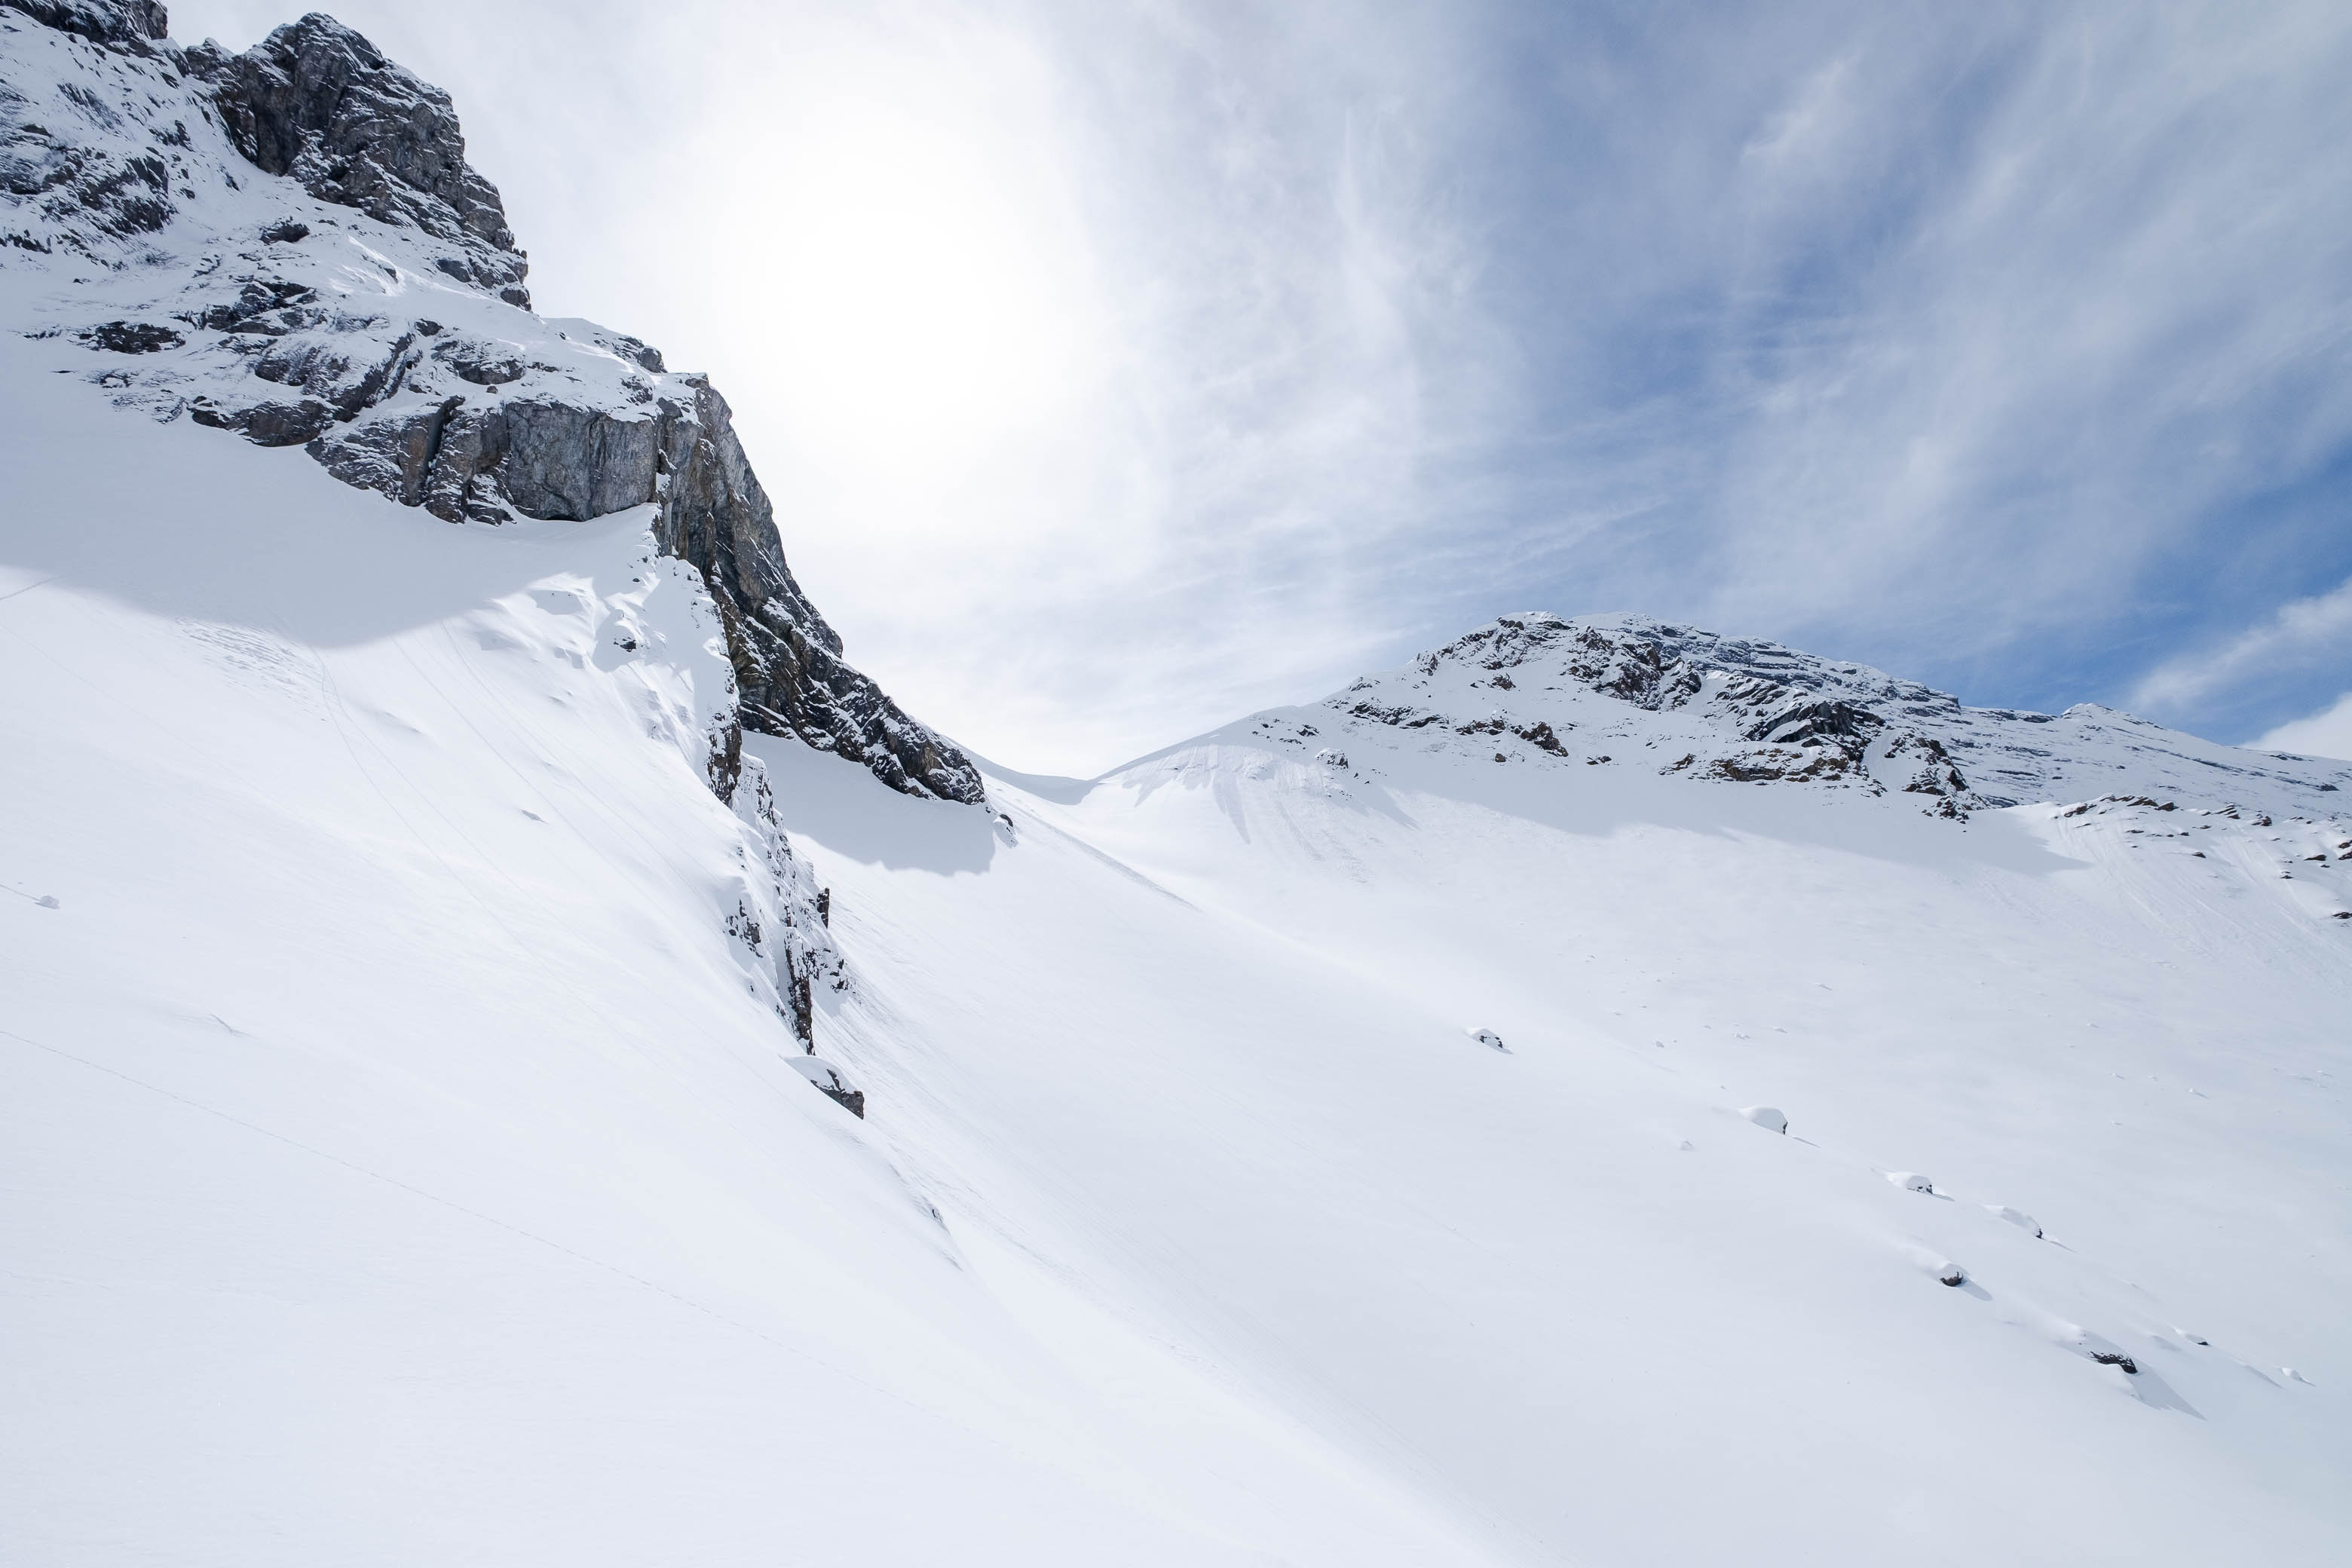
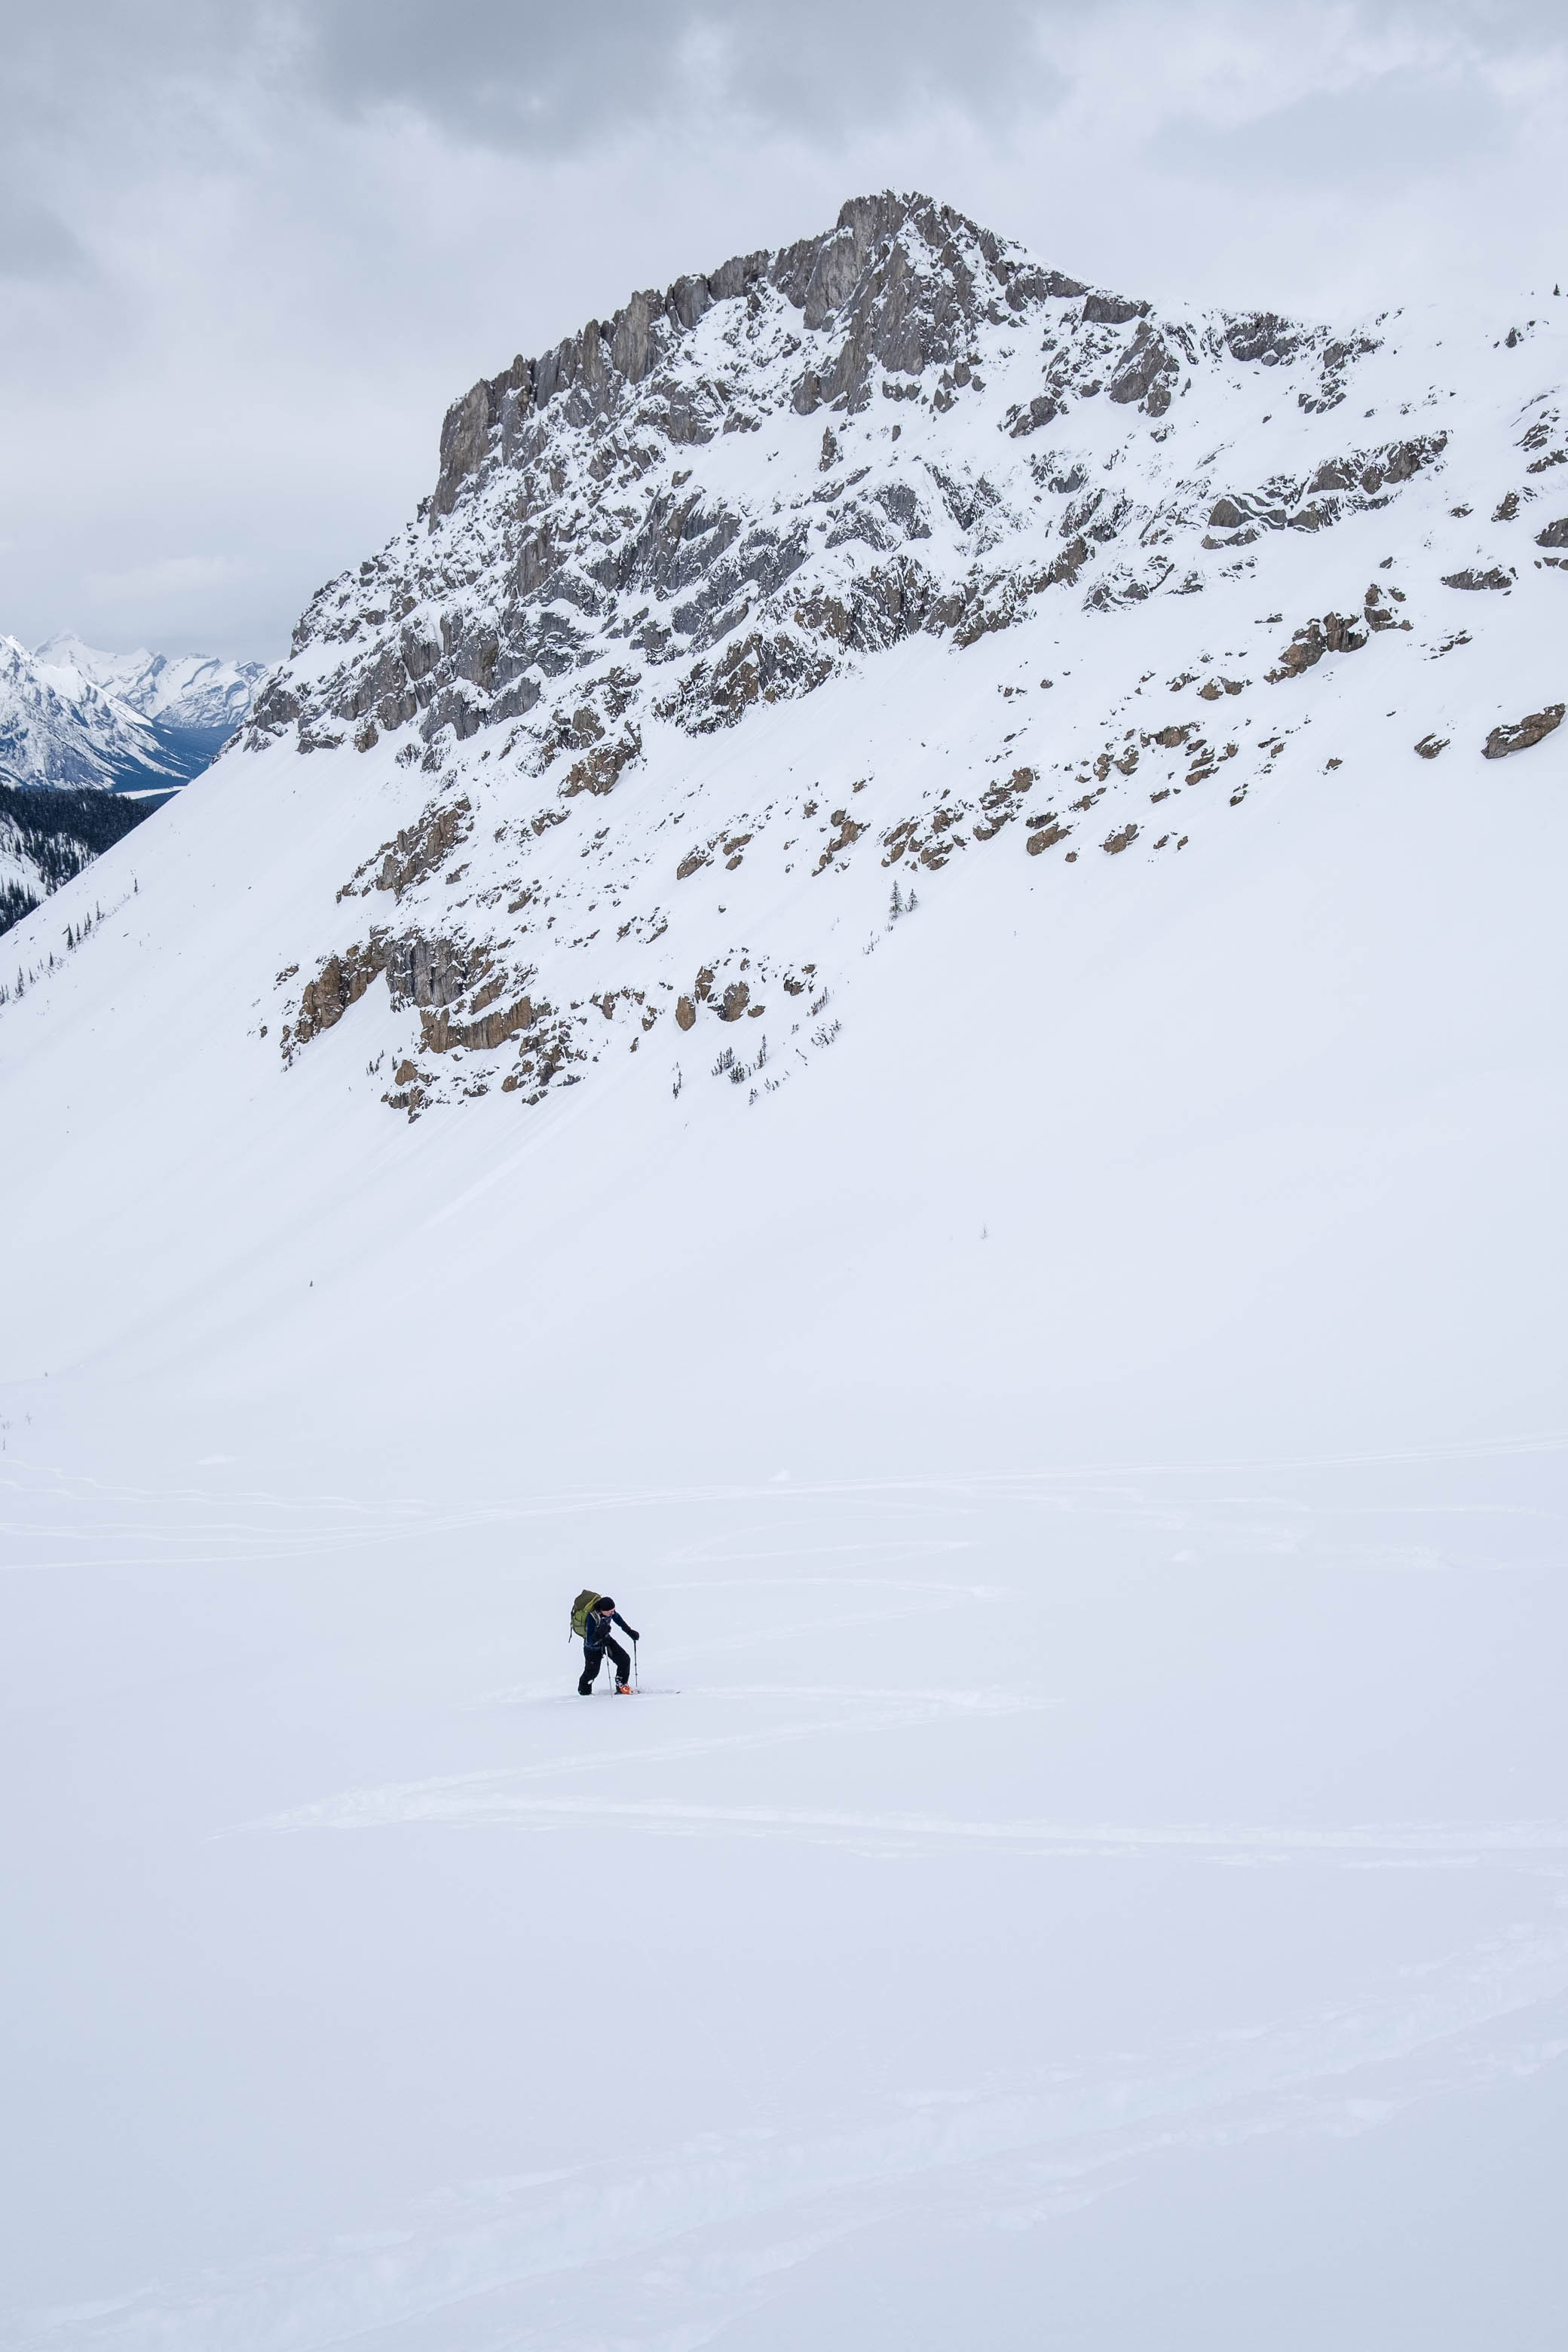
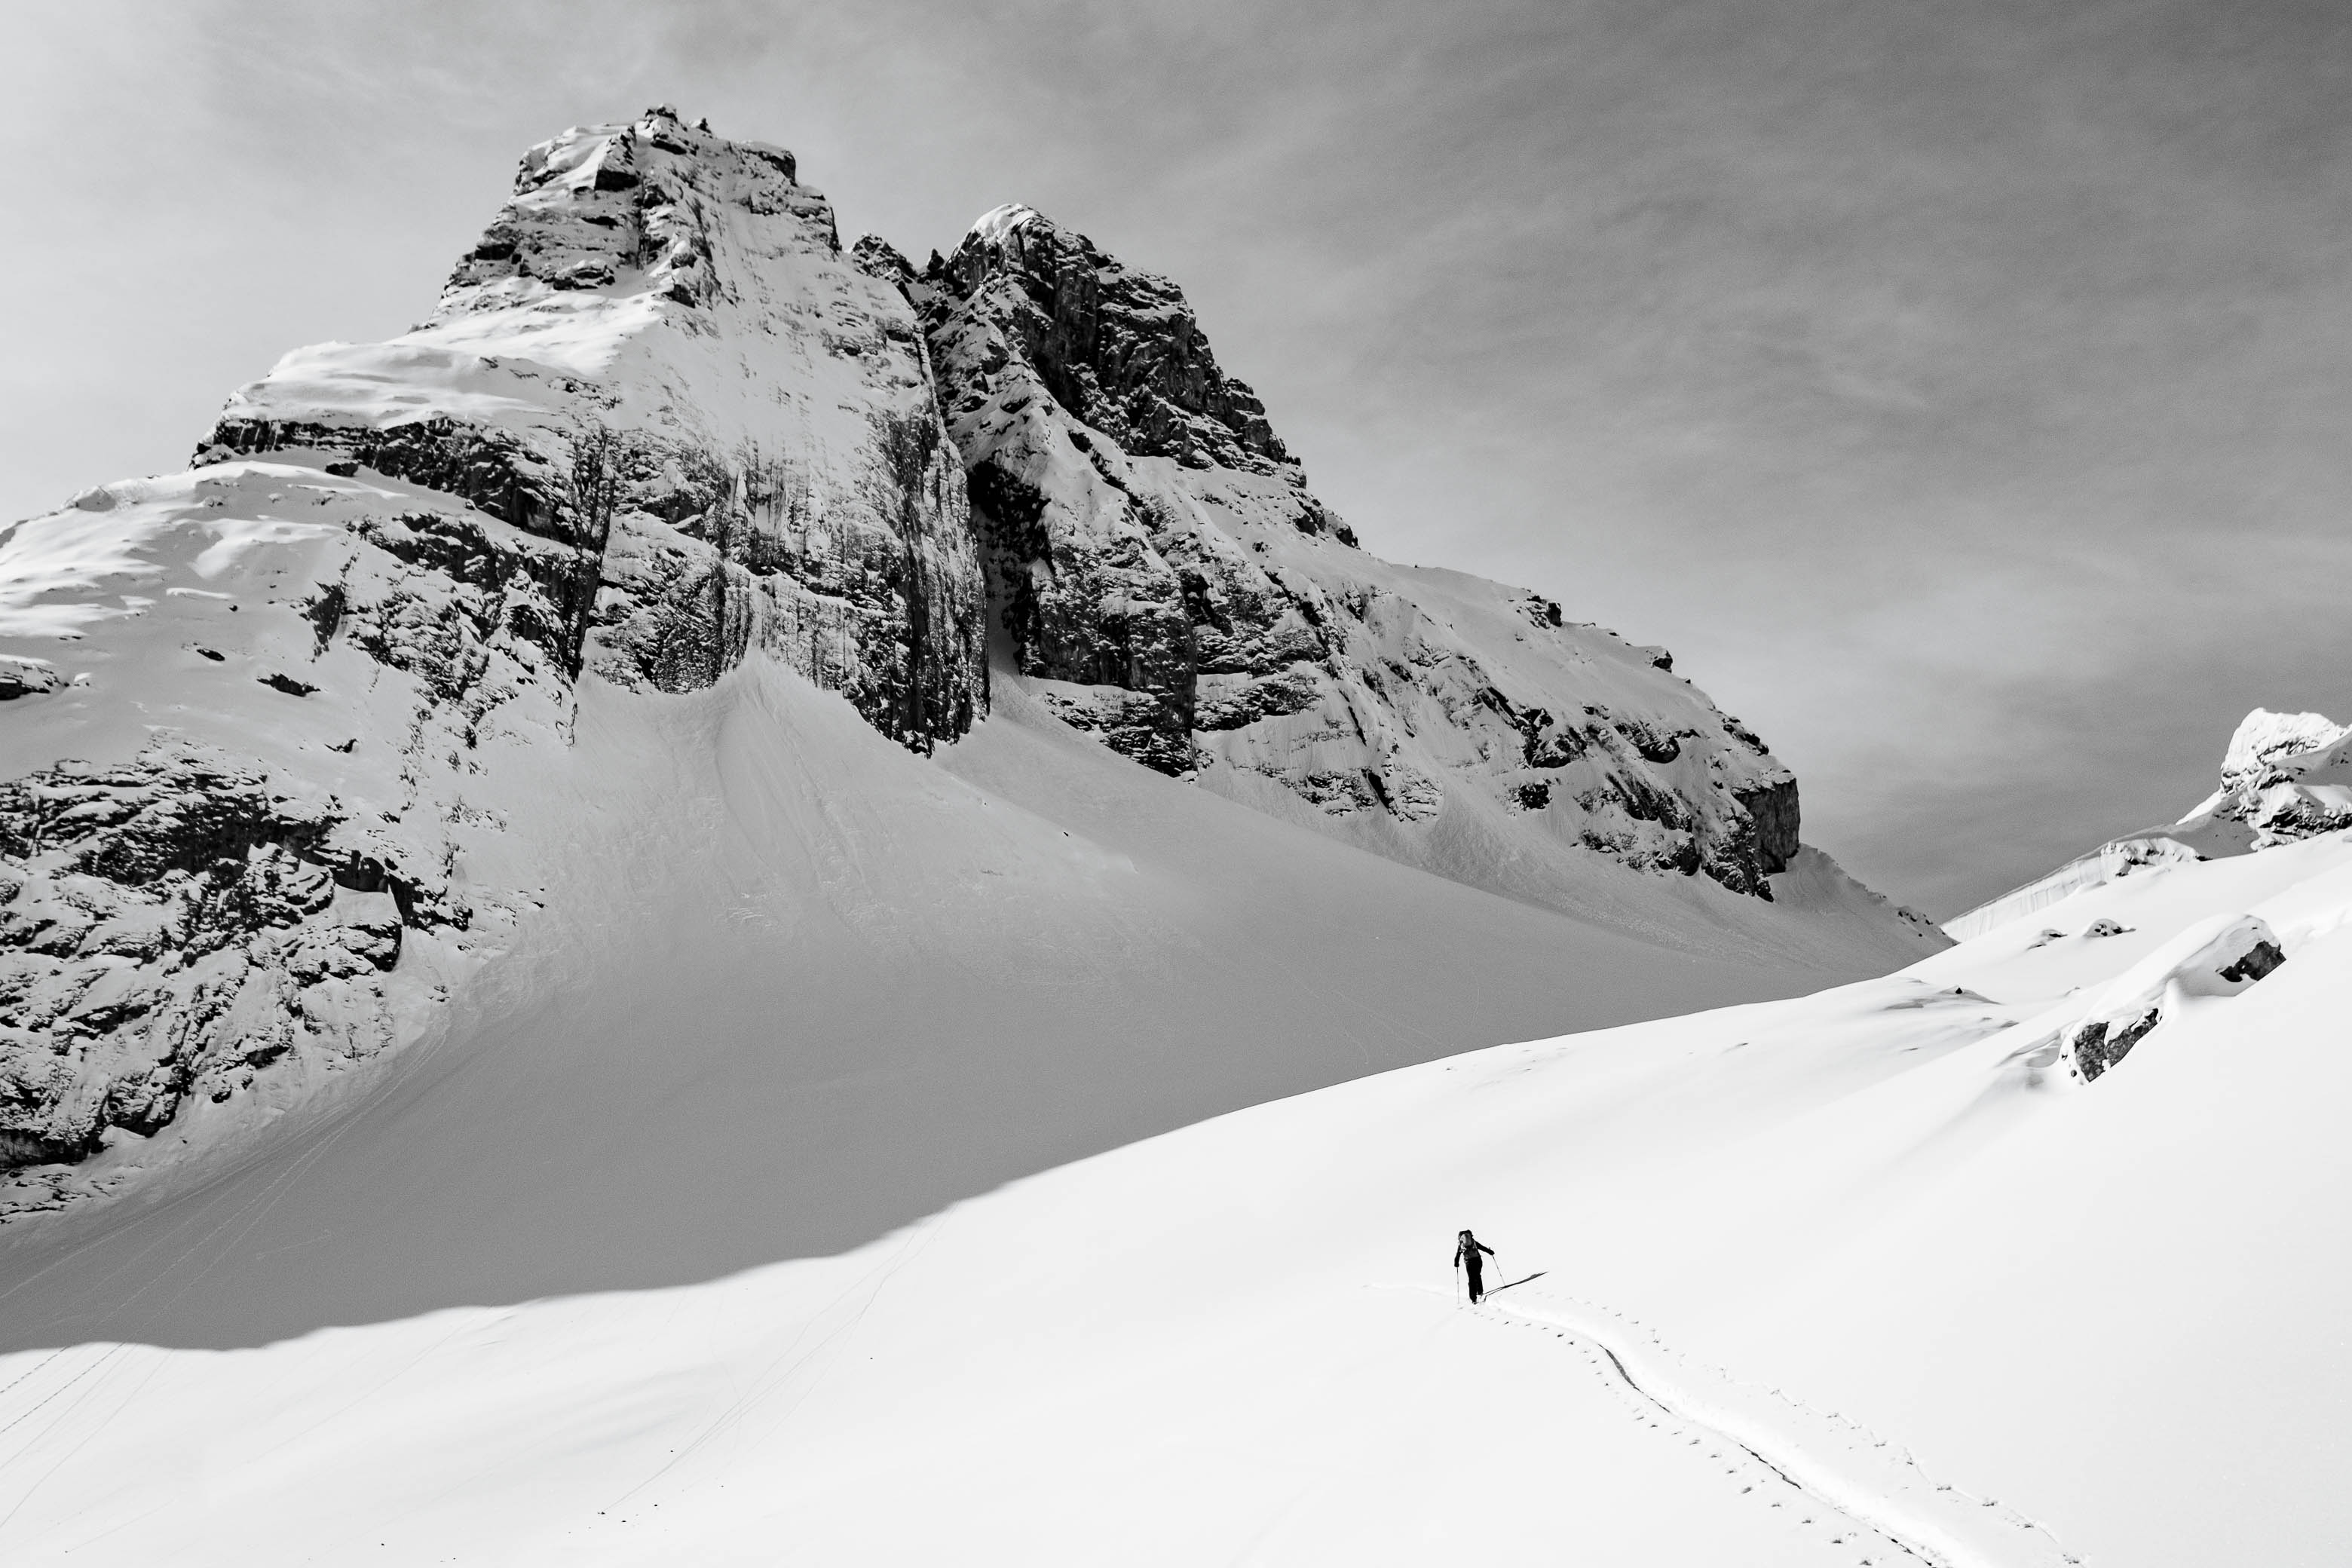
We may have dodged one bullet, but we still had some serious avalanche terrain directly ahead of us! A big, open slope (with all the right characteristics to create an avalanche!) has to be traversed to reach the Commonwealth/Pig's Back col, and with overhead hazard from Pig's Back's steep, snow-loaded east face, this terrain is not to be underestimated. The entire slope was already baking in sunlight from a rapidly rising sun, and signs of recent wet loose avalanche activity made it clear that this is not somehwere you want to be later in the day!
The new snow seemed to be bonding well with the existing layers, and since the sun hadn't had too much time to affect the snowpack just yet - and we weren't seeing any signs of instability - we carried on, carefully completing the traverse one at a time.
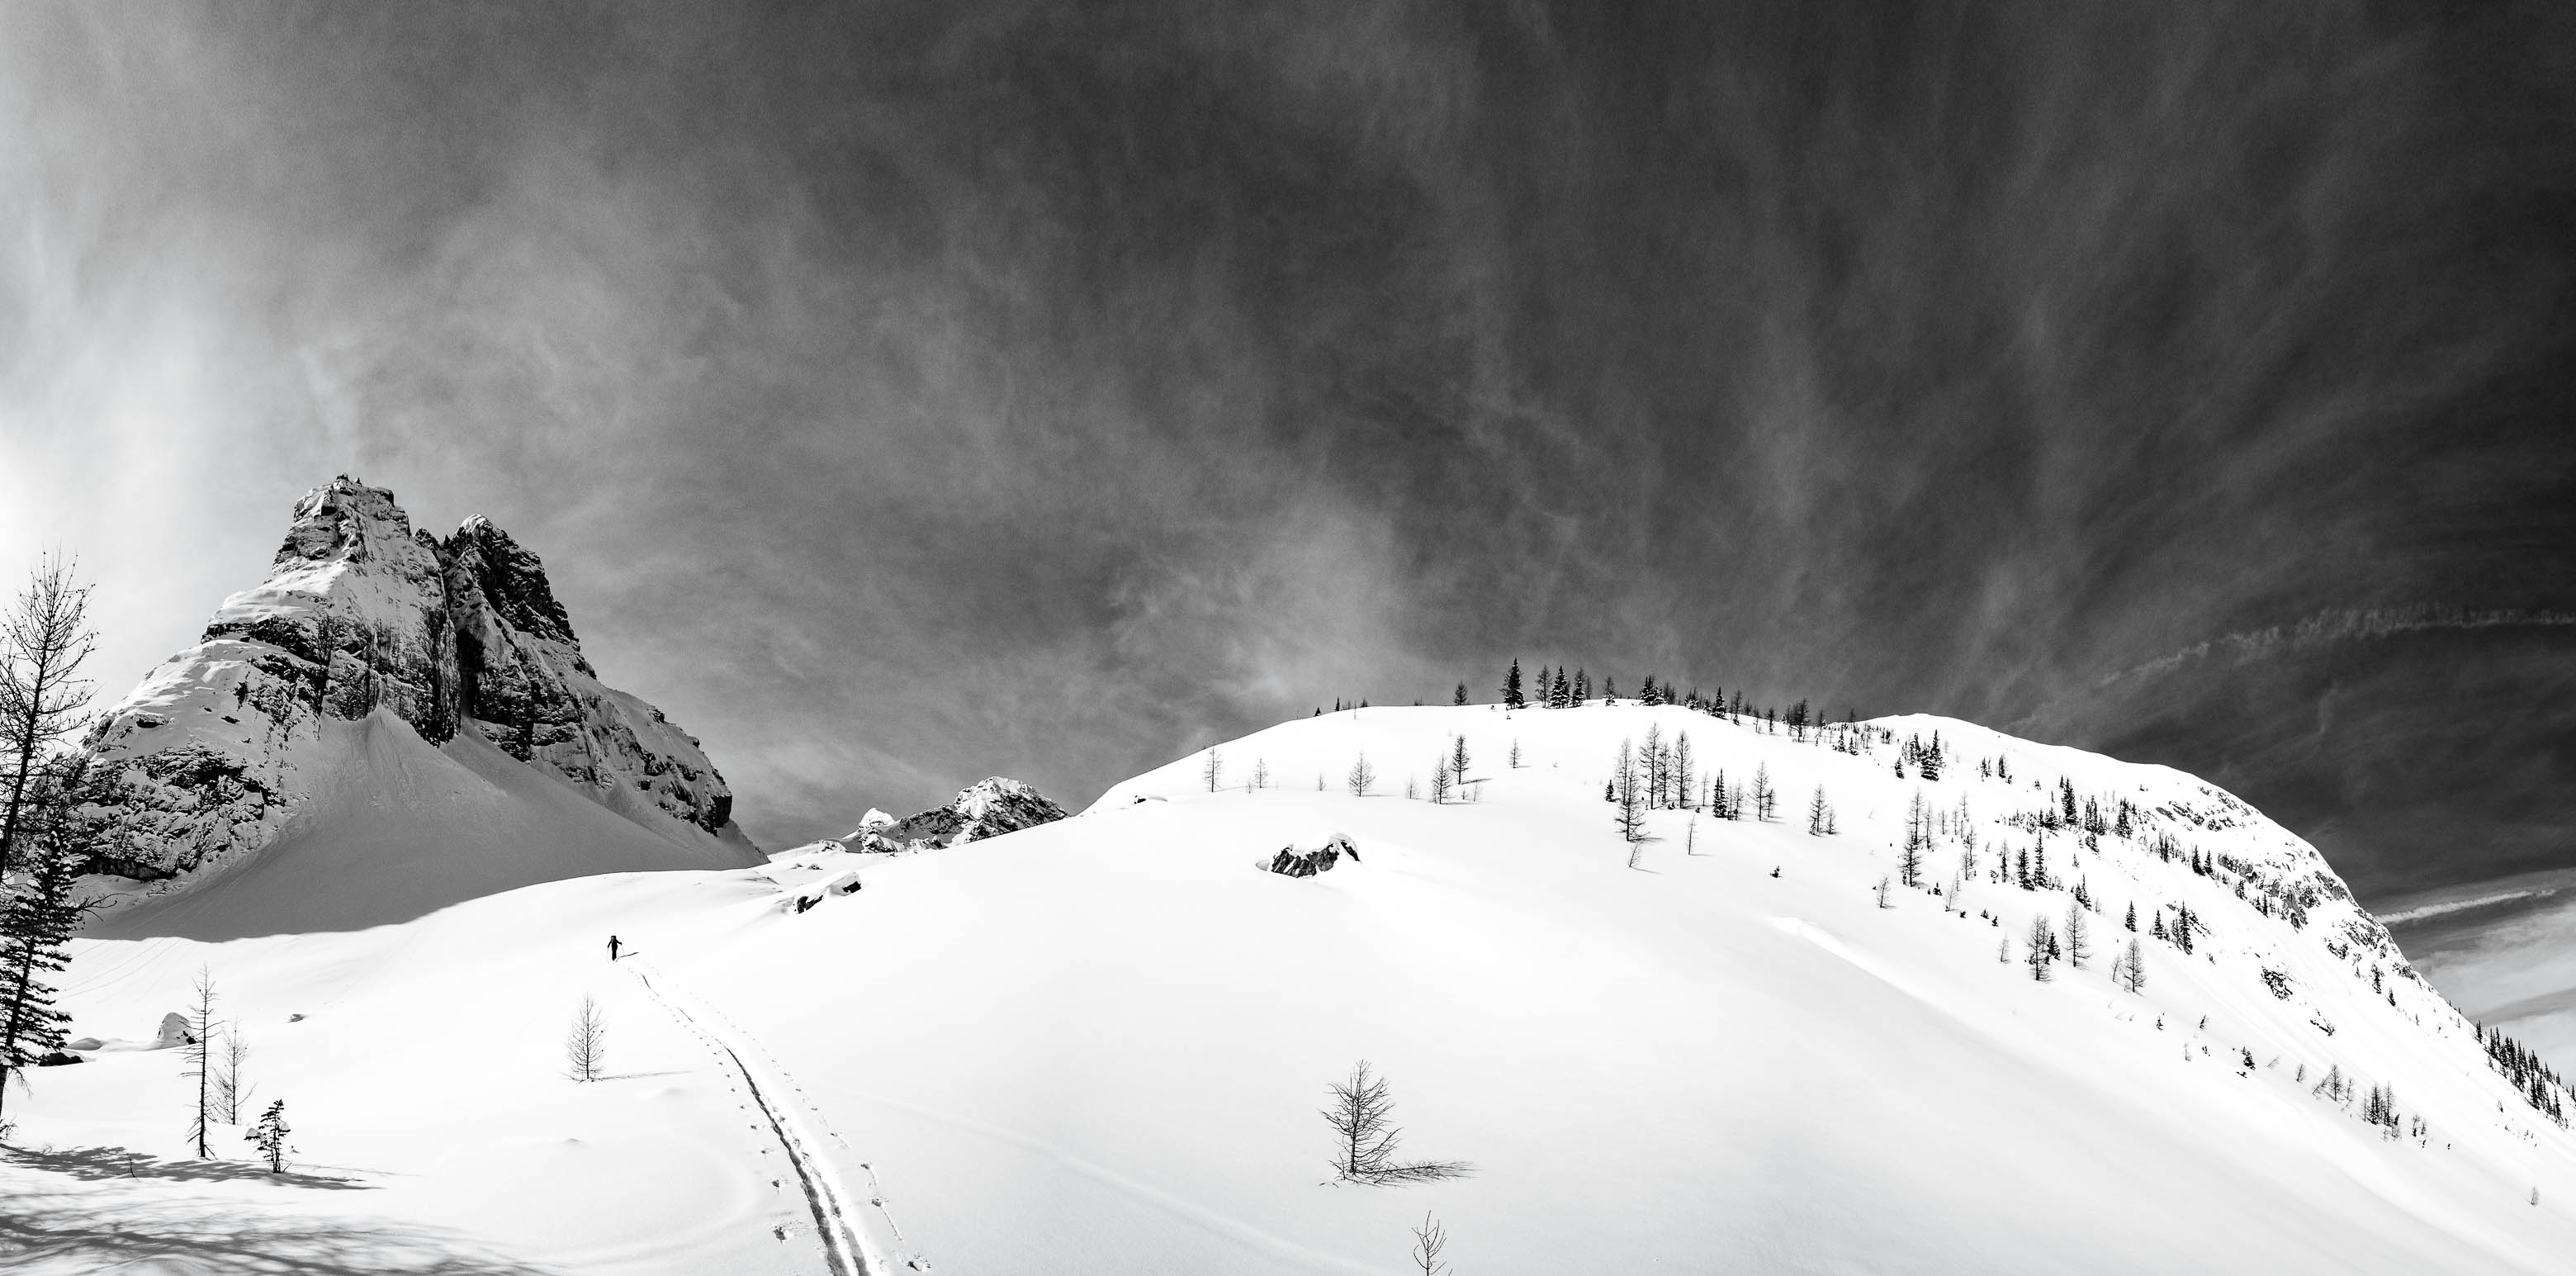
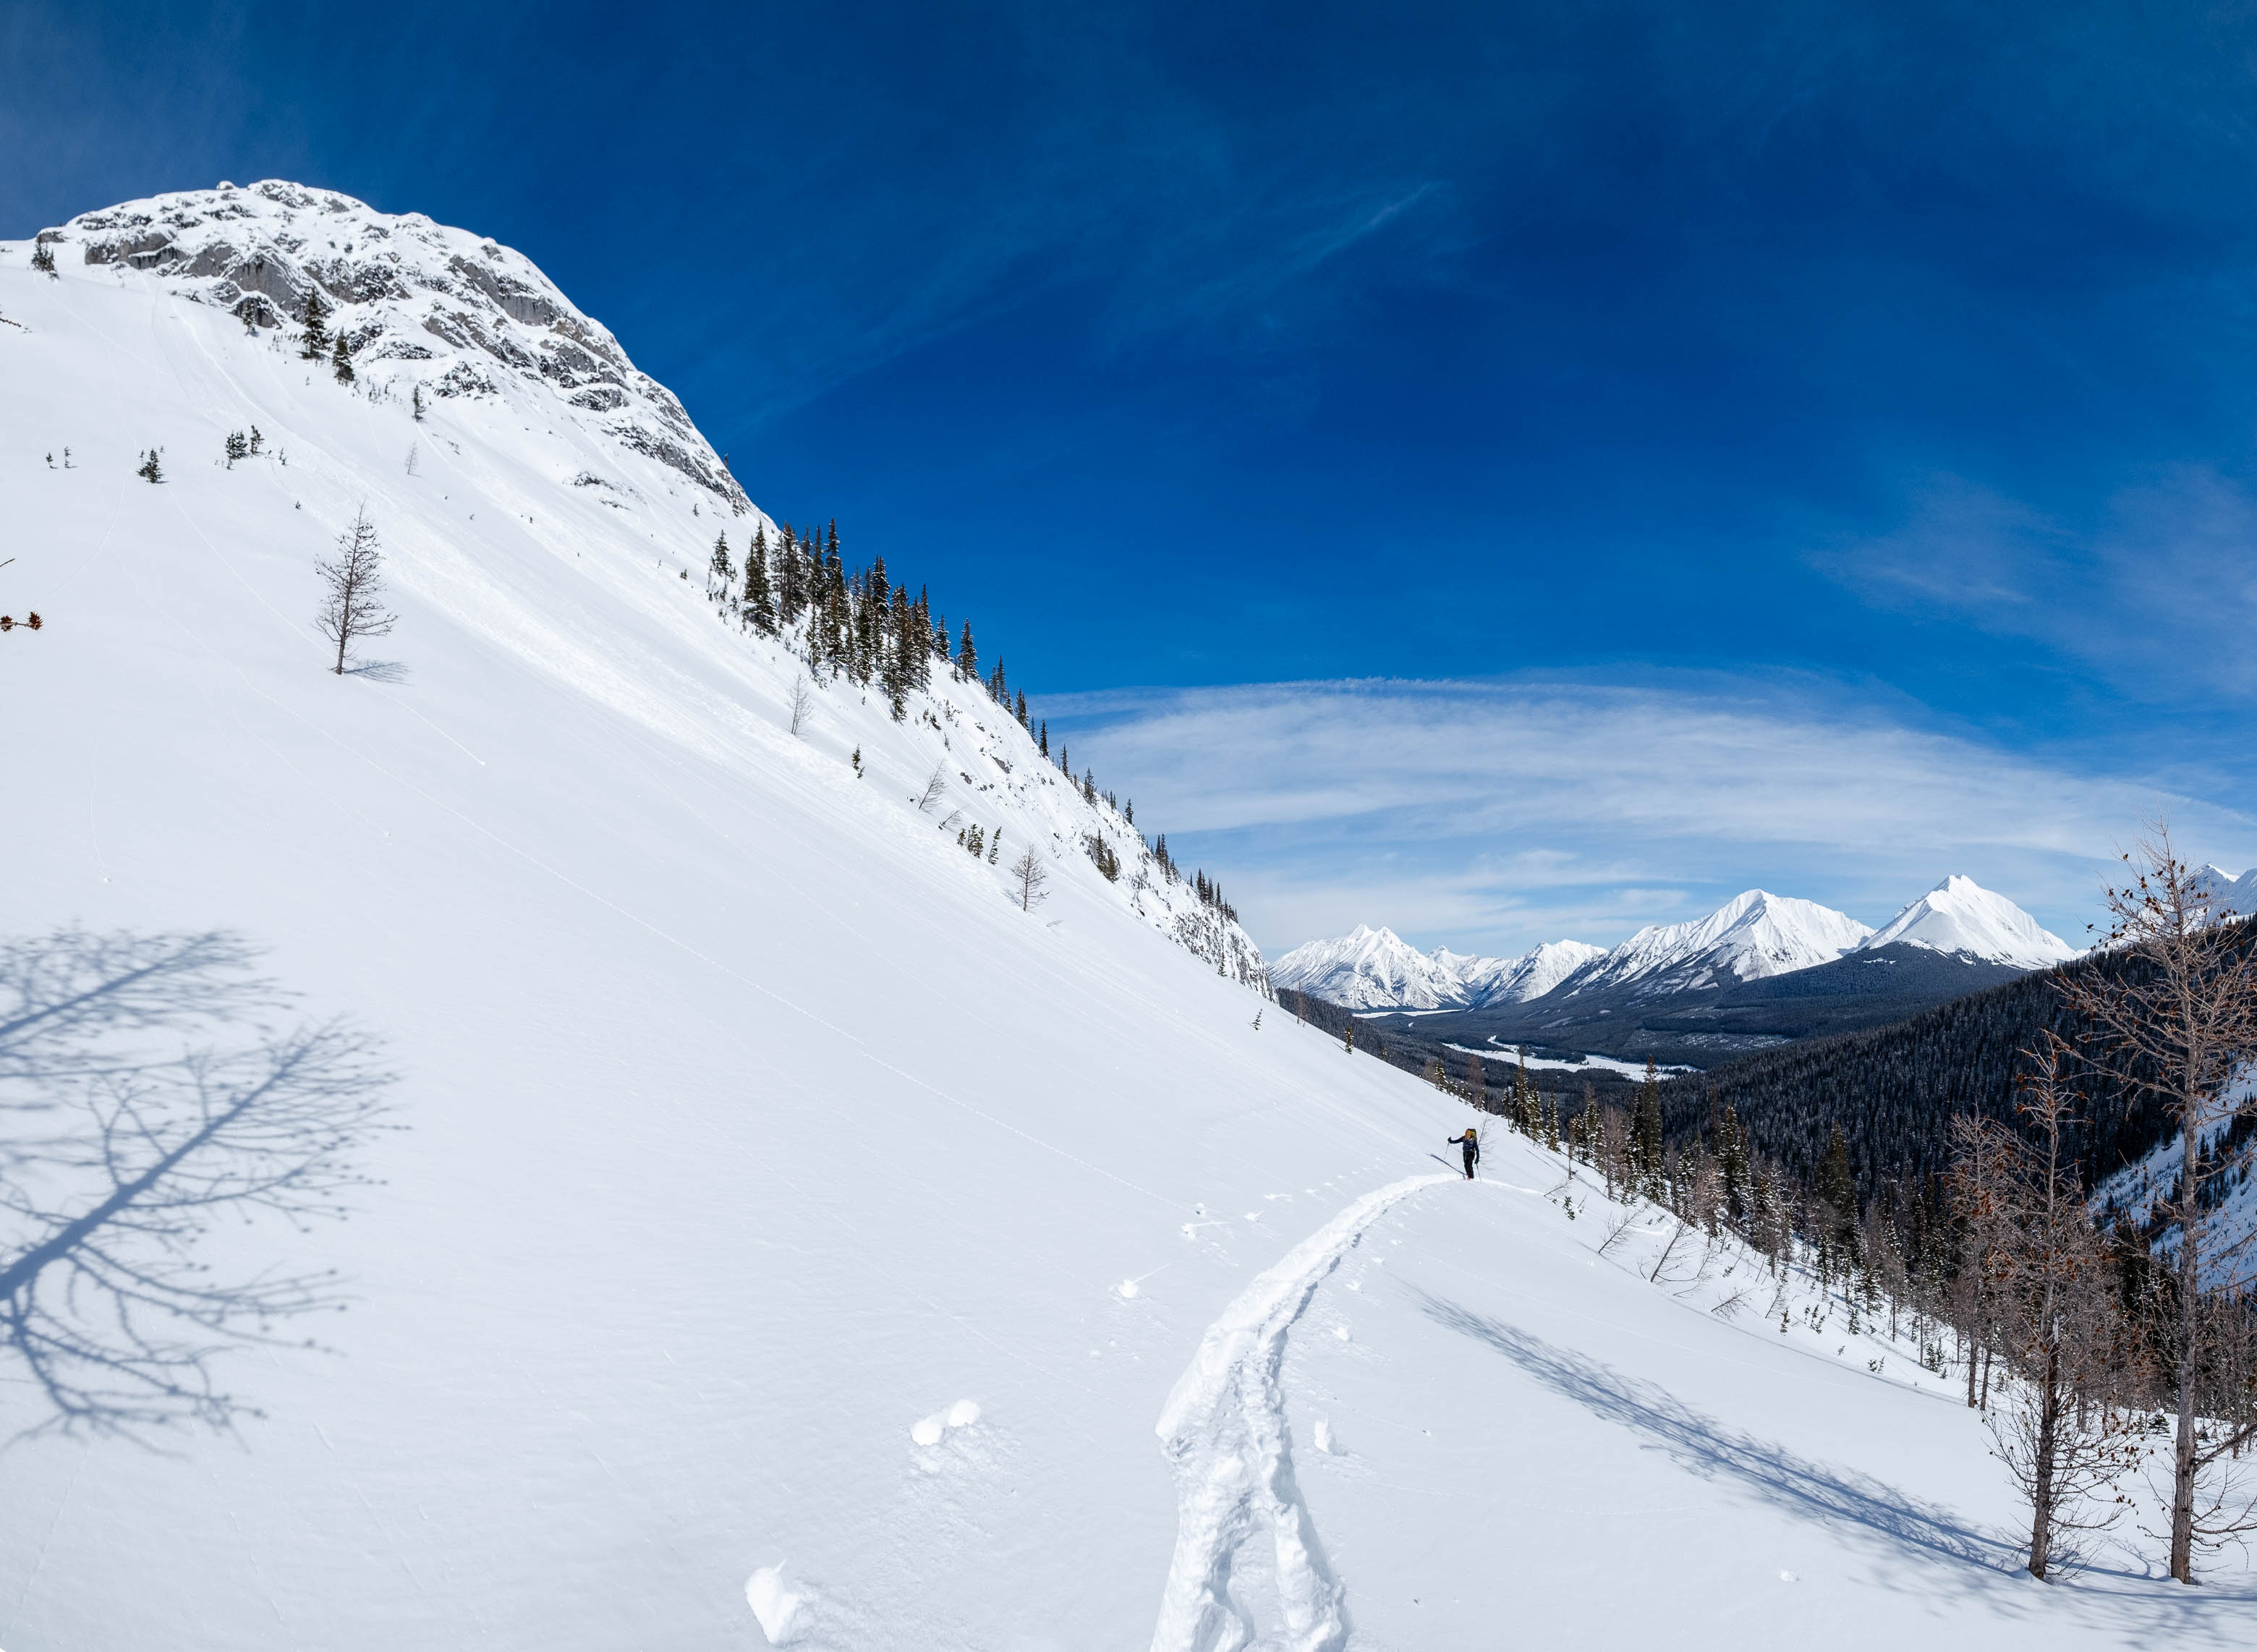
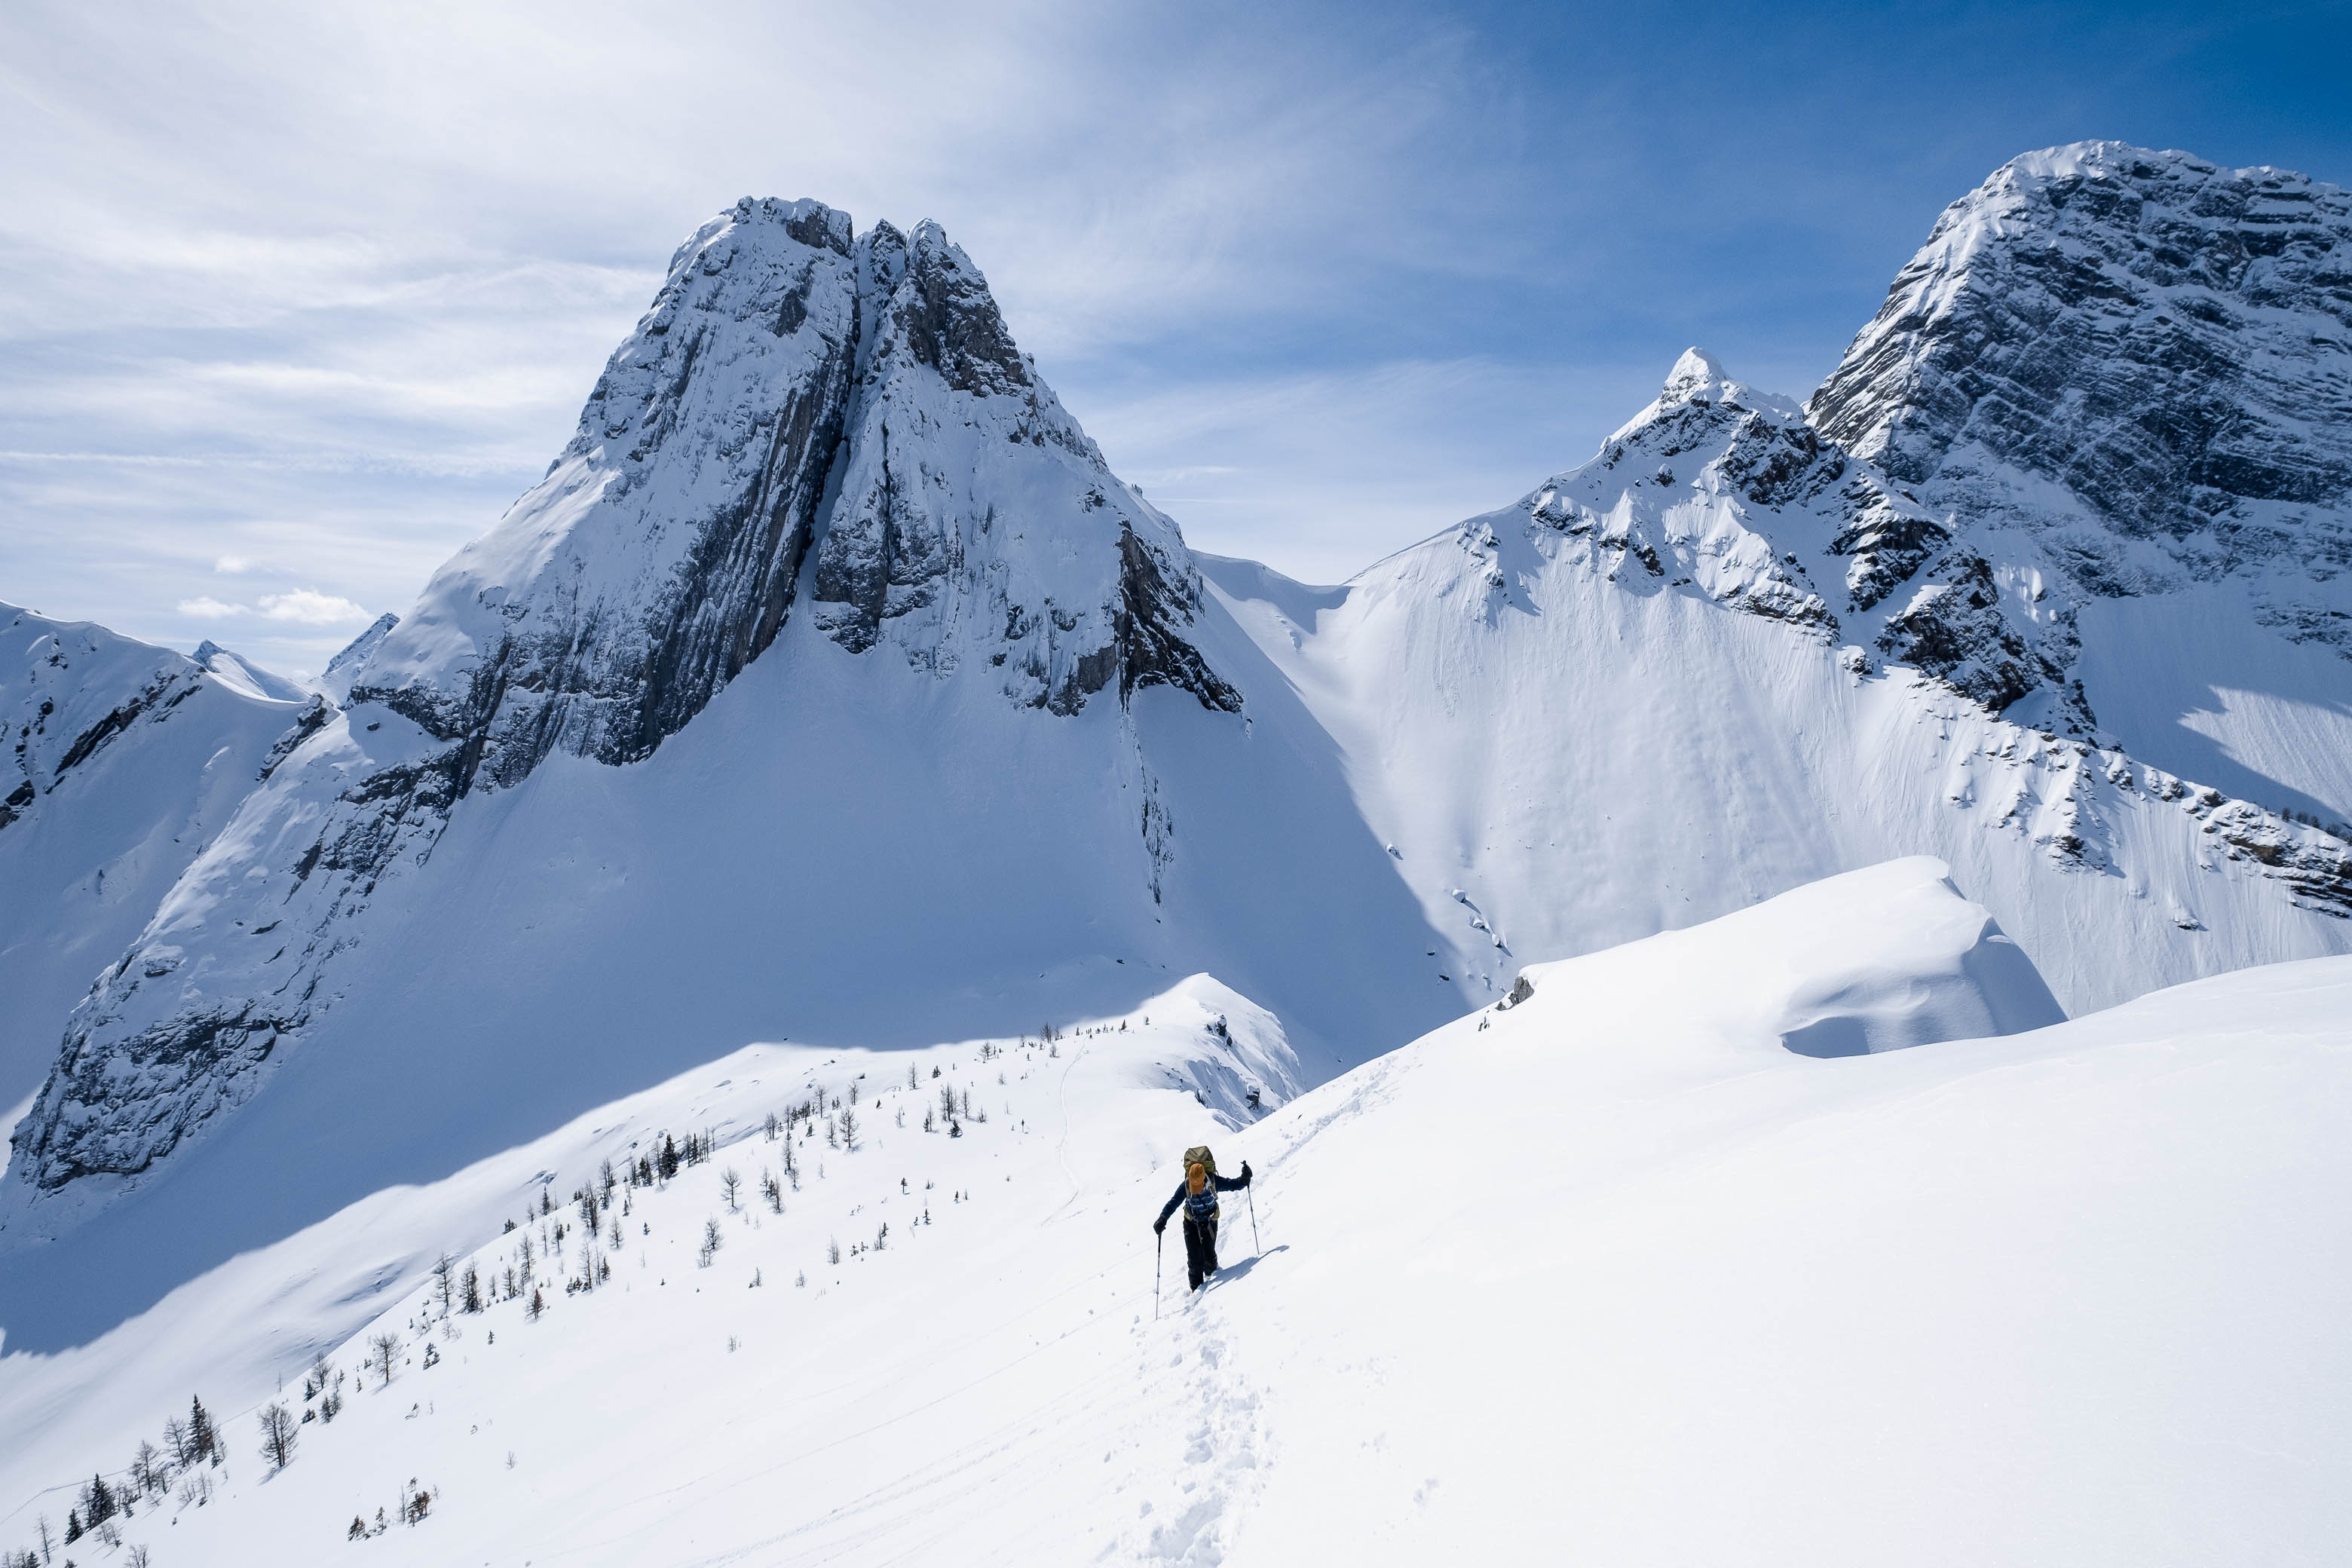
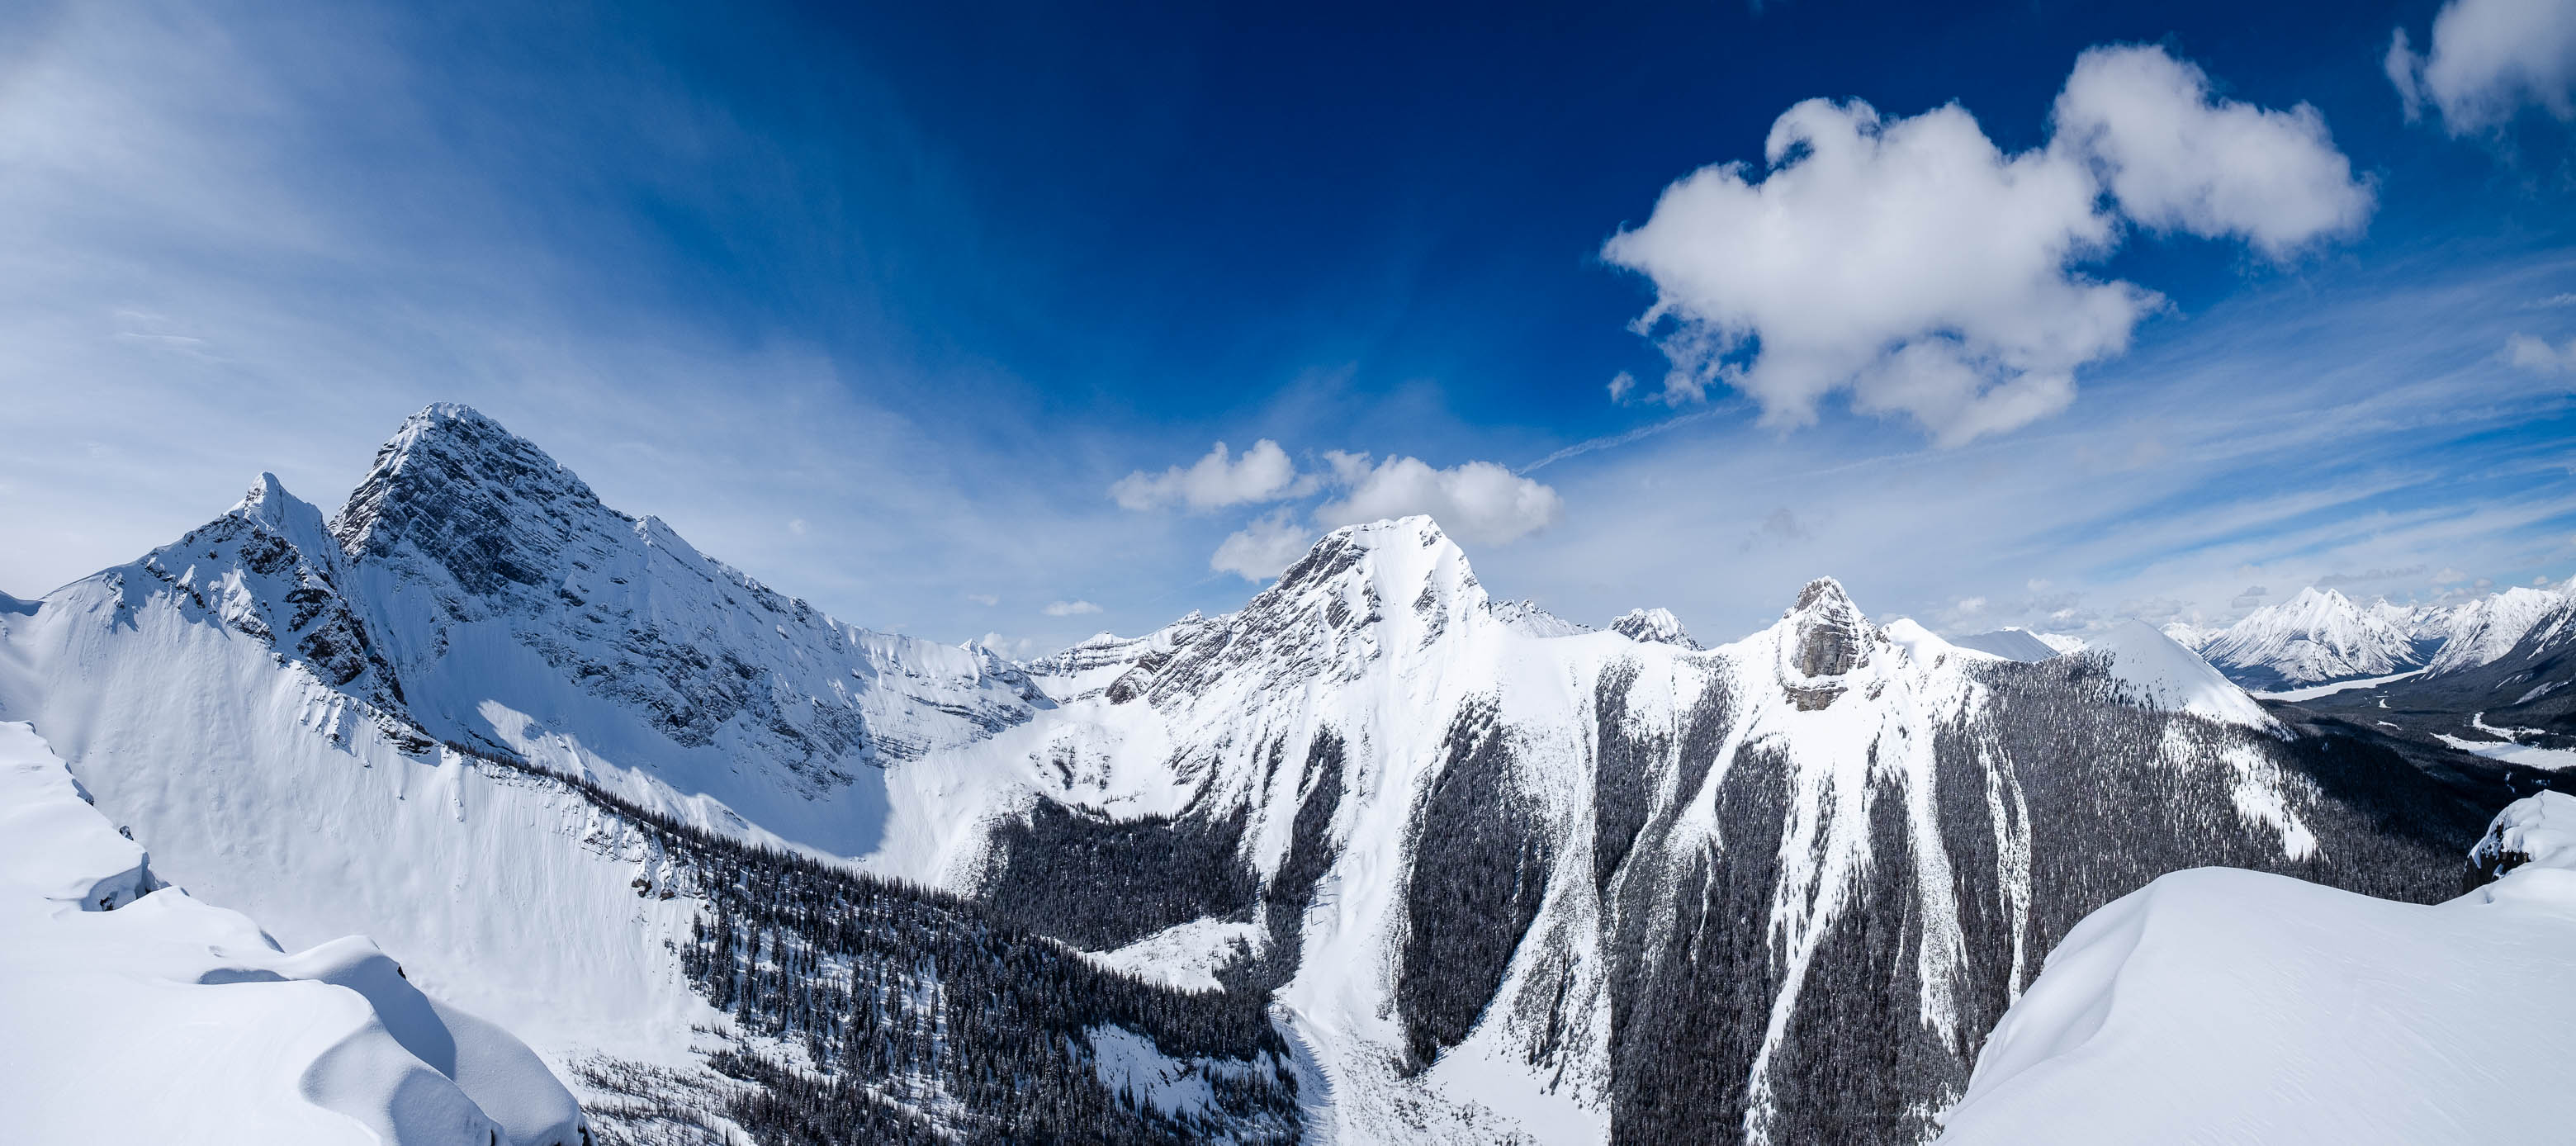
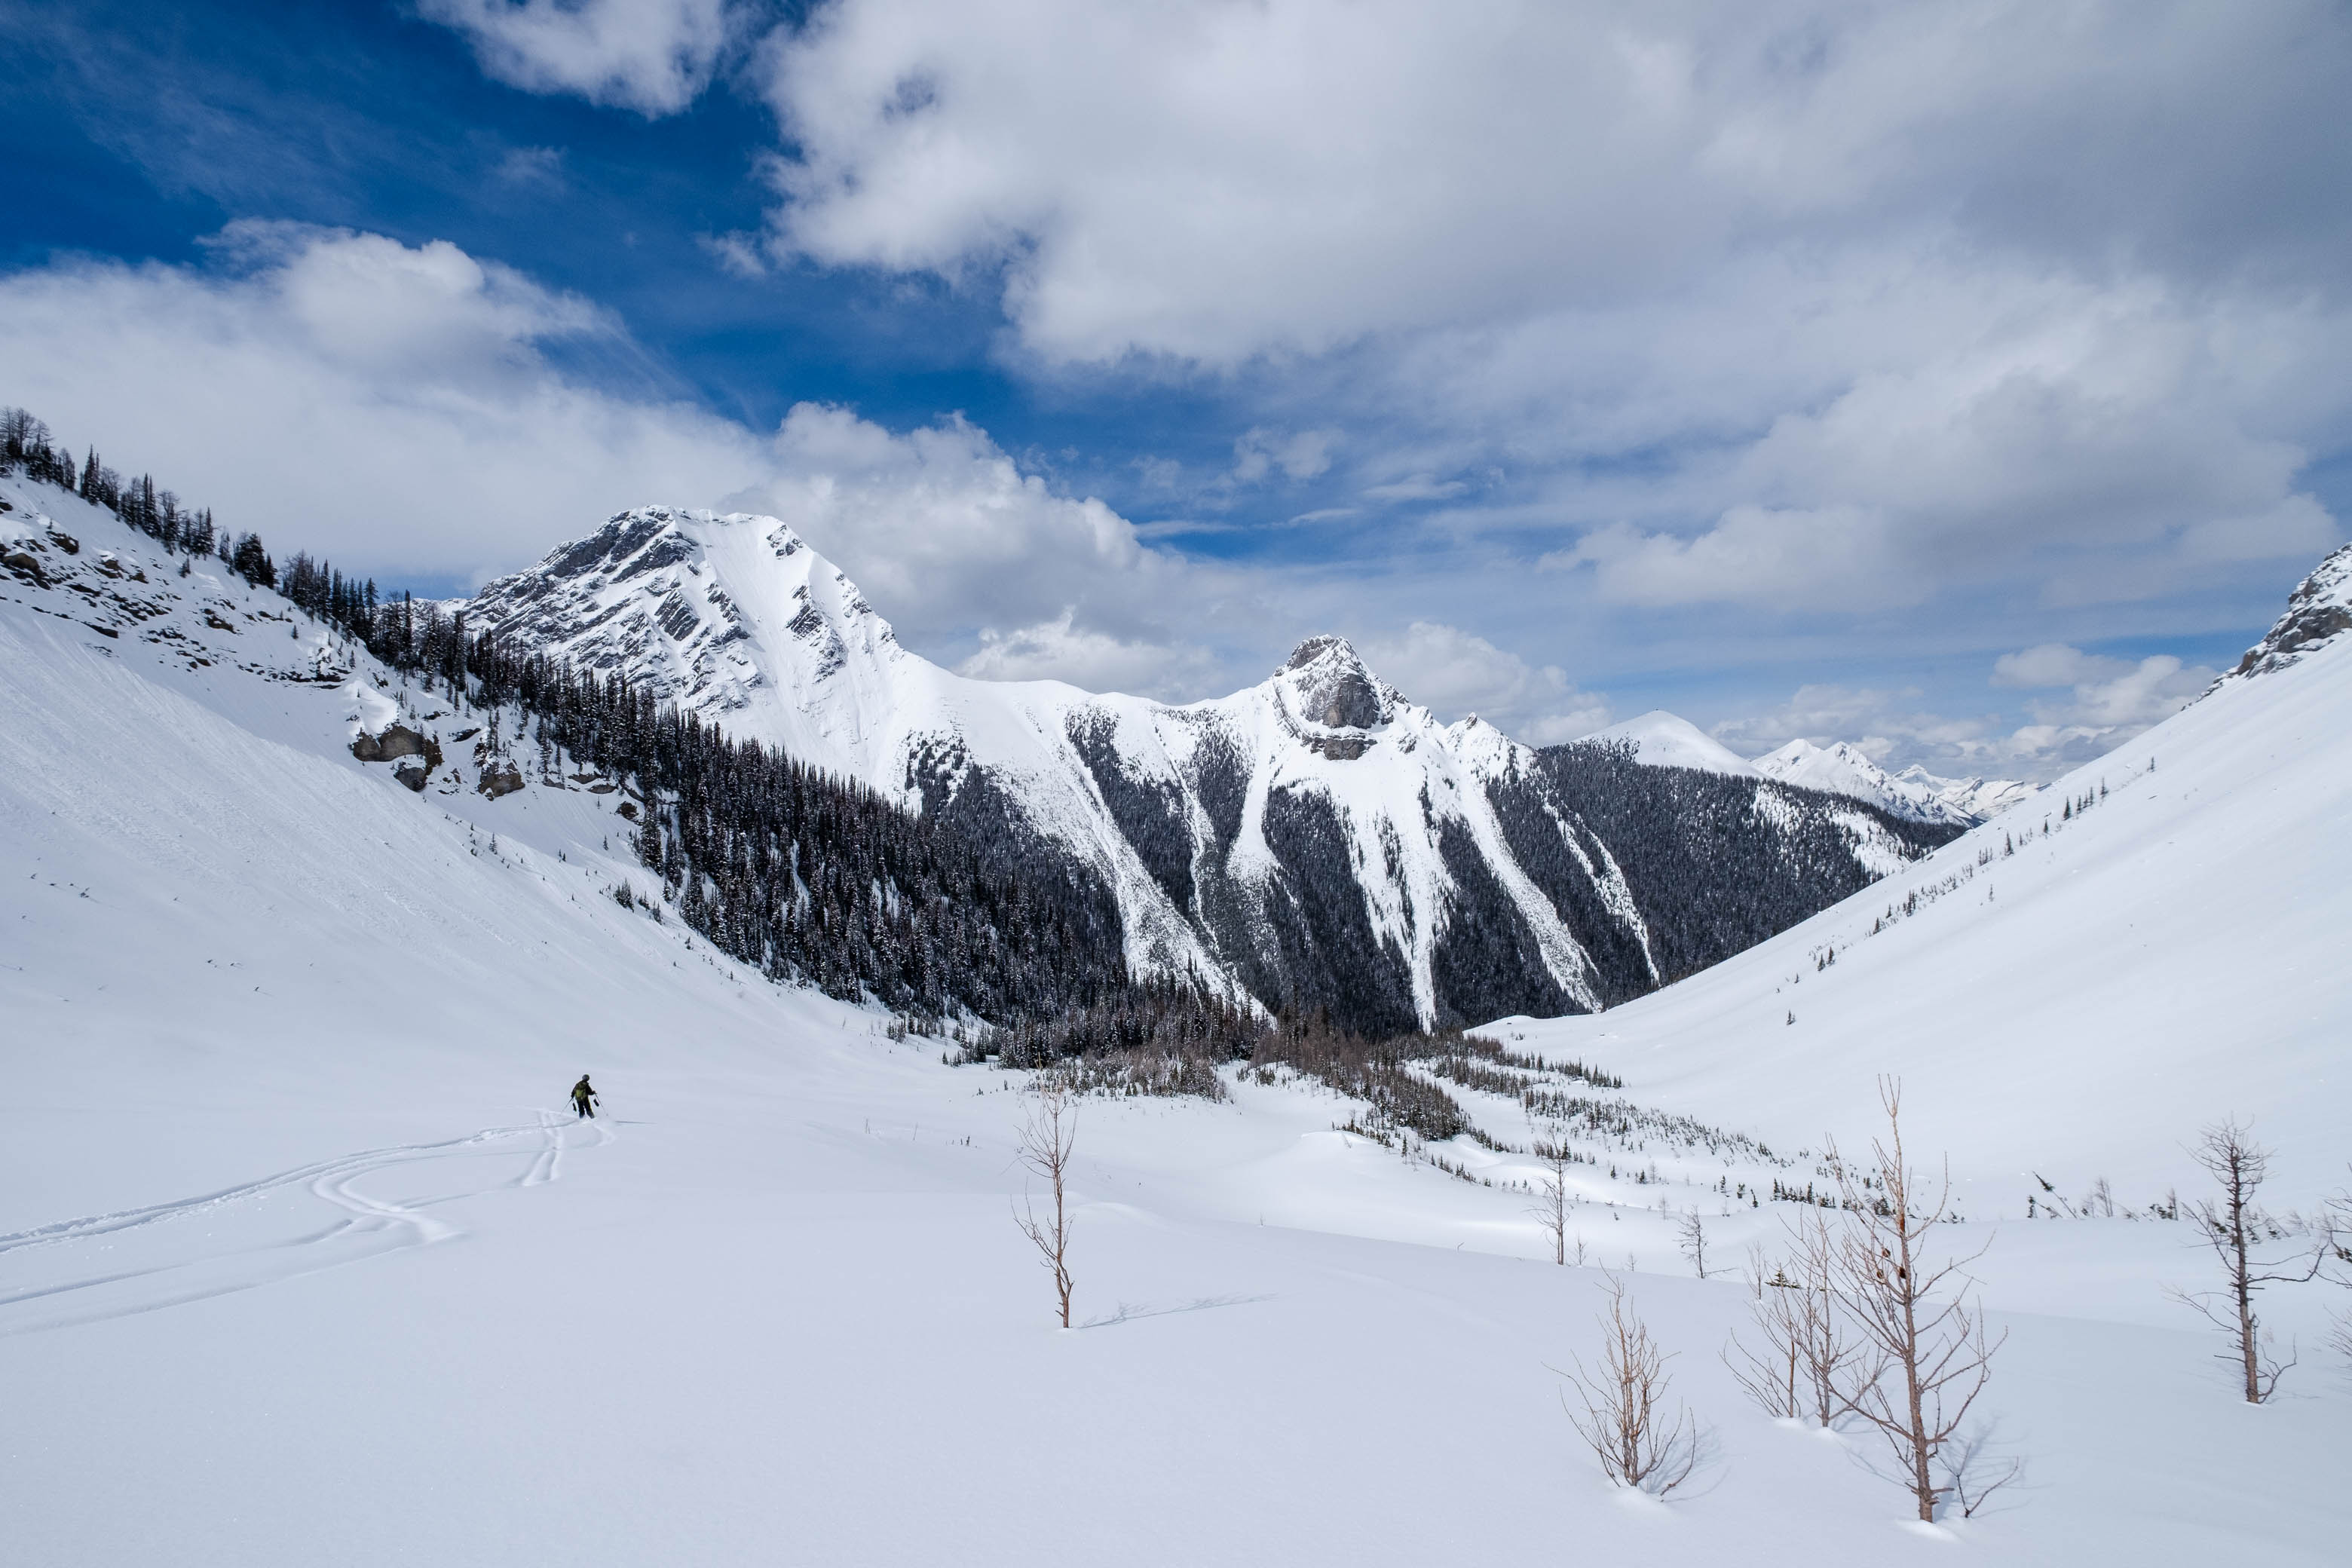
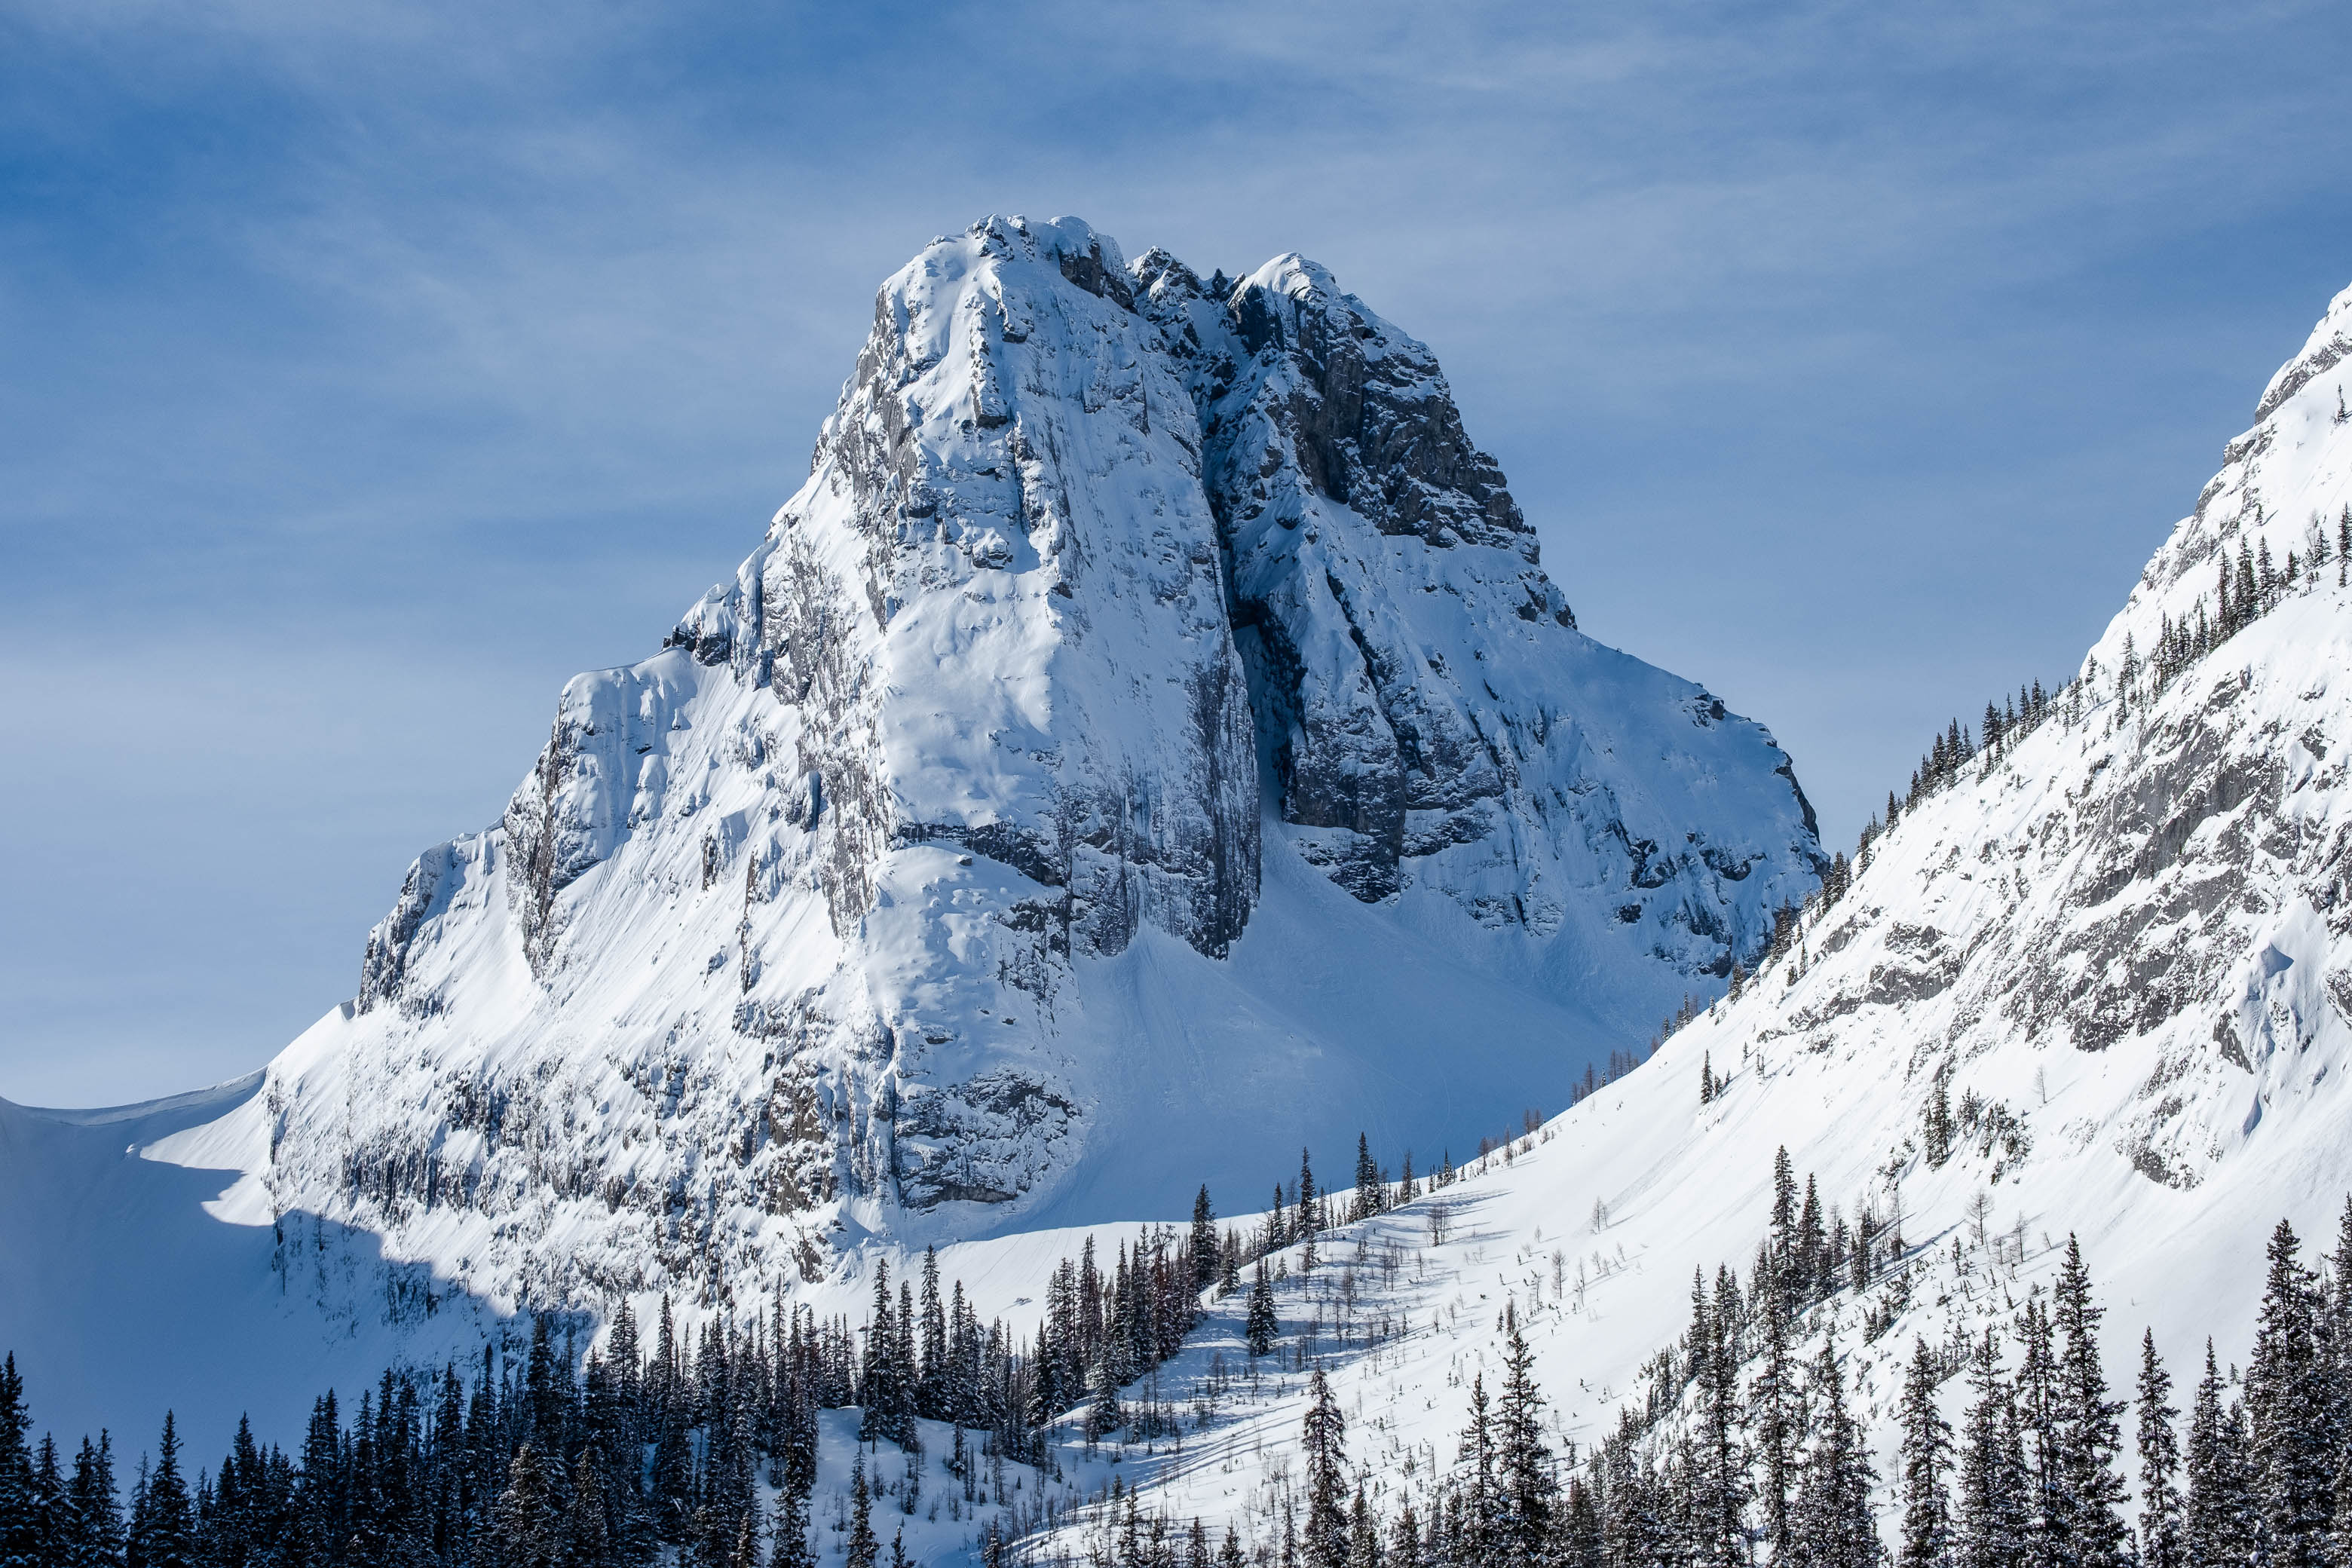
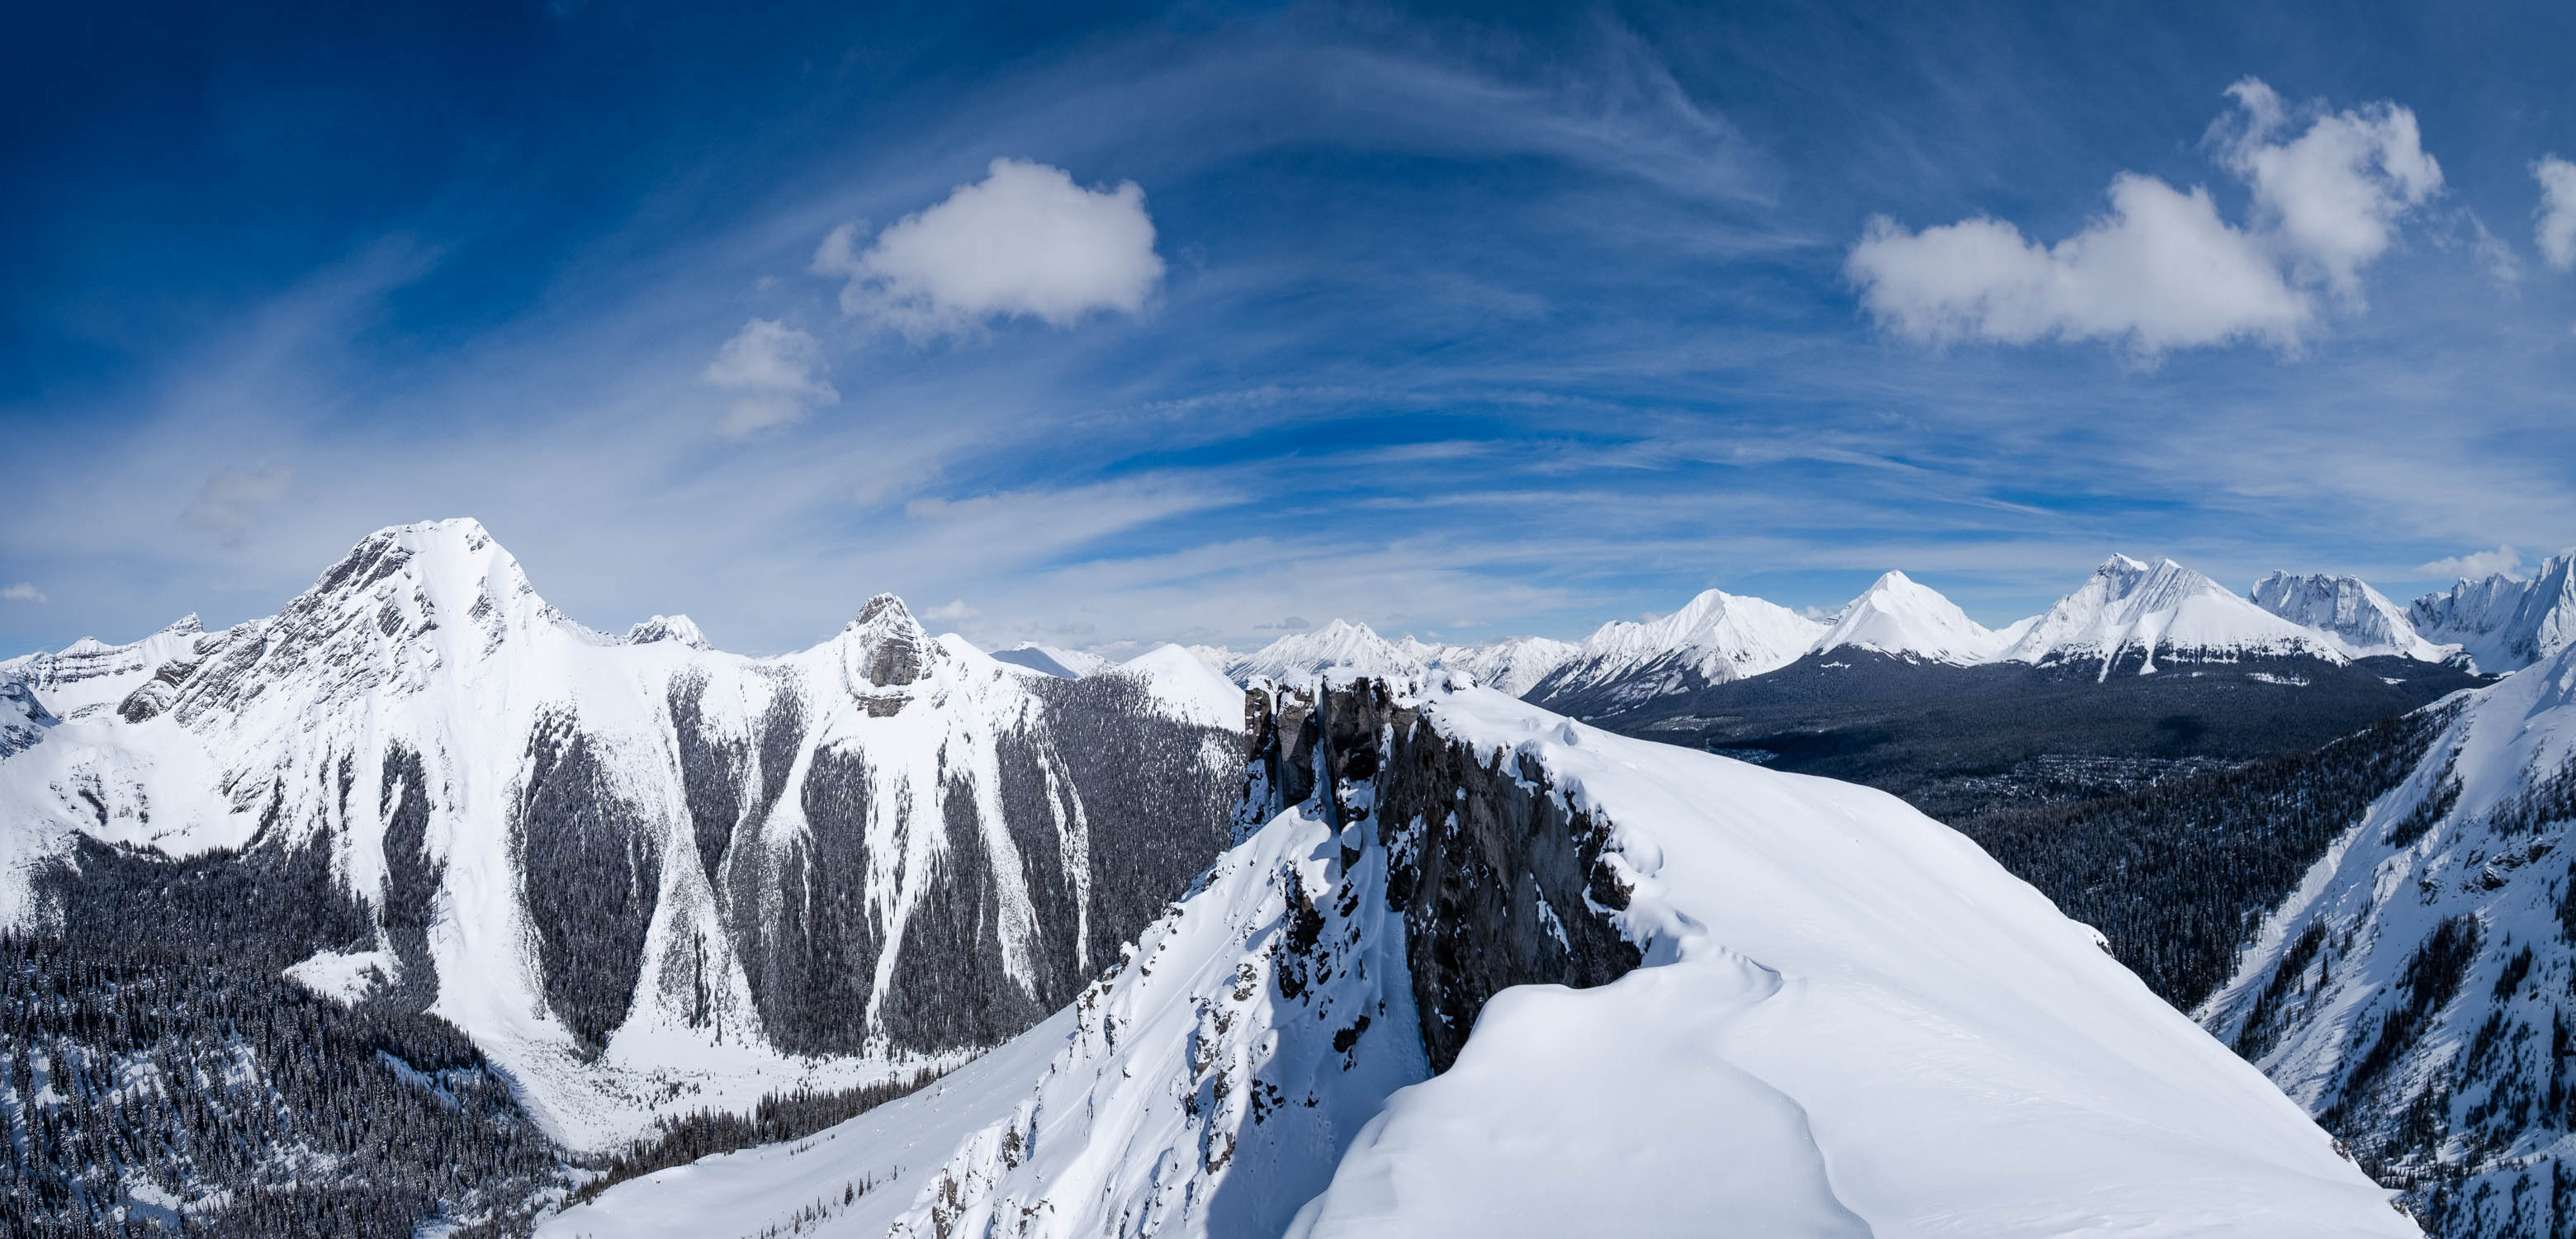
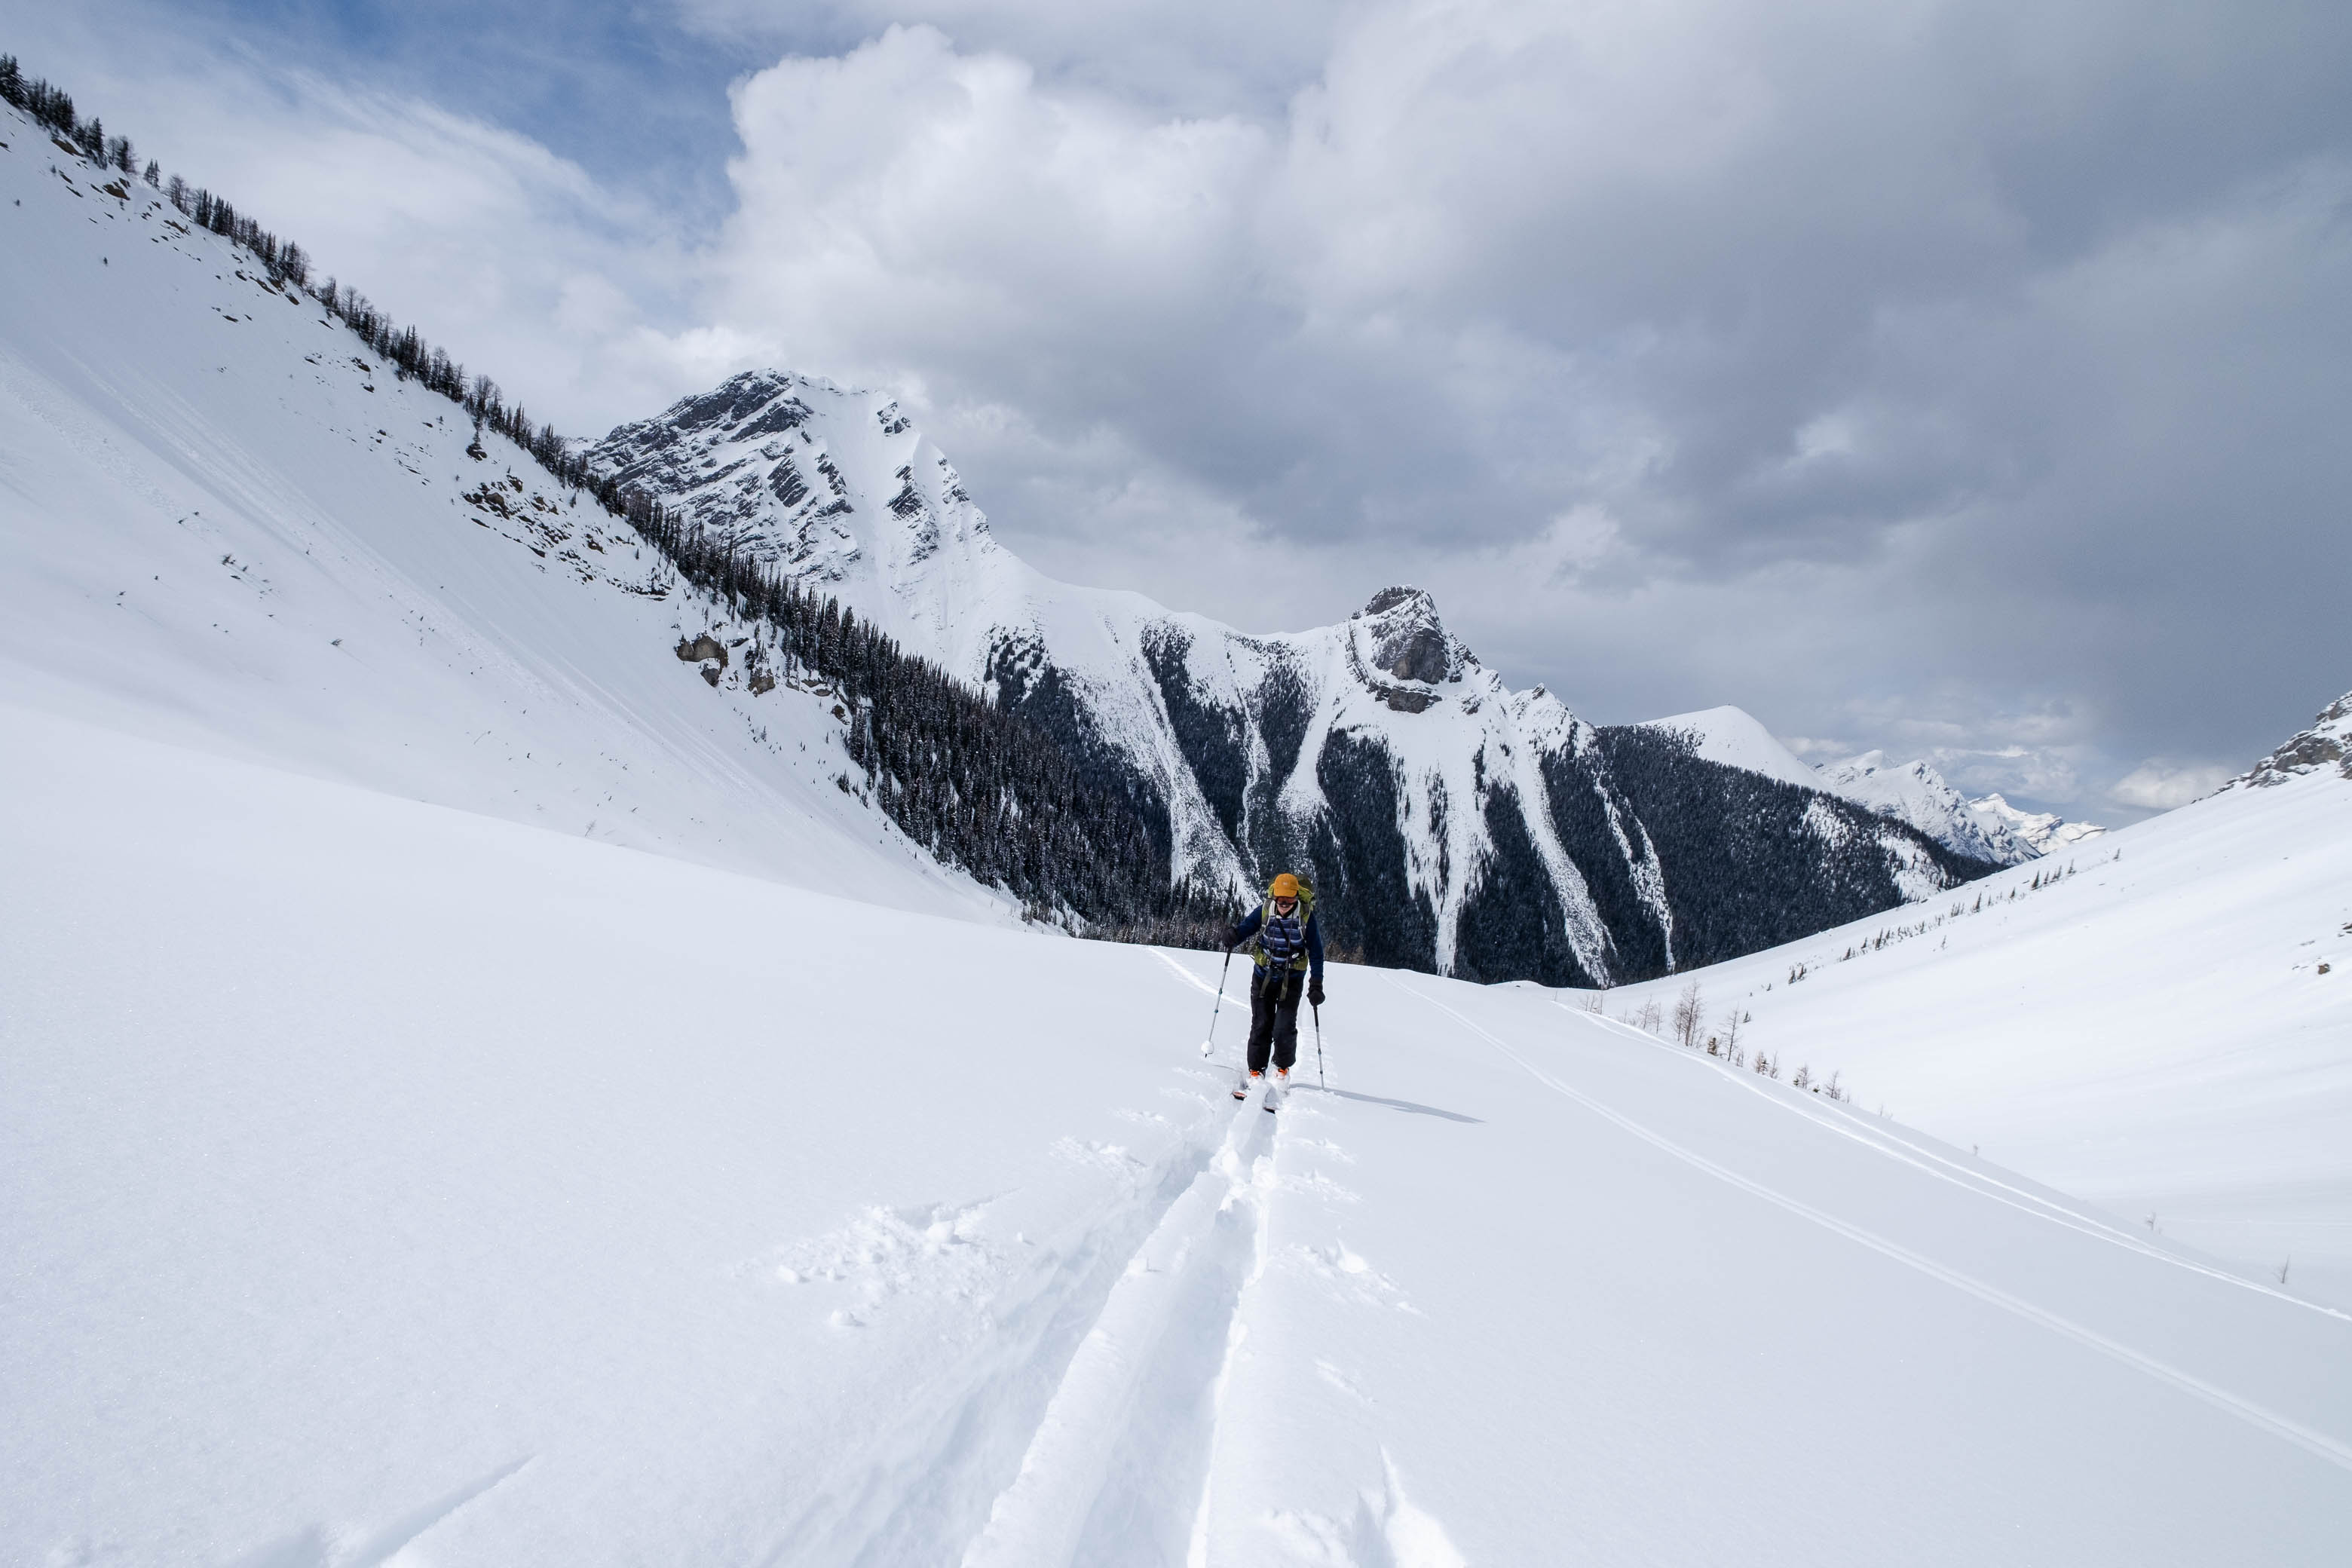
After safely completing this traverse, we joined with the broad, upper bench, which easily led up to the col. Saying that I was absolutely blown away by the views would be a major understatement! This trip will take you closer to Commonwealth's vertical north face than you've ever been before (unless you've literally climbed the face 😉), and the impressive form of Mount Birdwood also came into view, rising over Pig's Tail to the west!

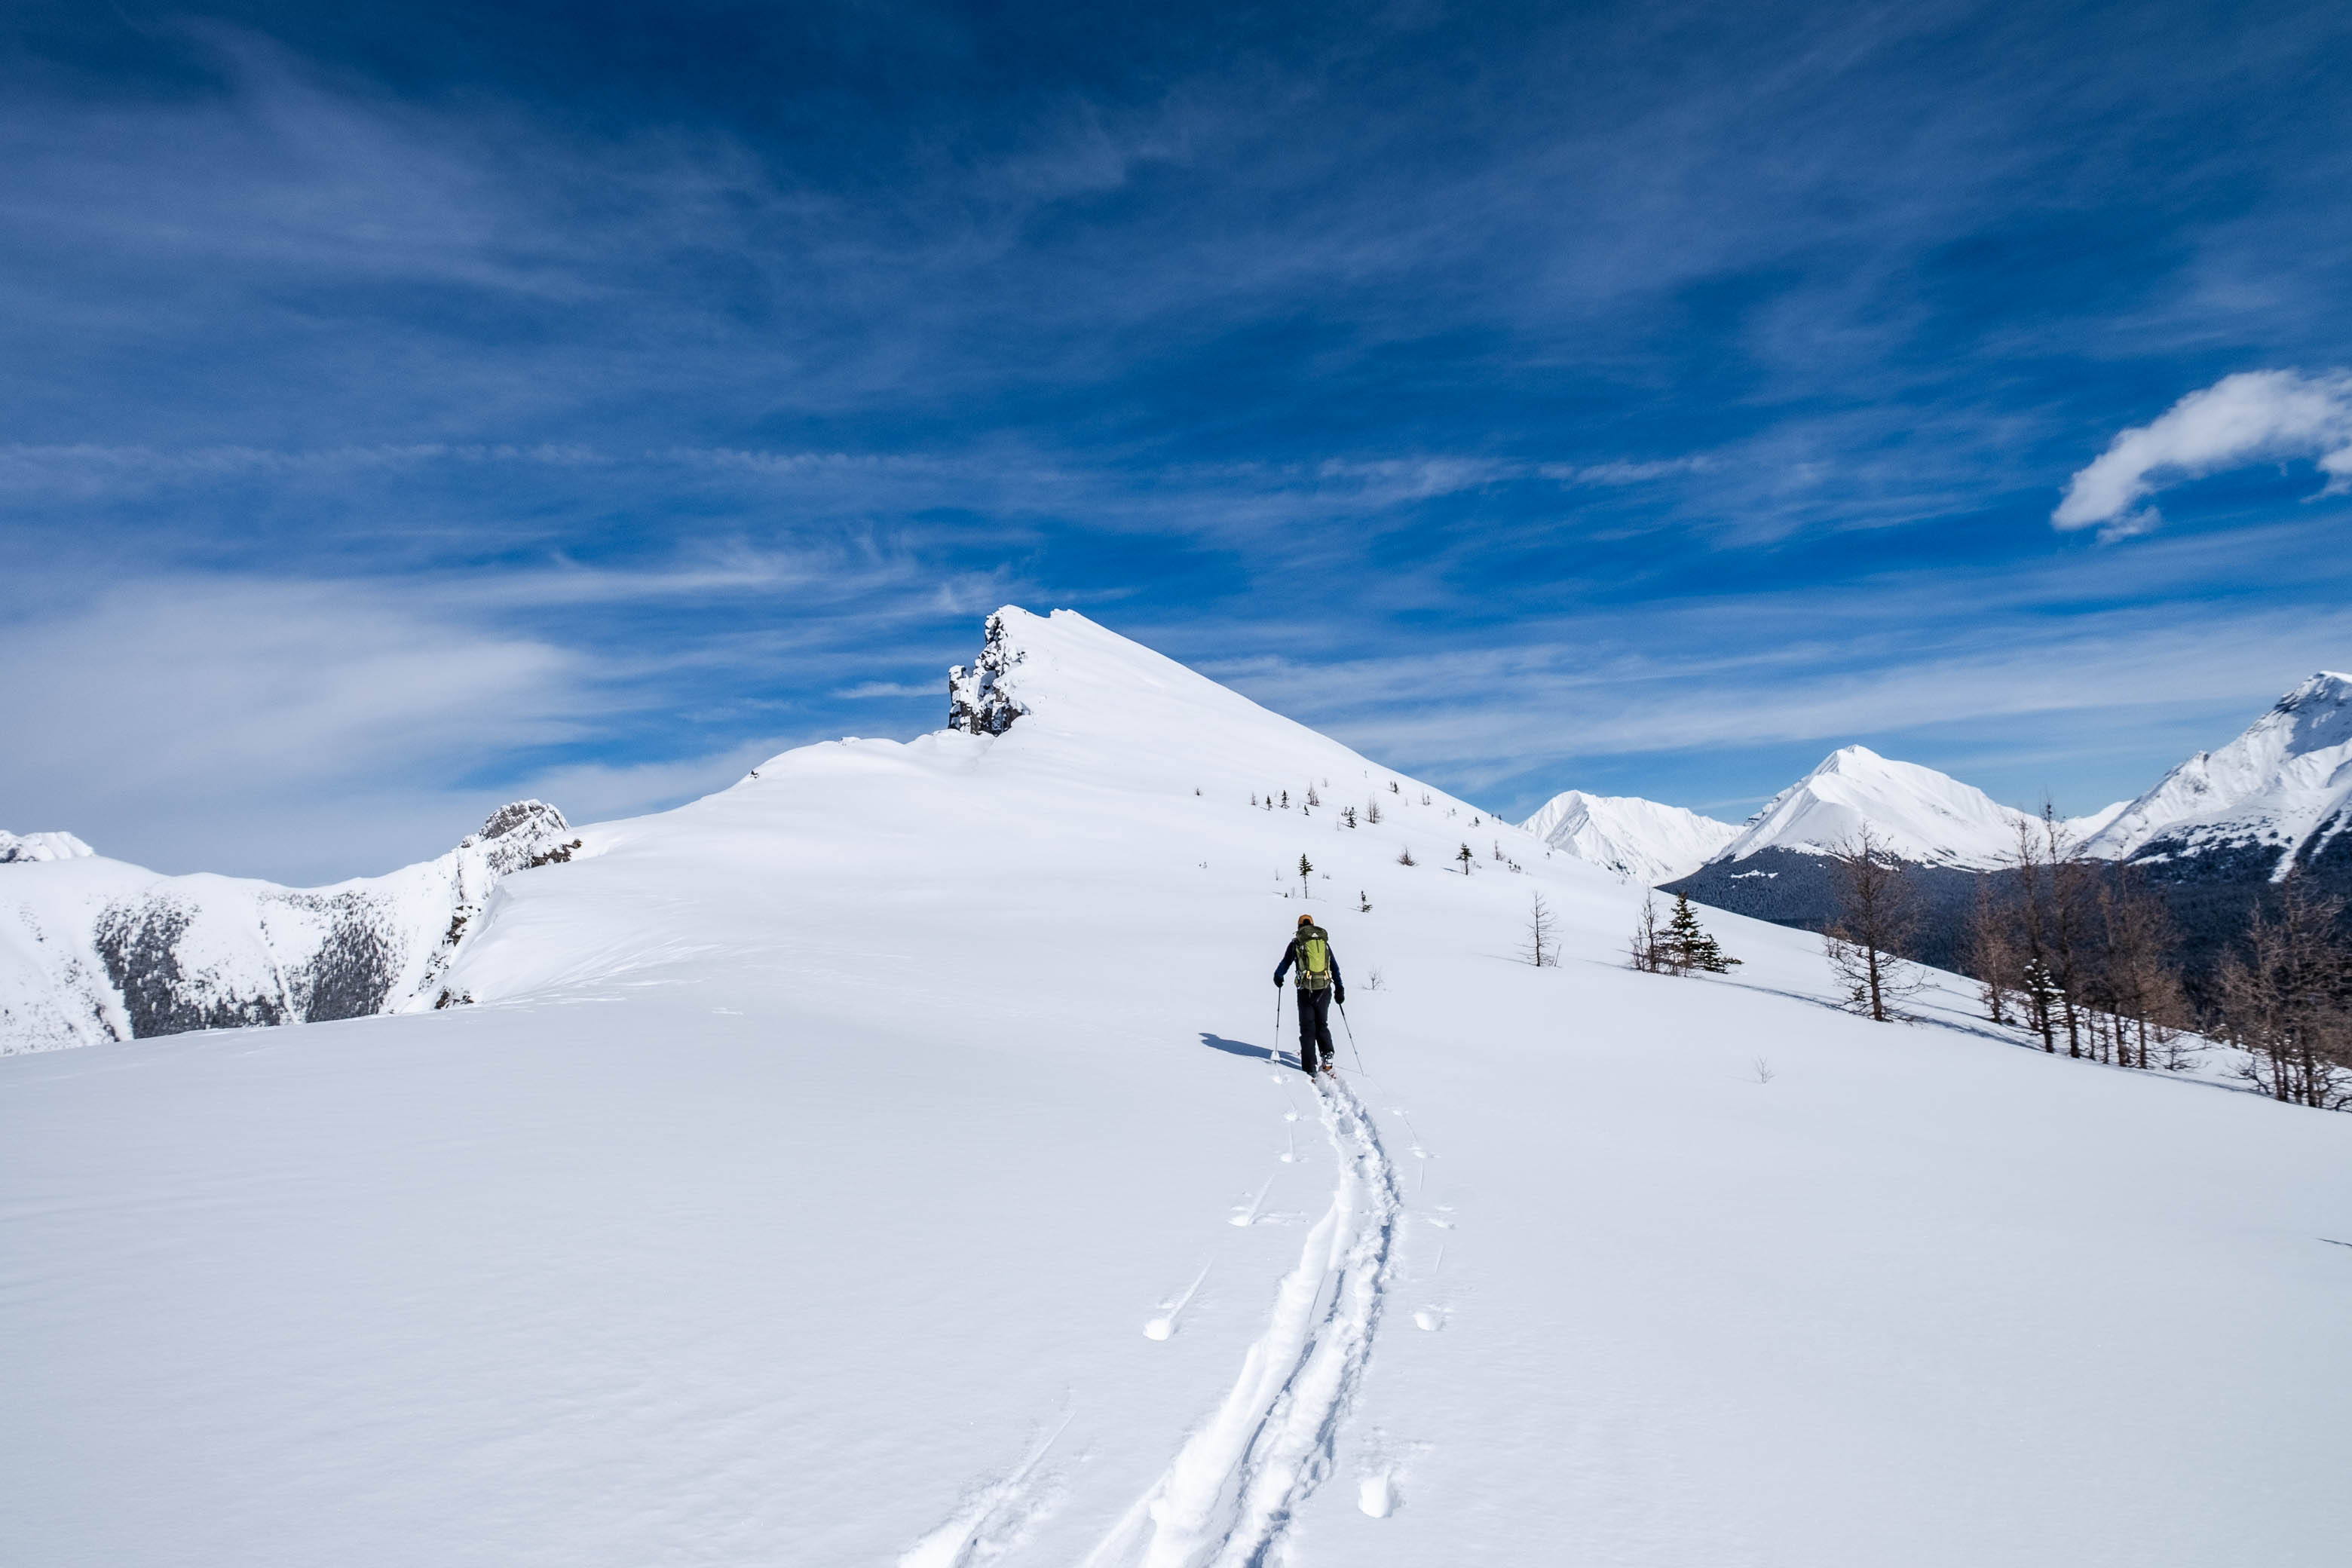
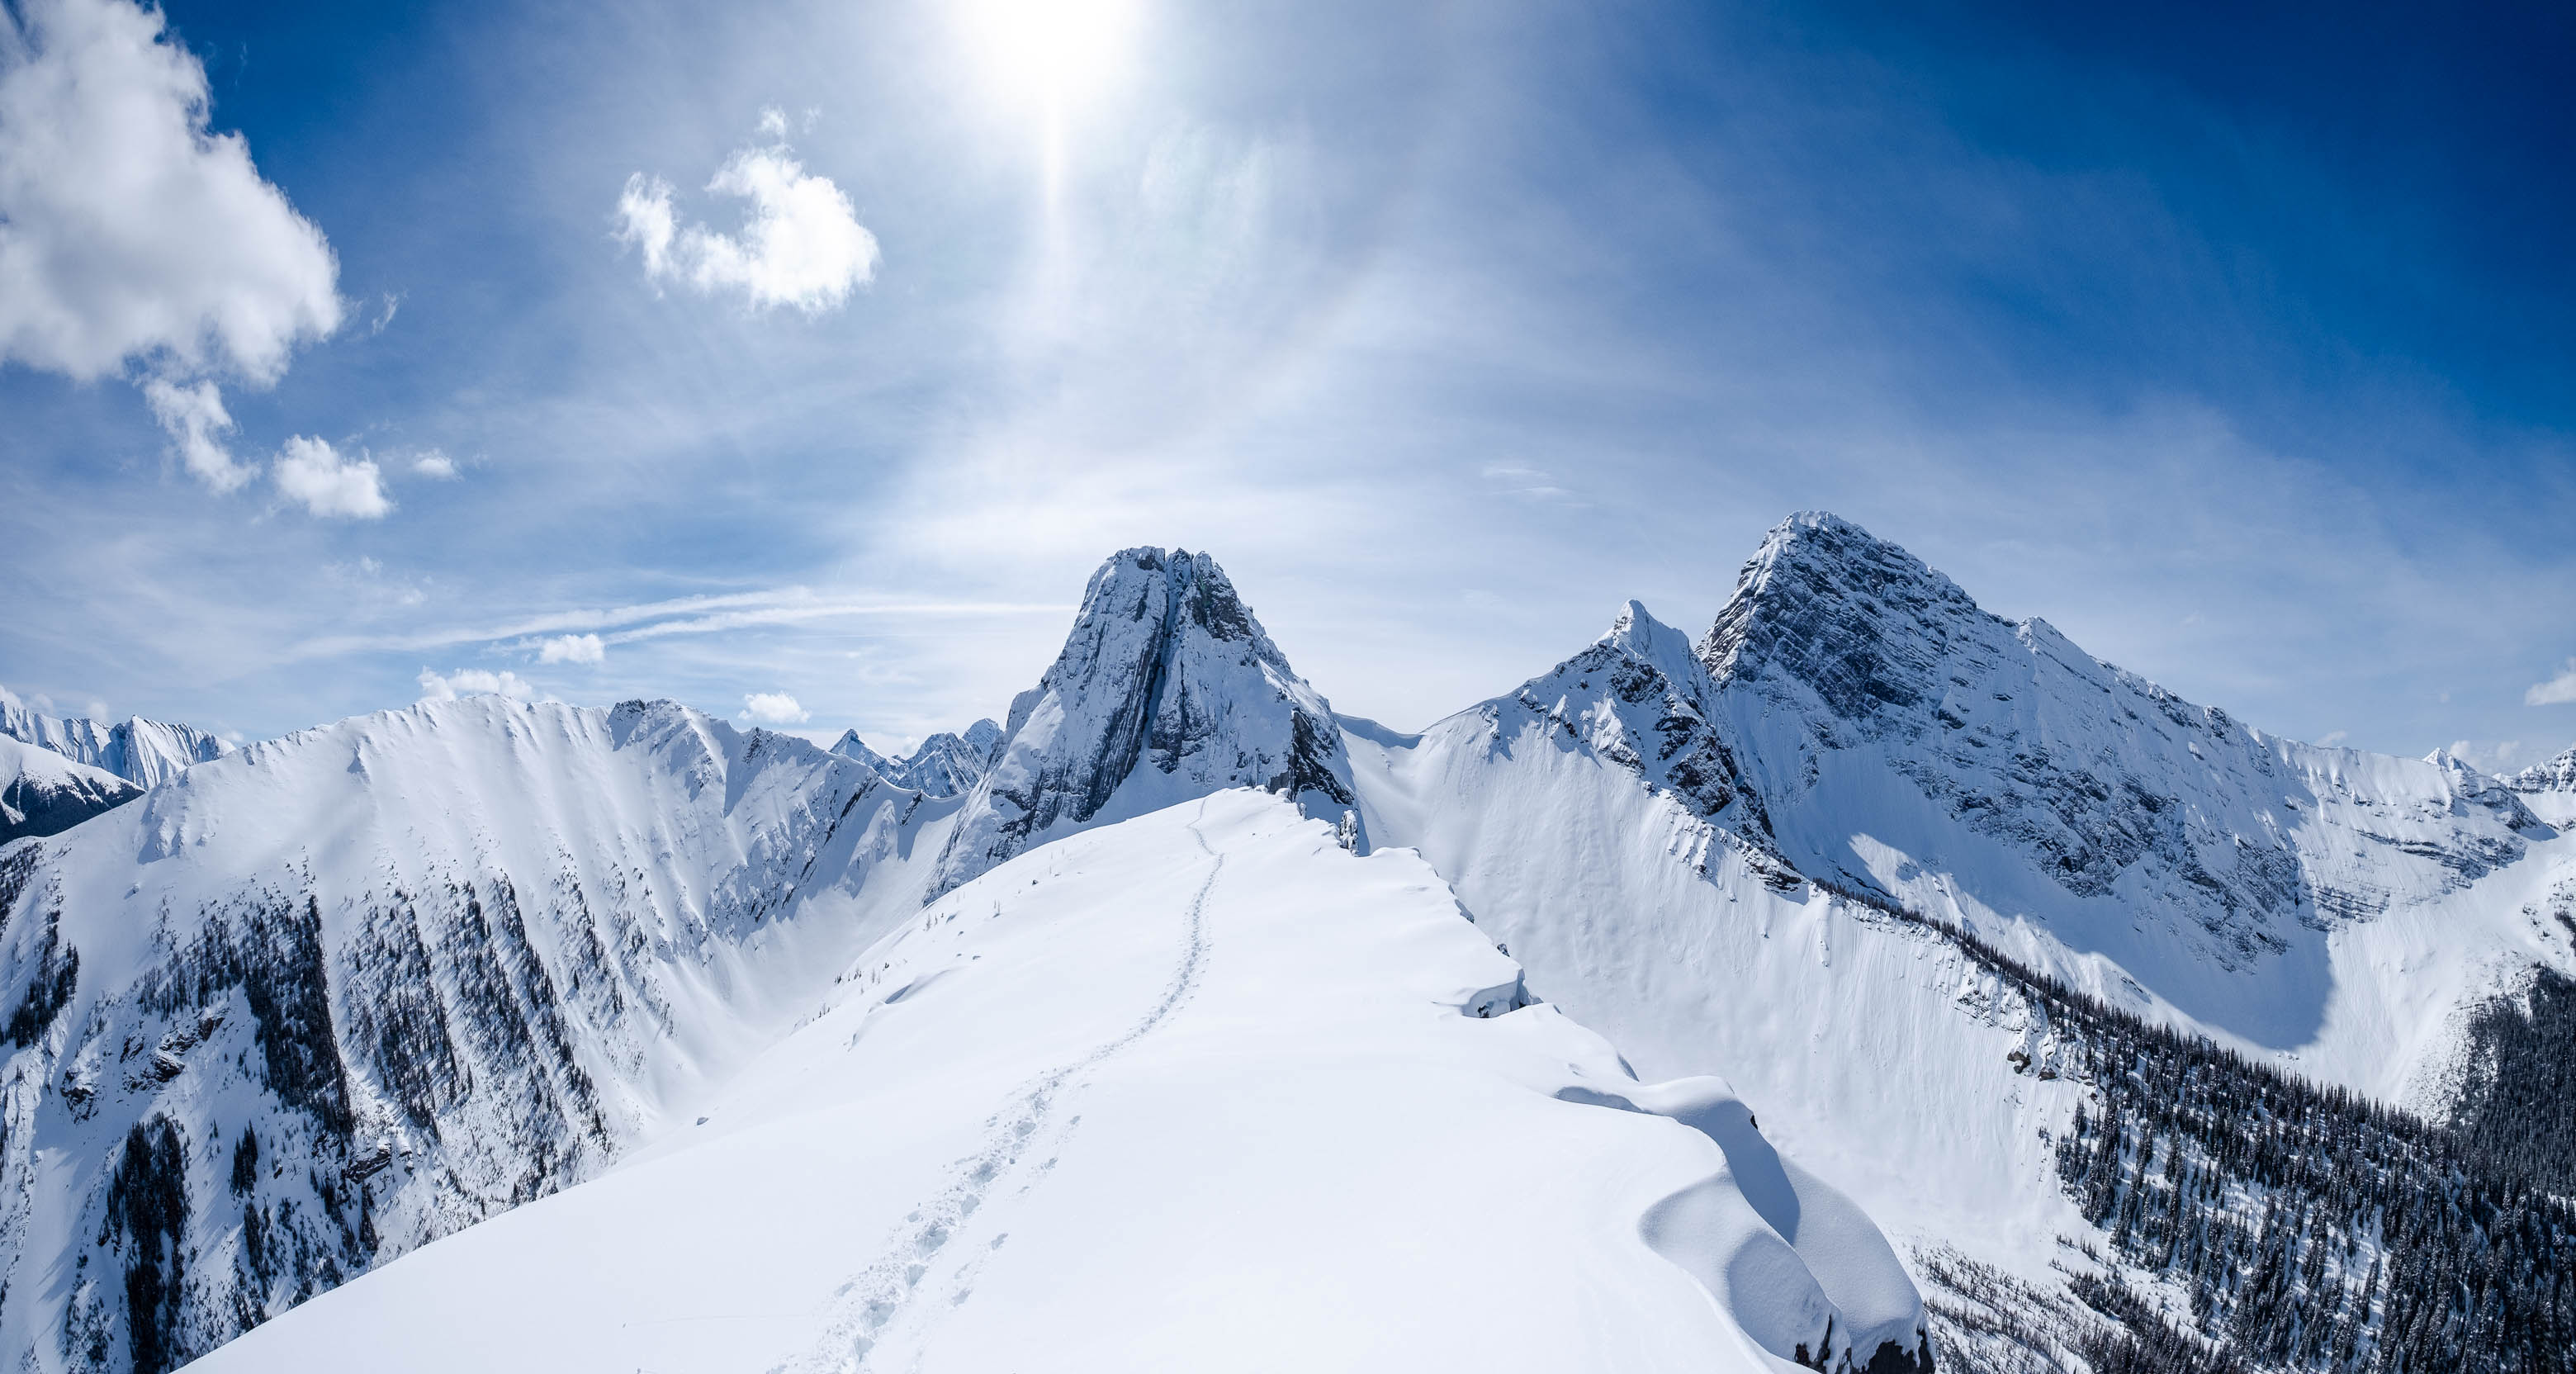
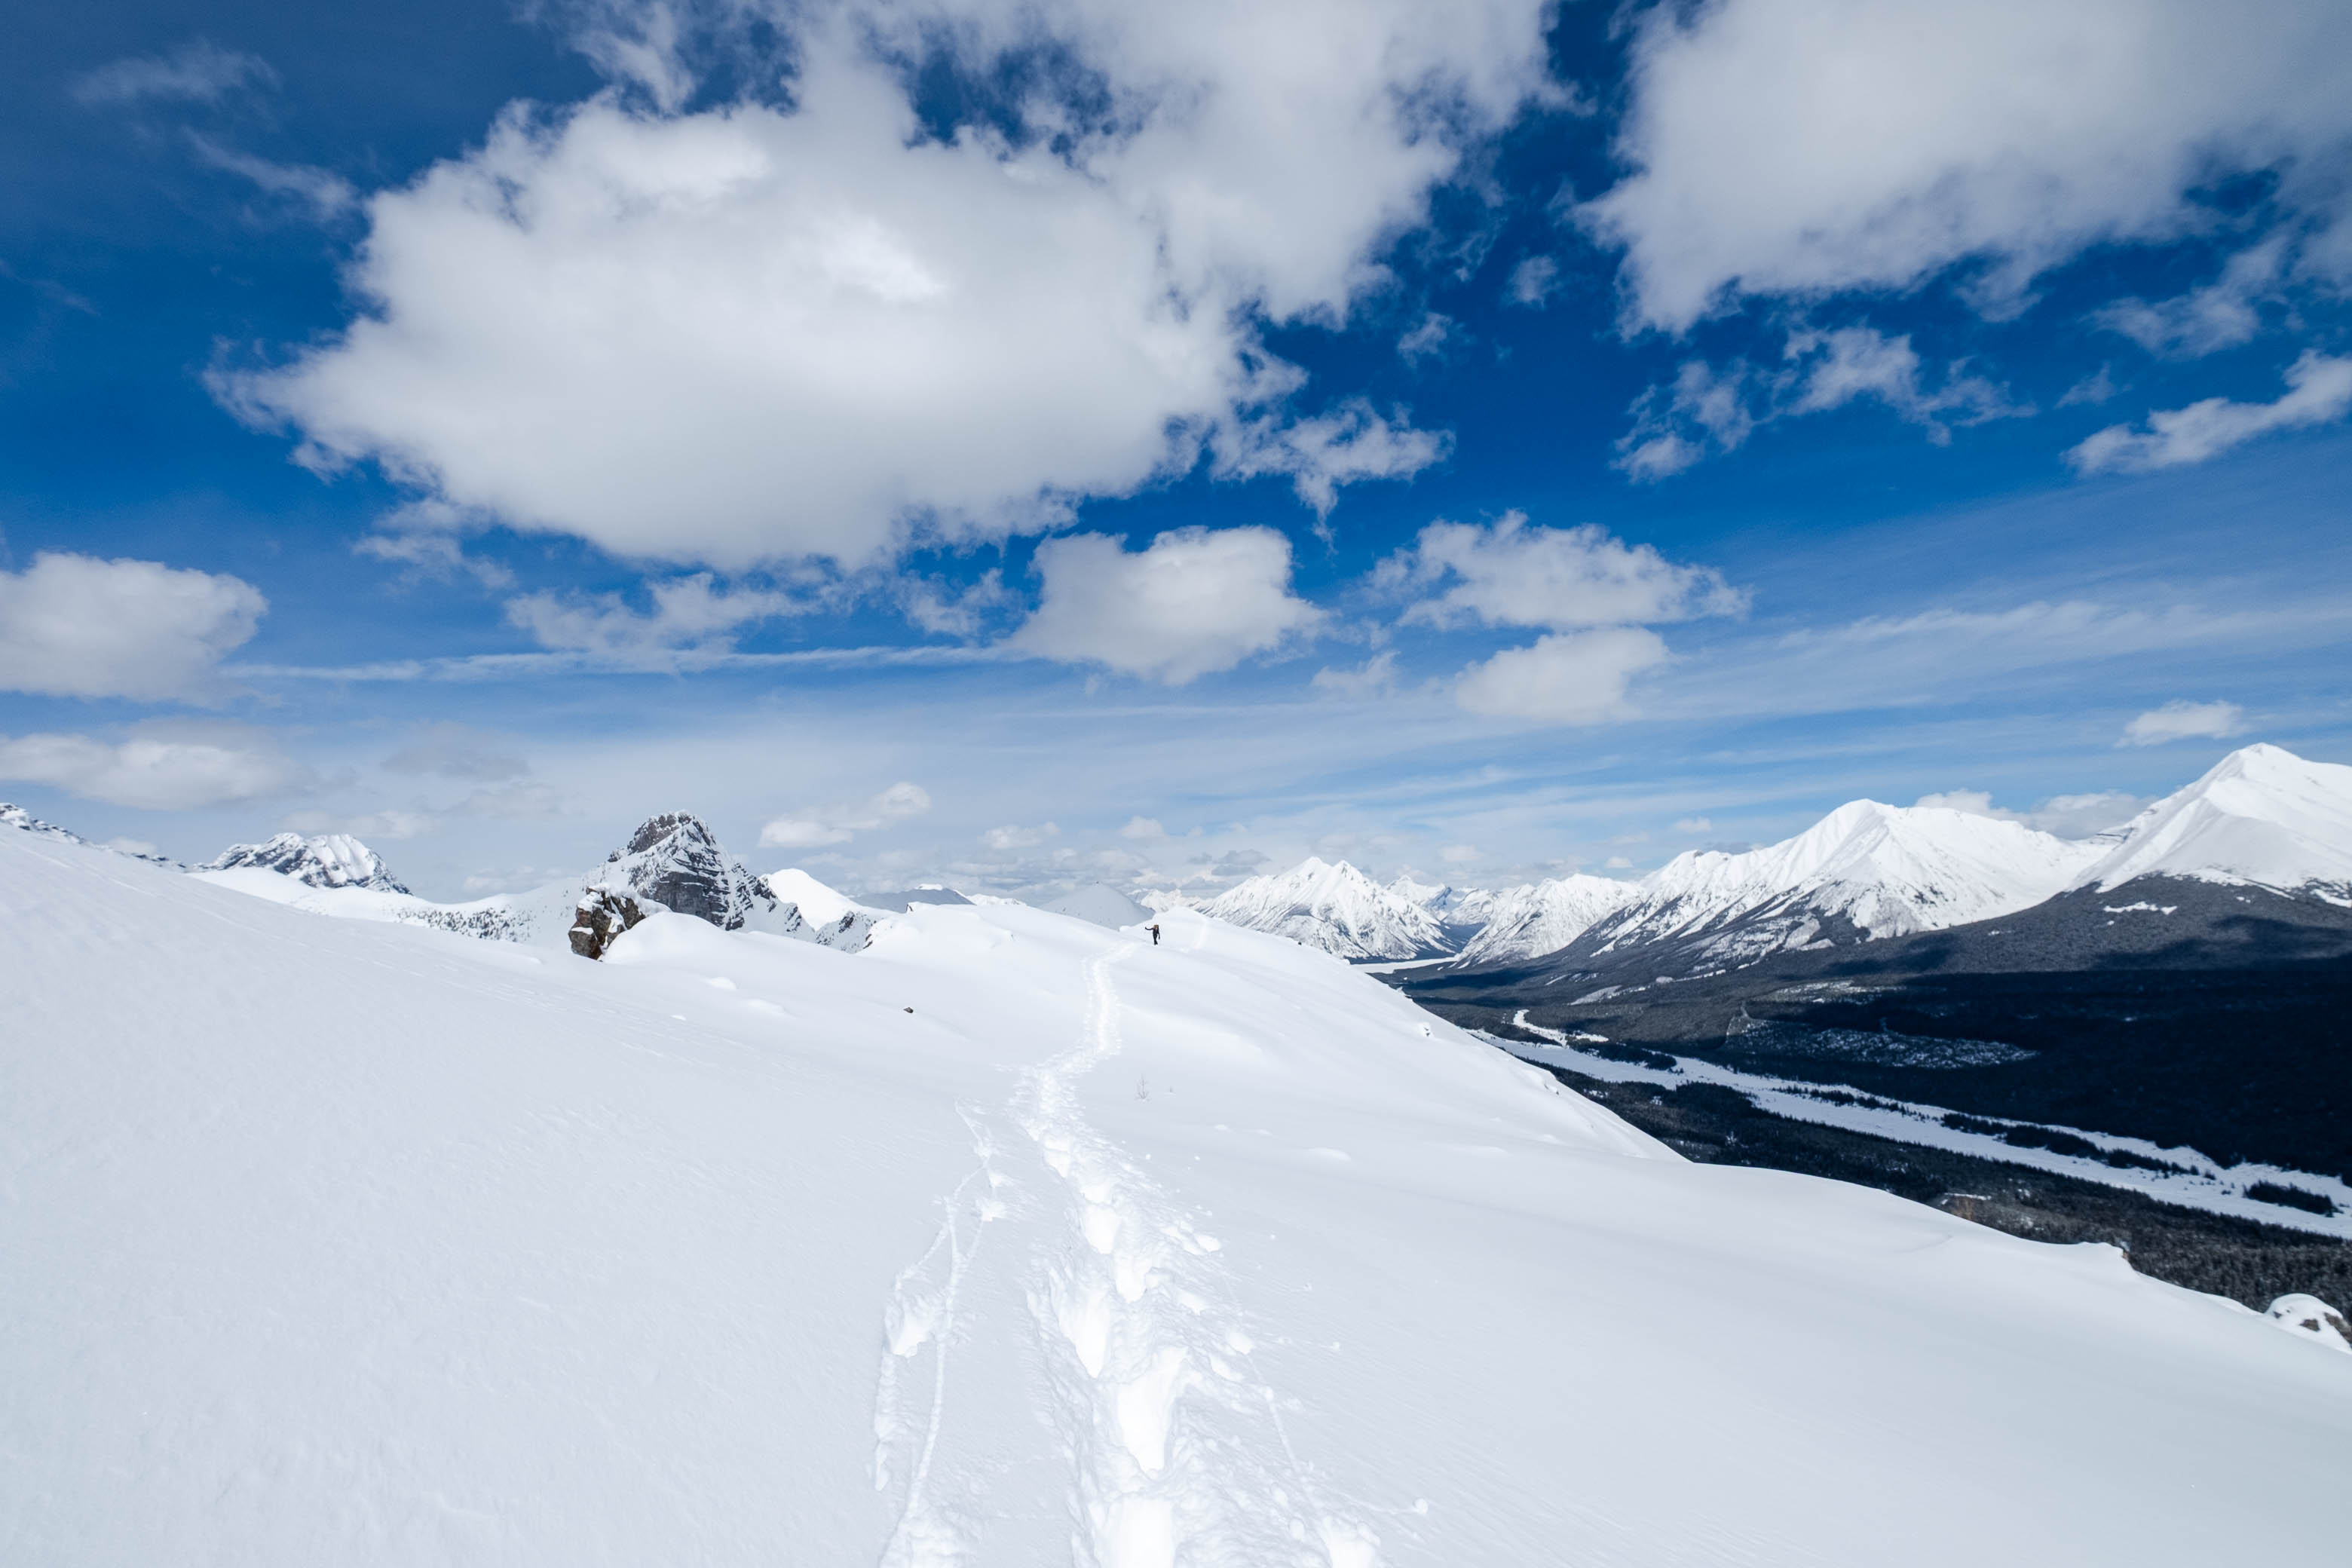
As easy as it was to get distracted by our surroundings, the longer we waited, the longer the sun had to weaken the snowpack, and we quickly turned our attention north, towards the summit ridge.
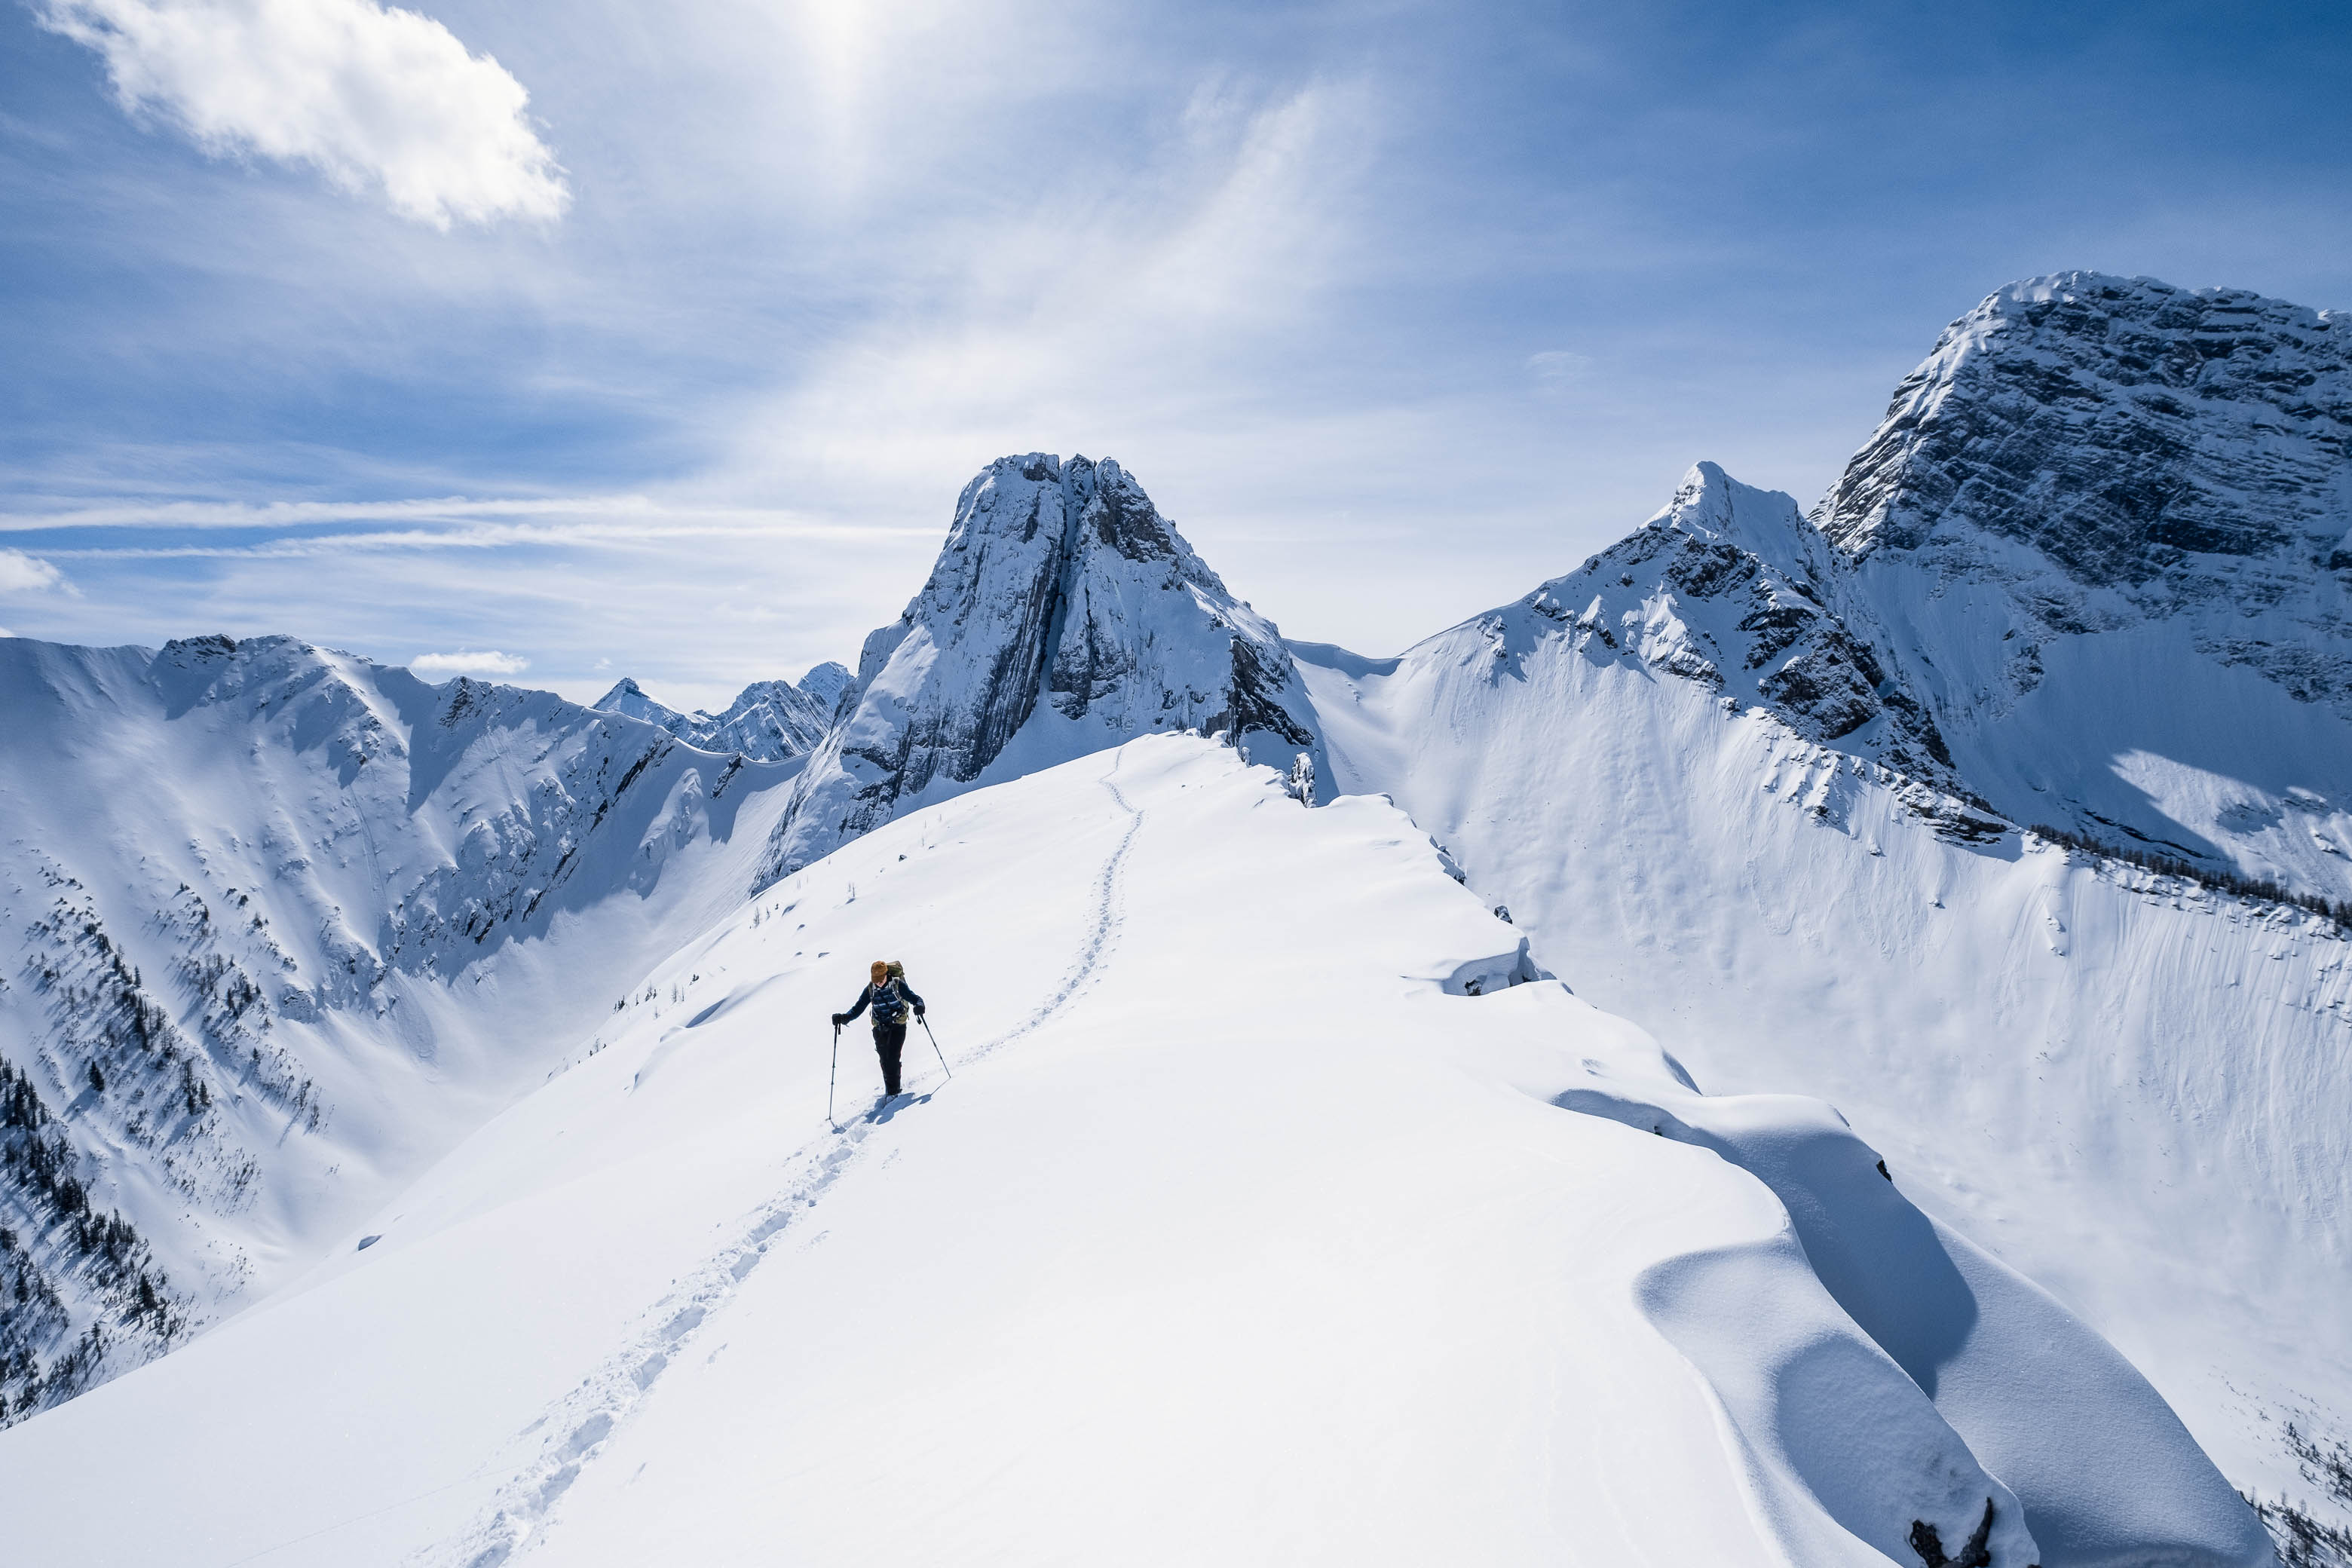
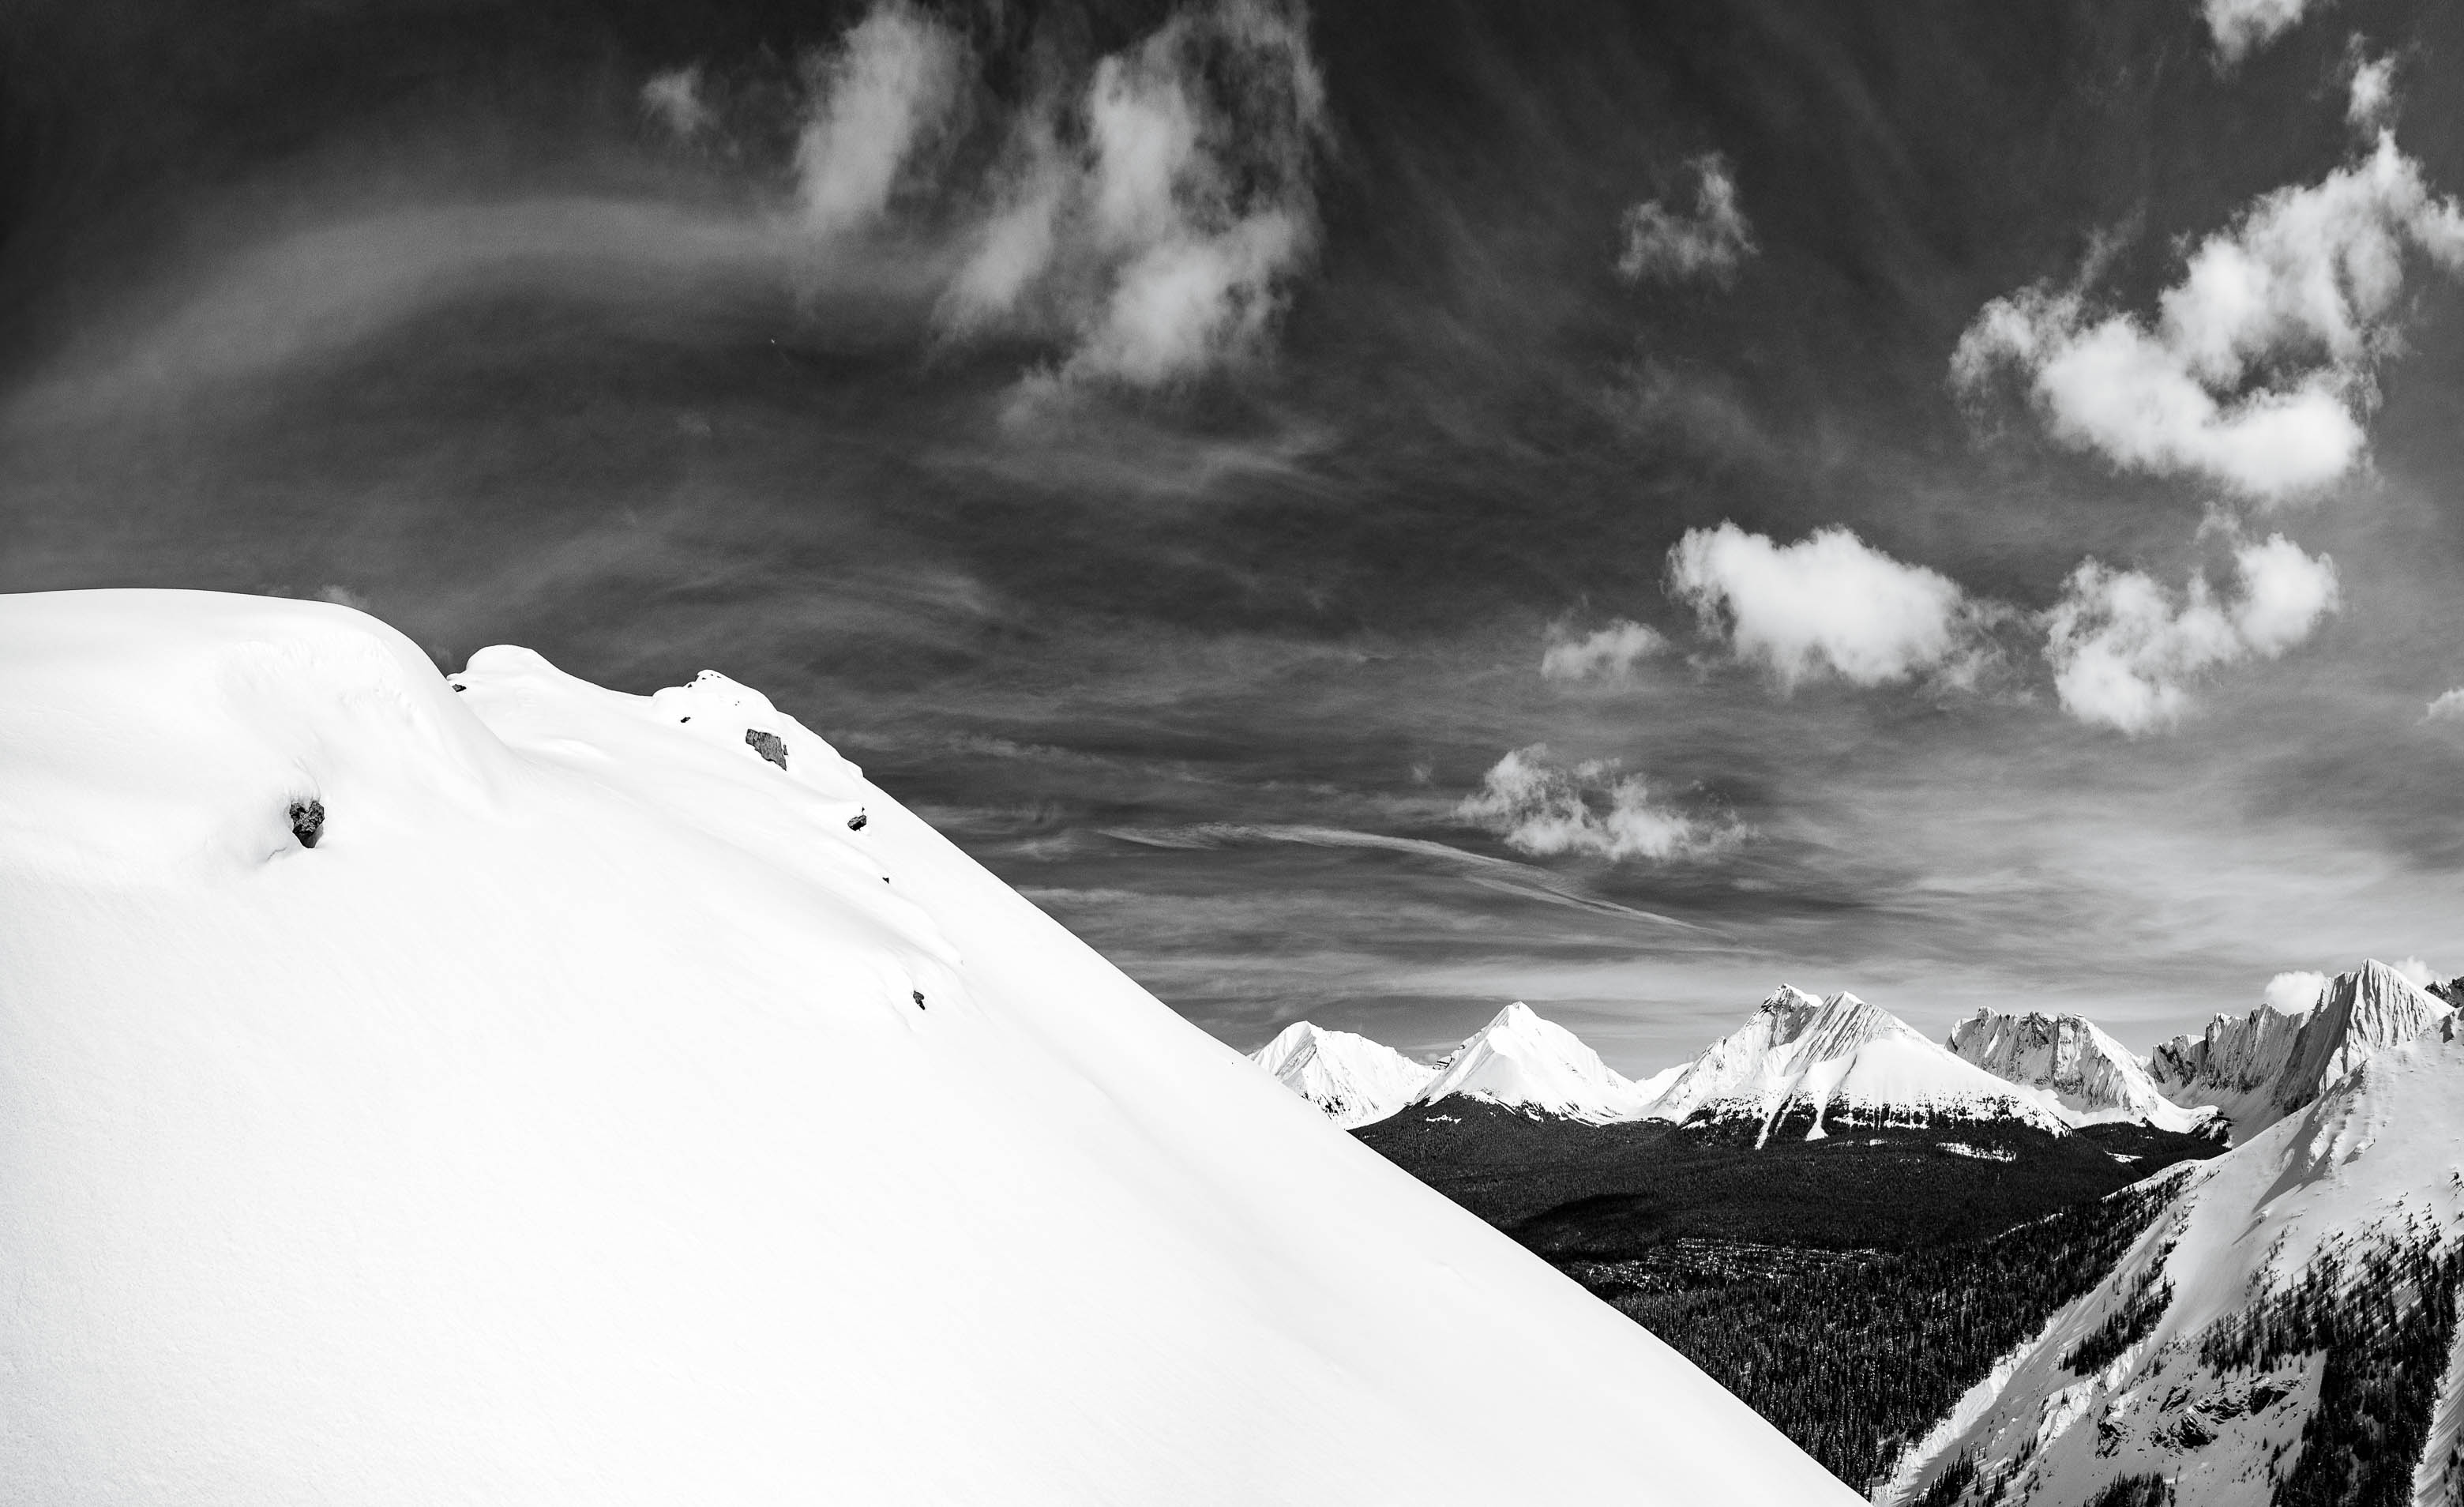
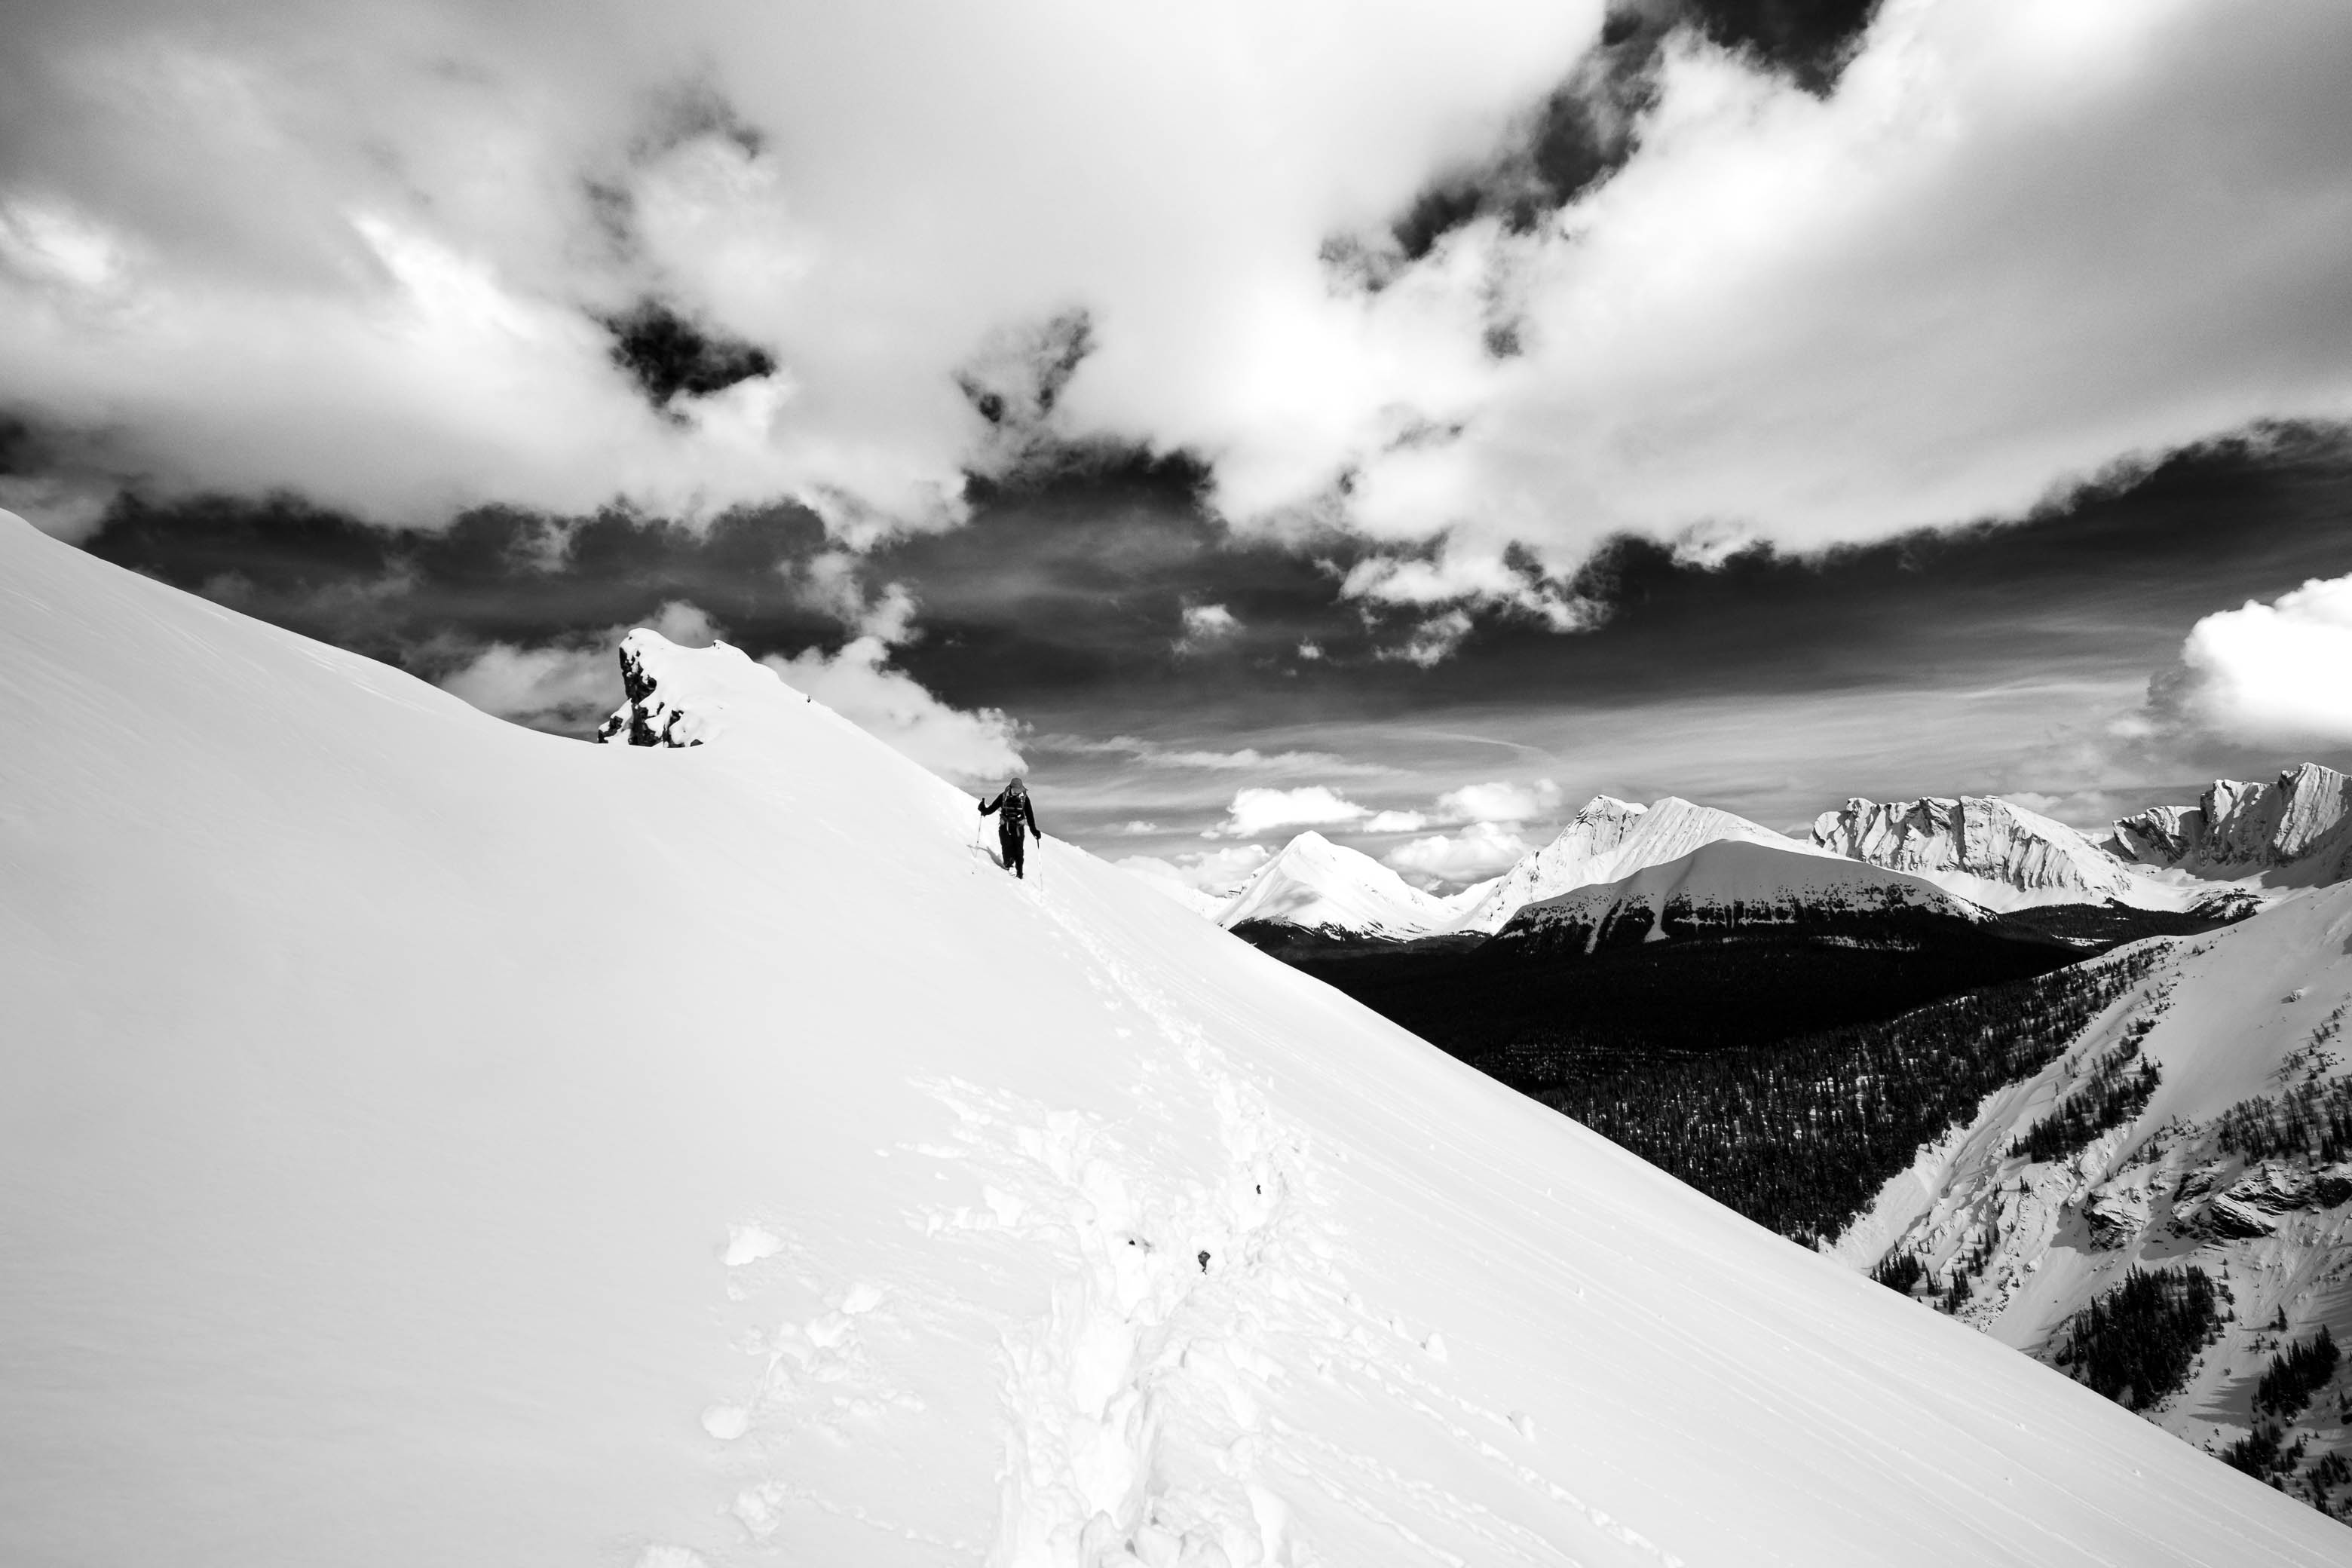
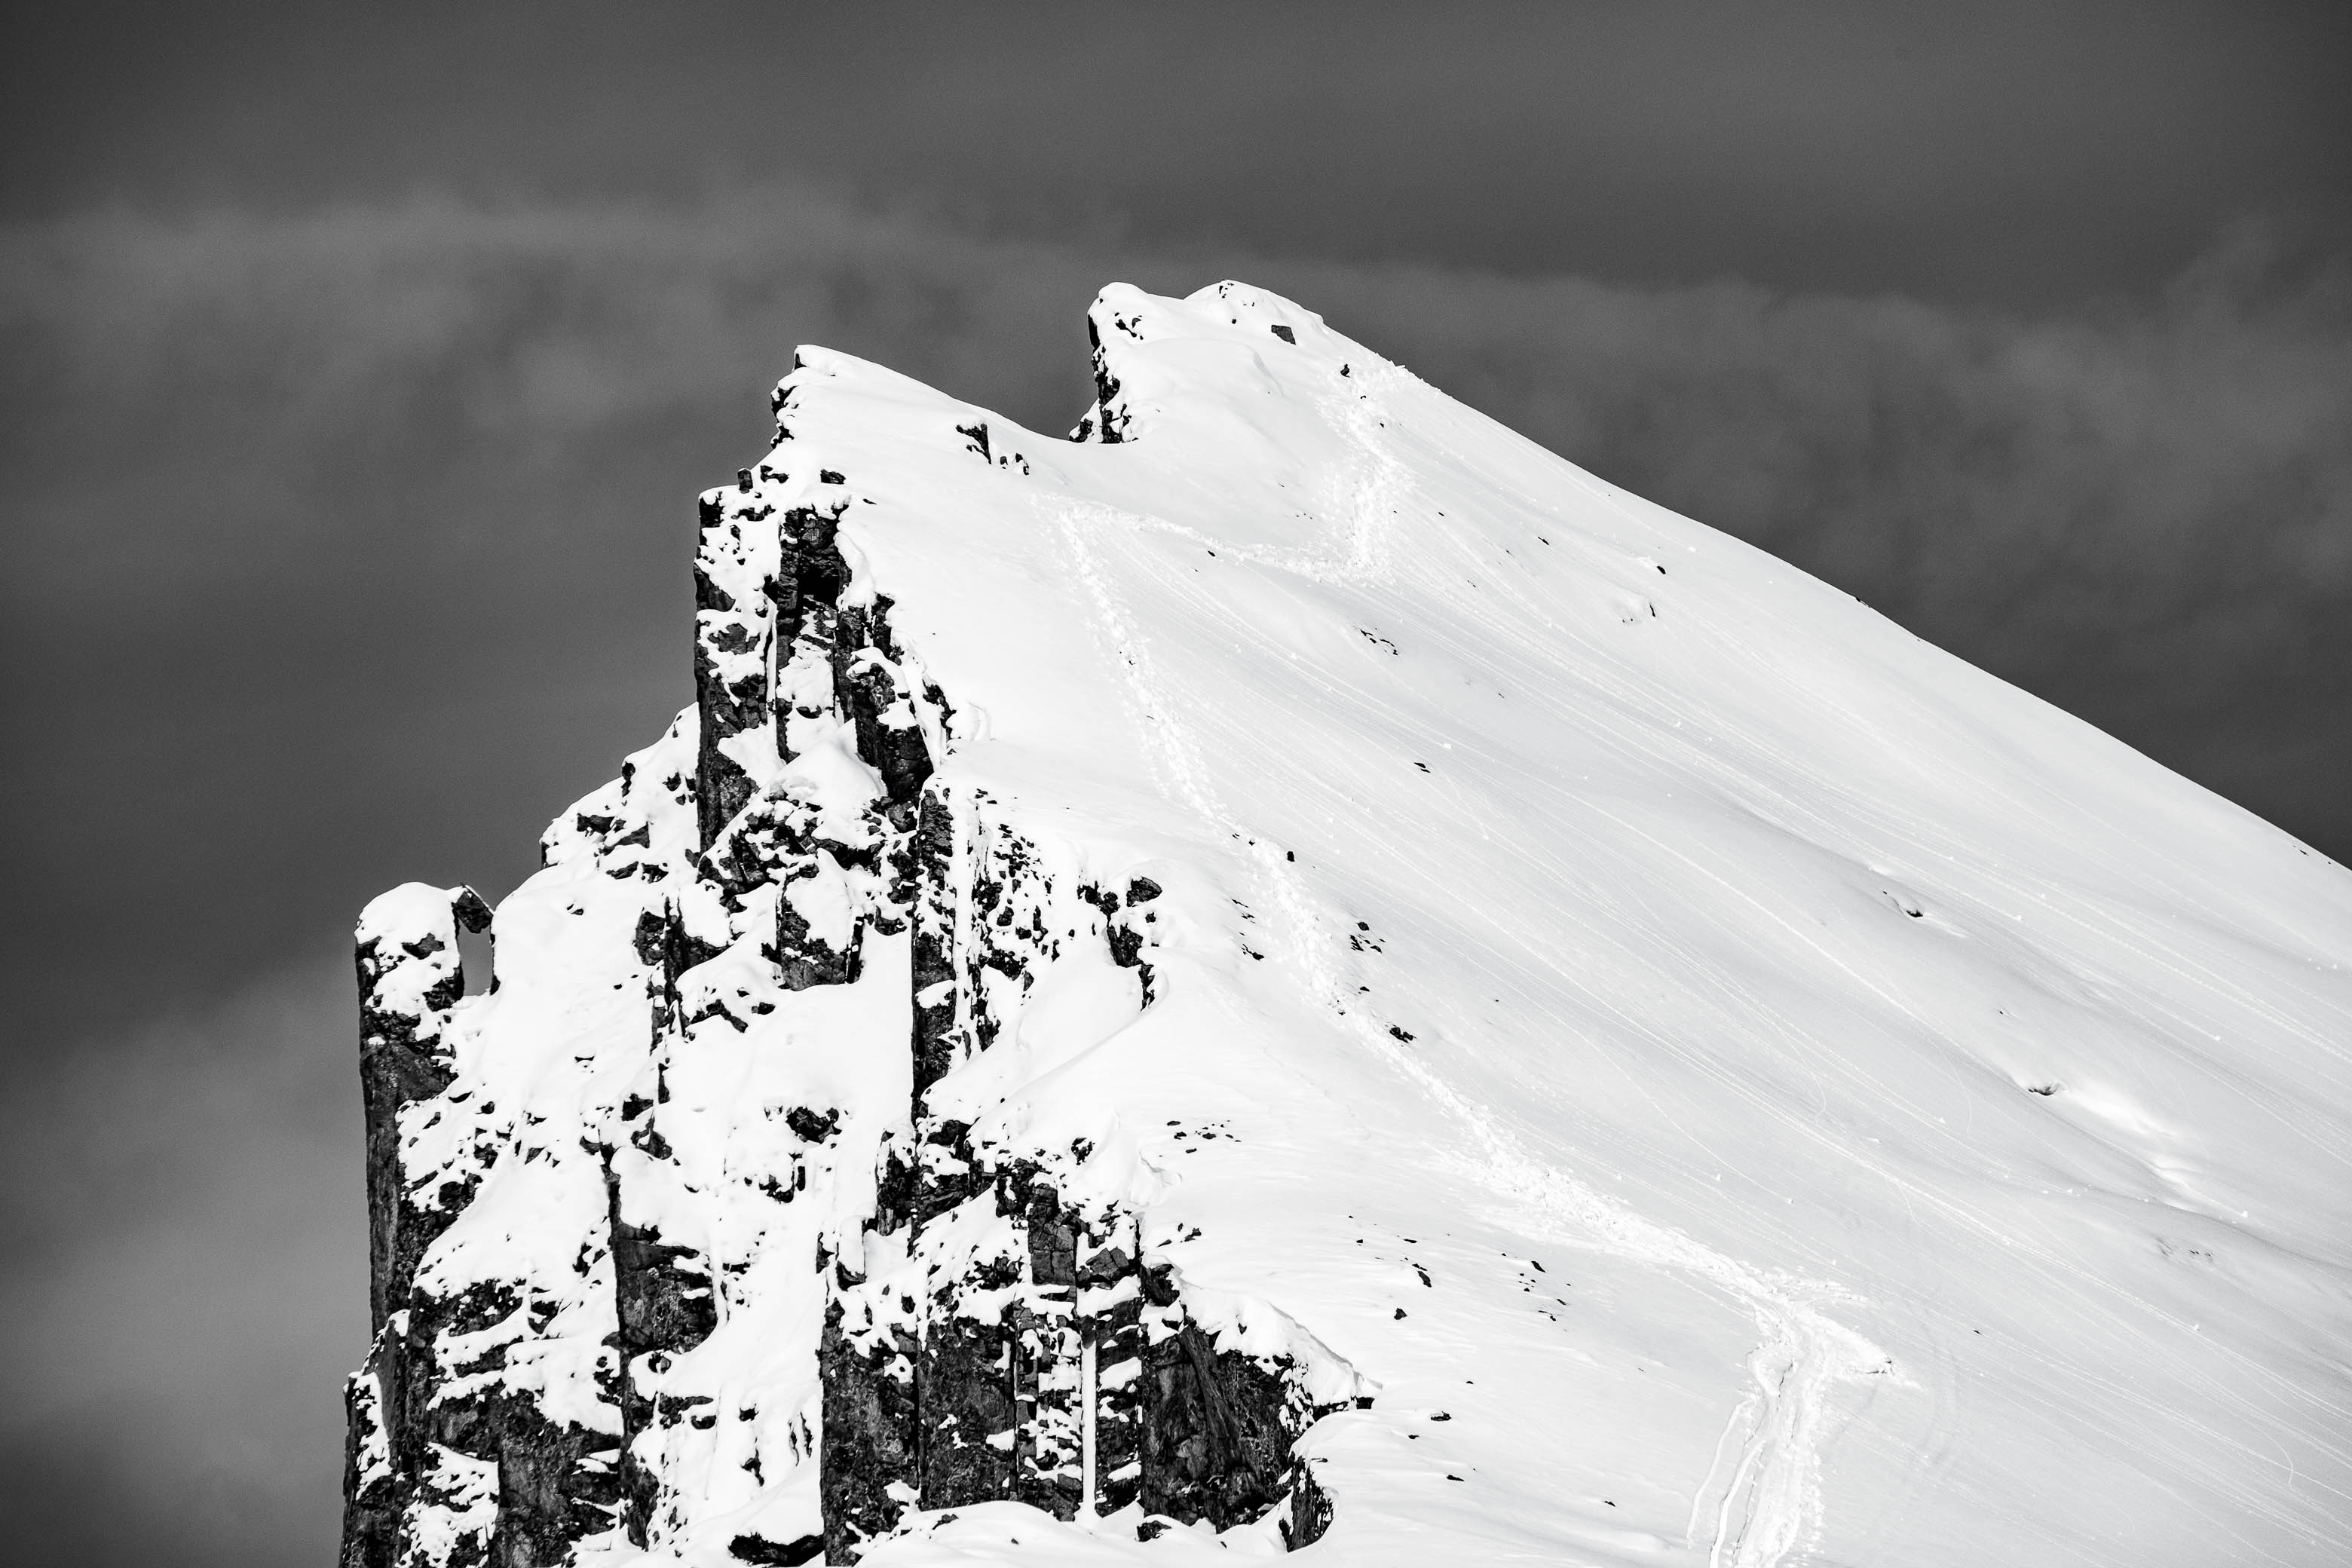
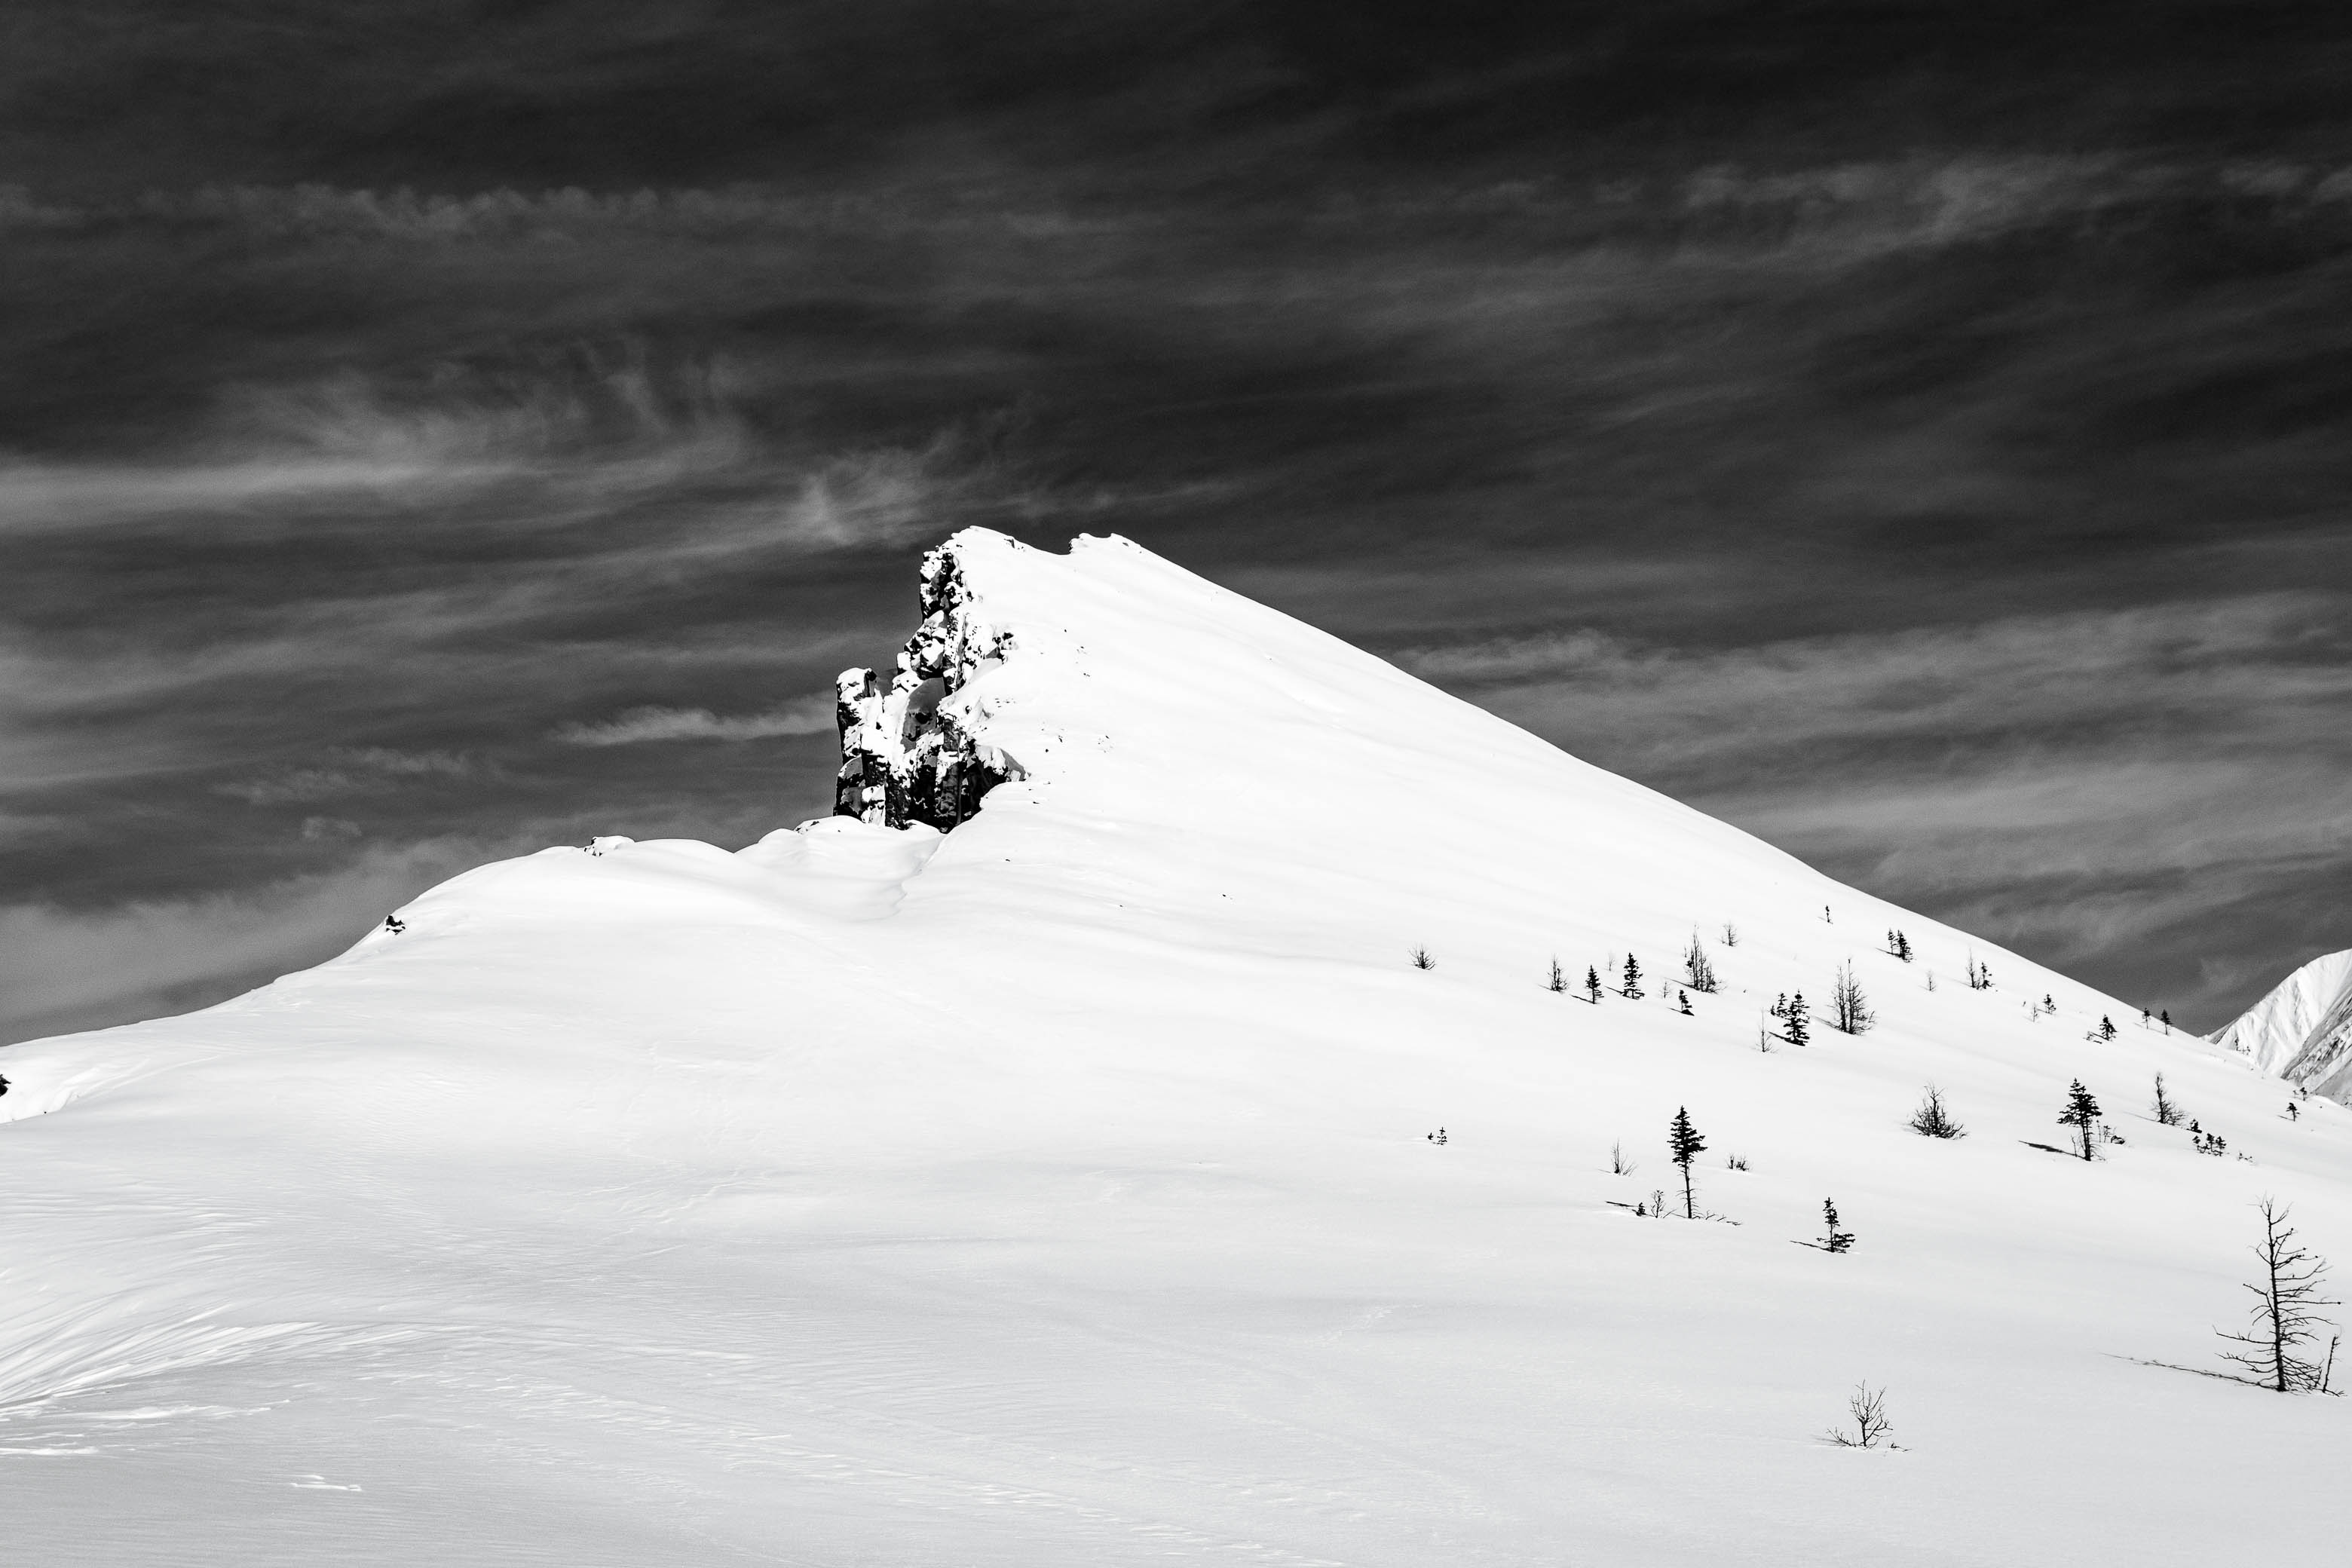
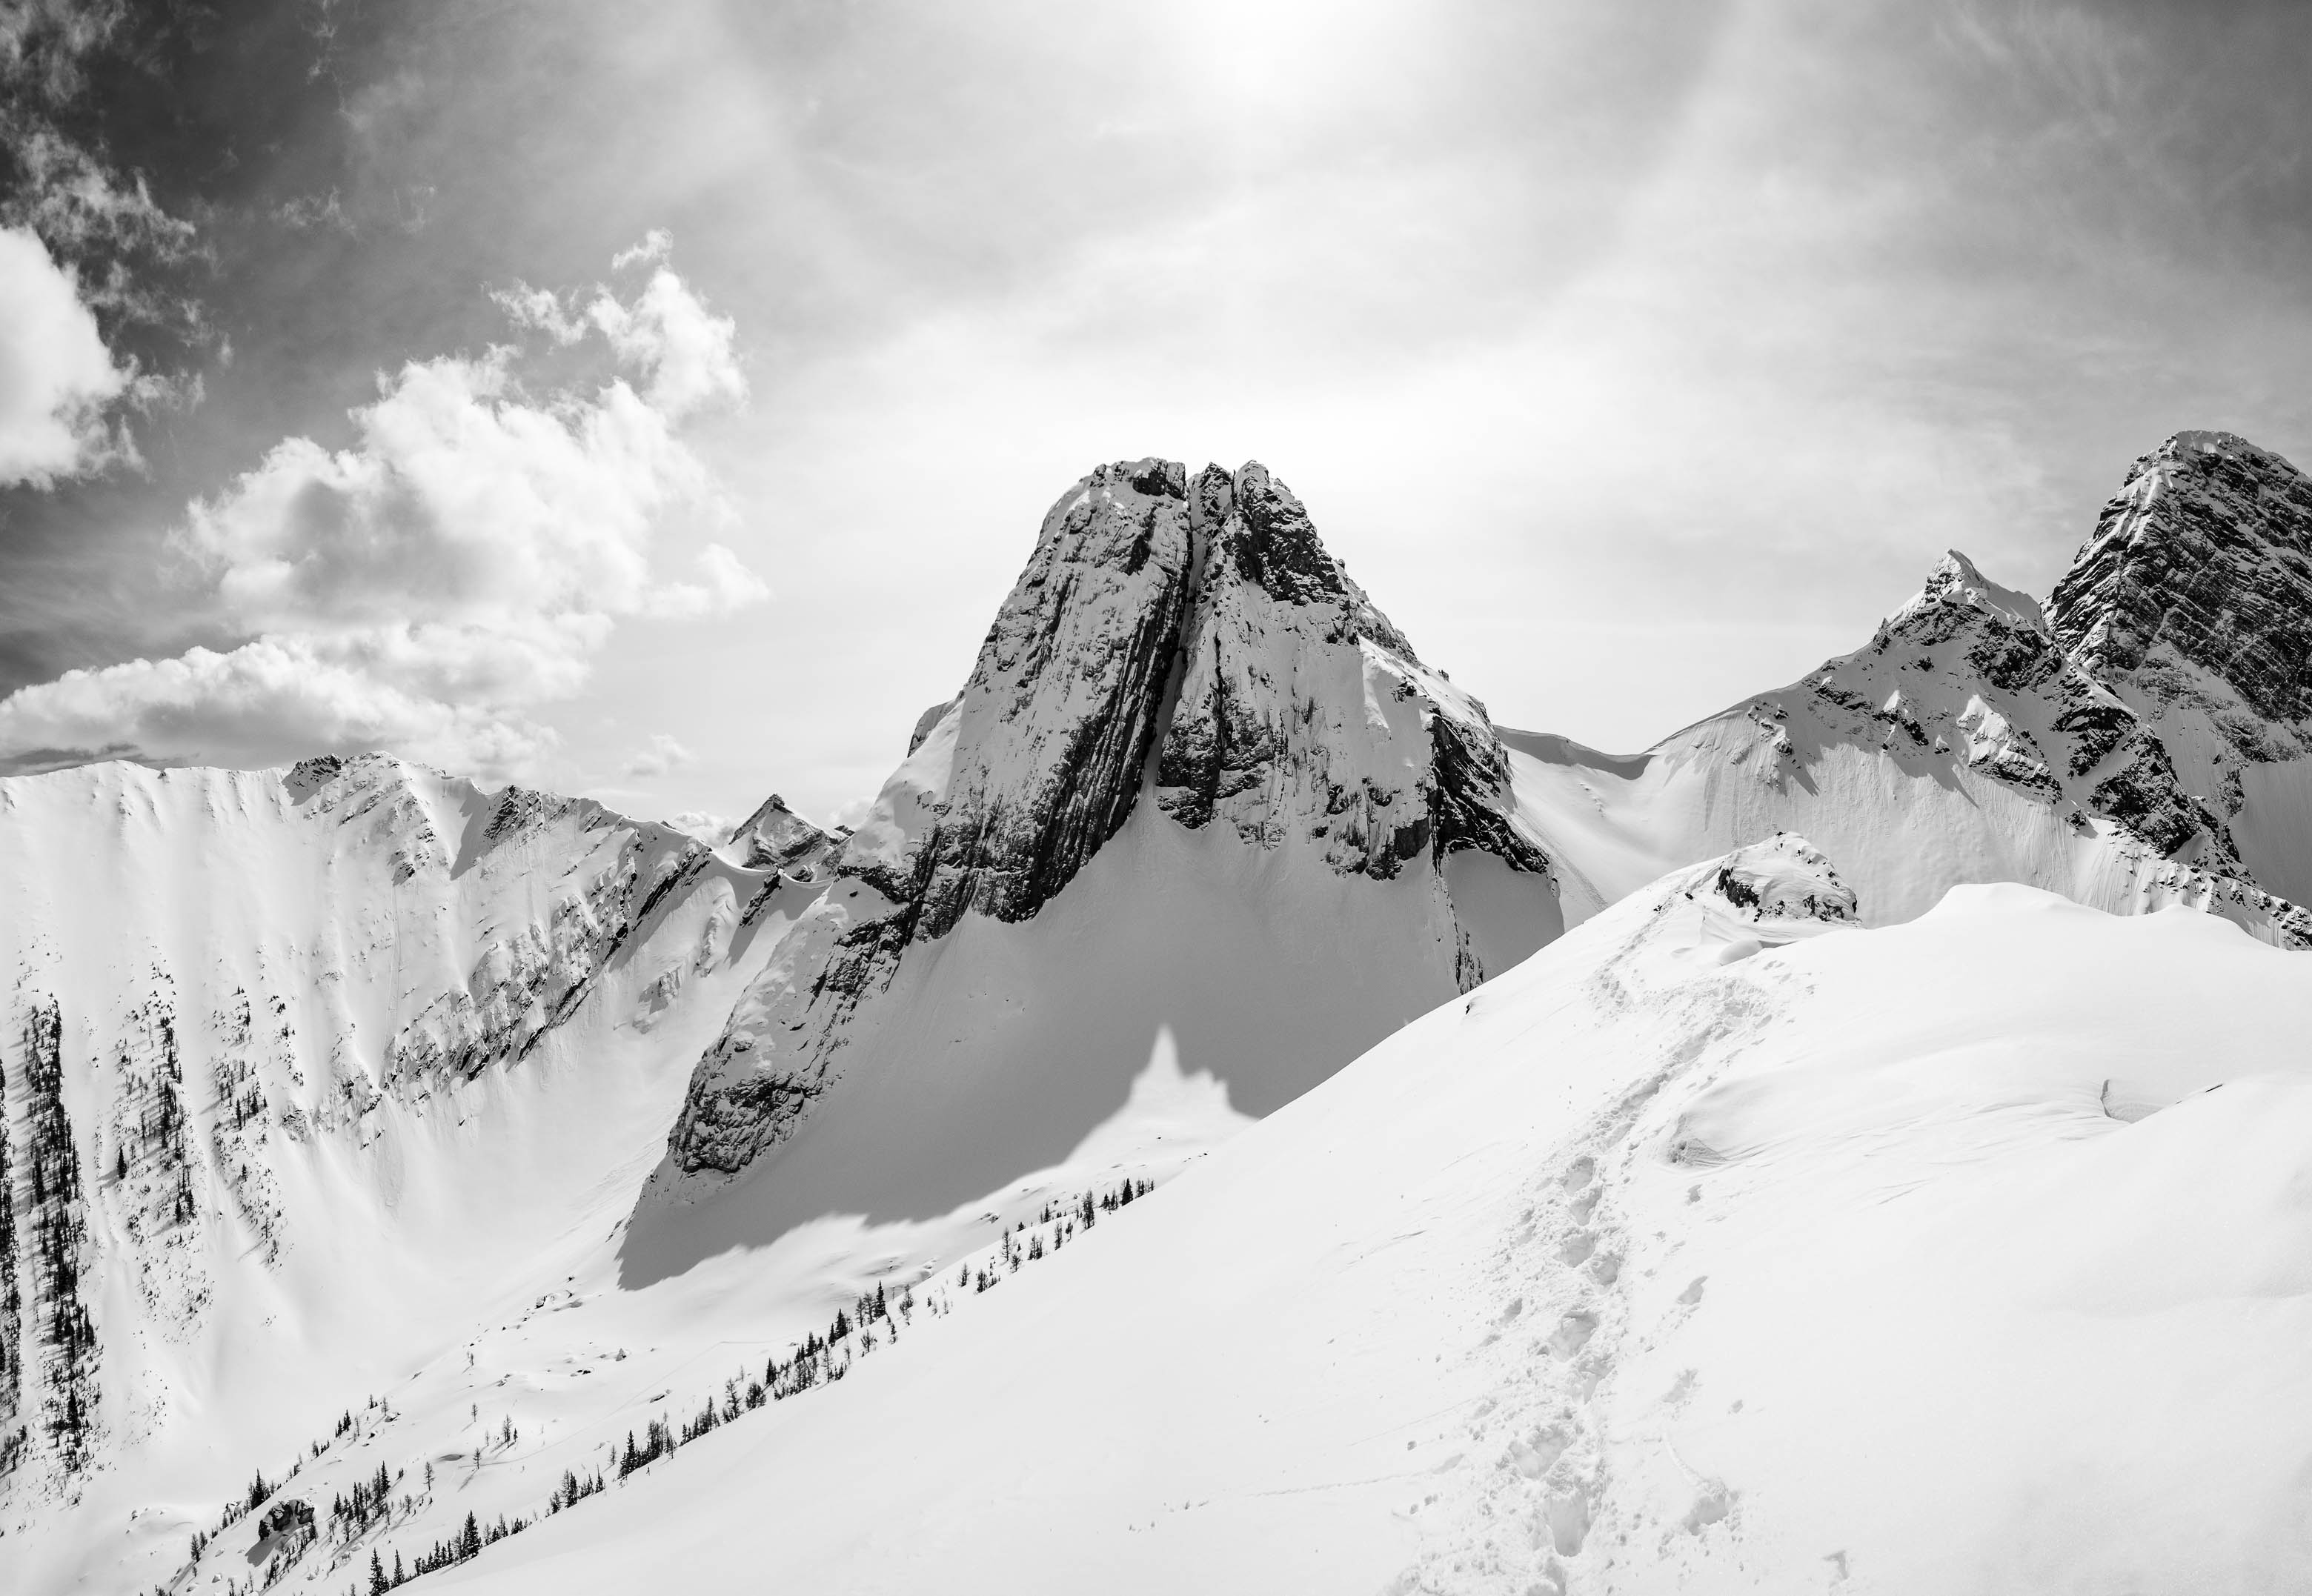
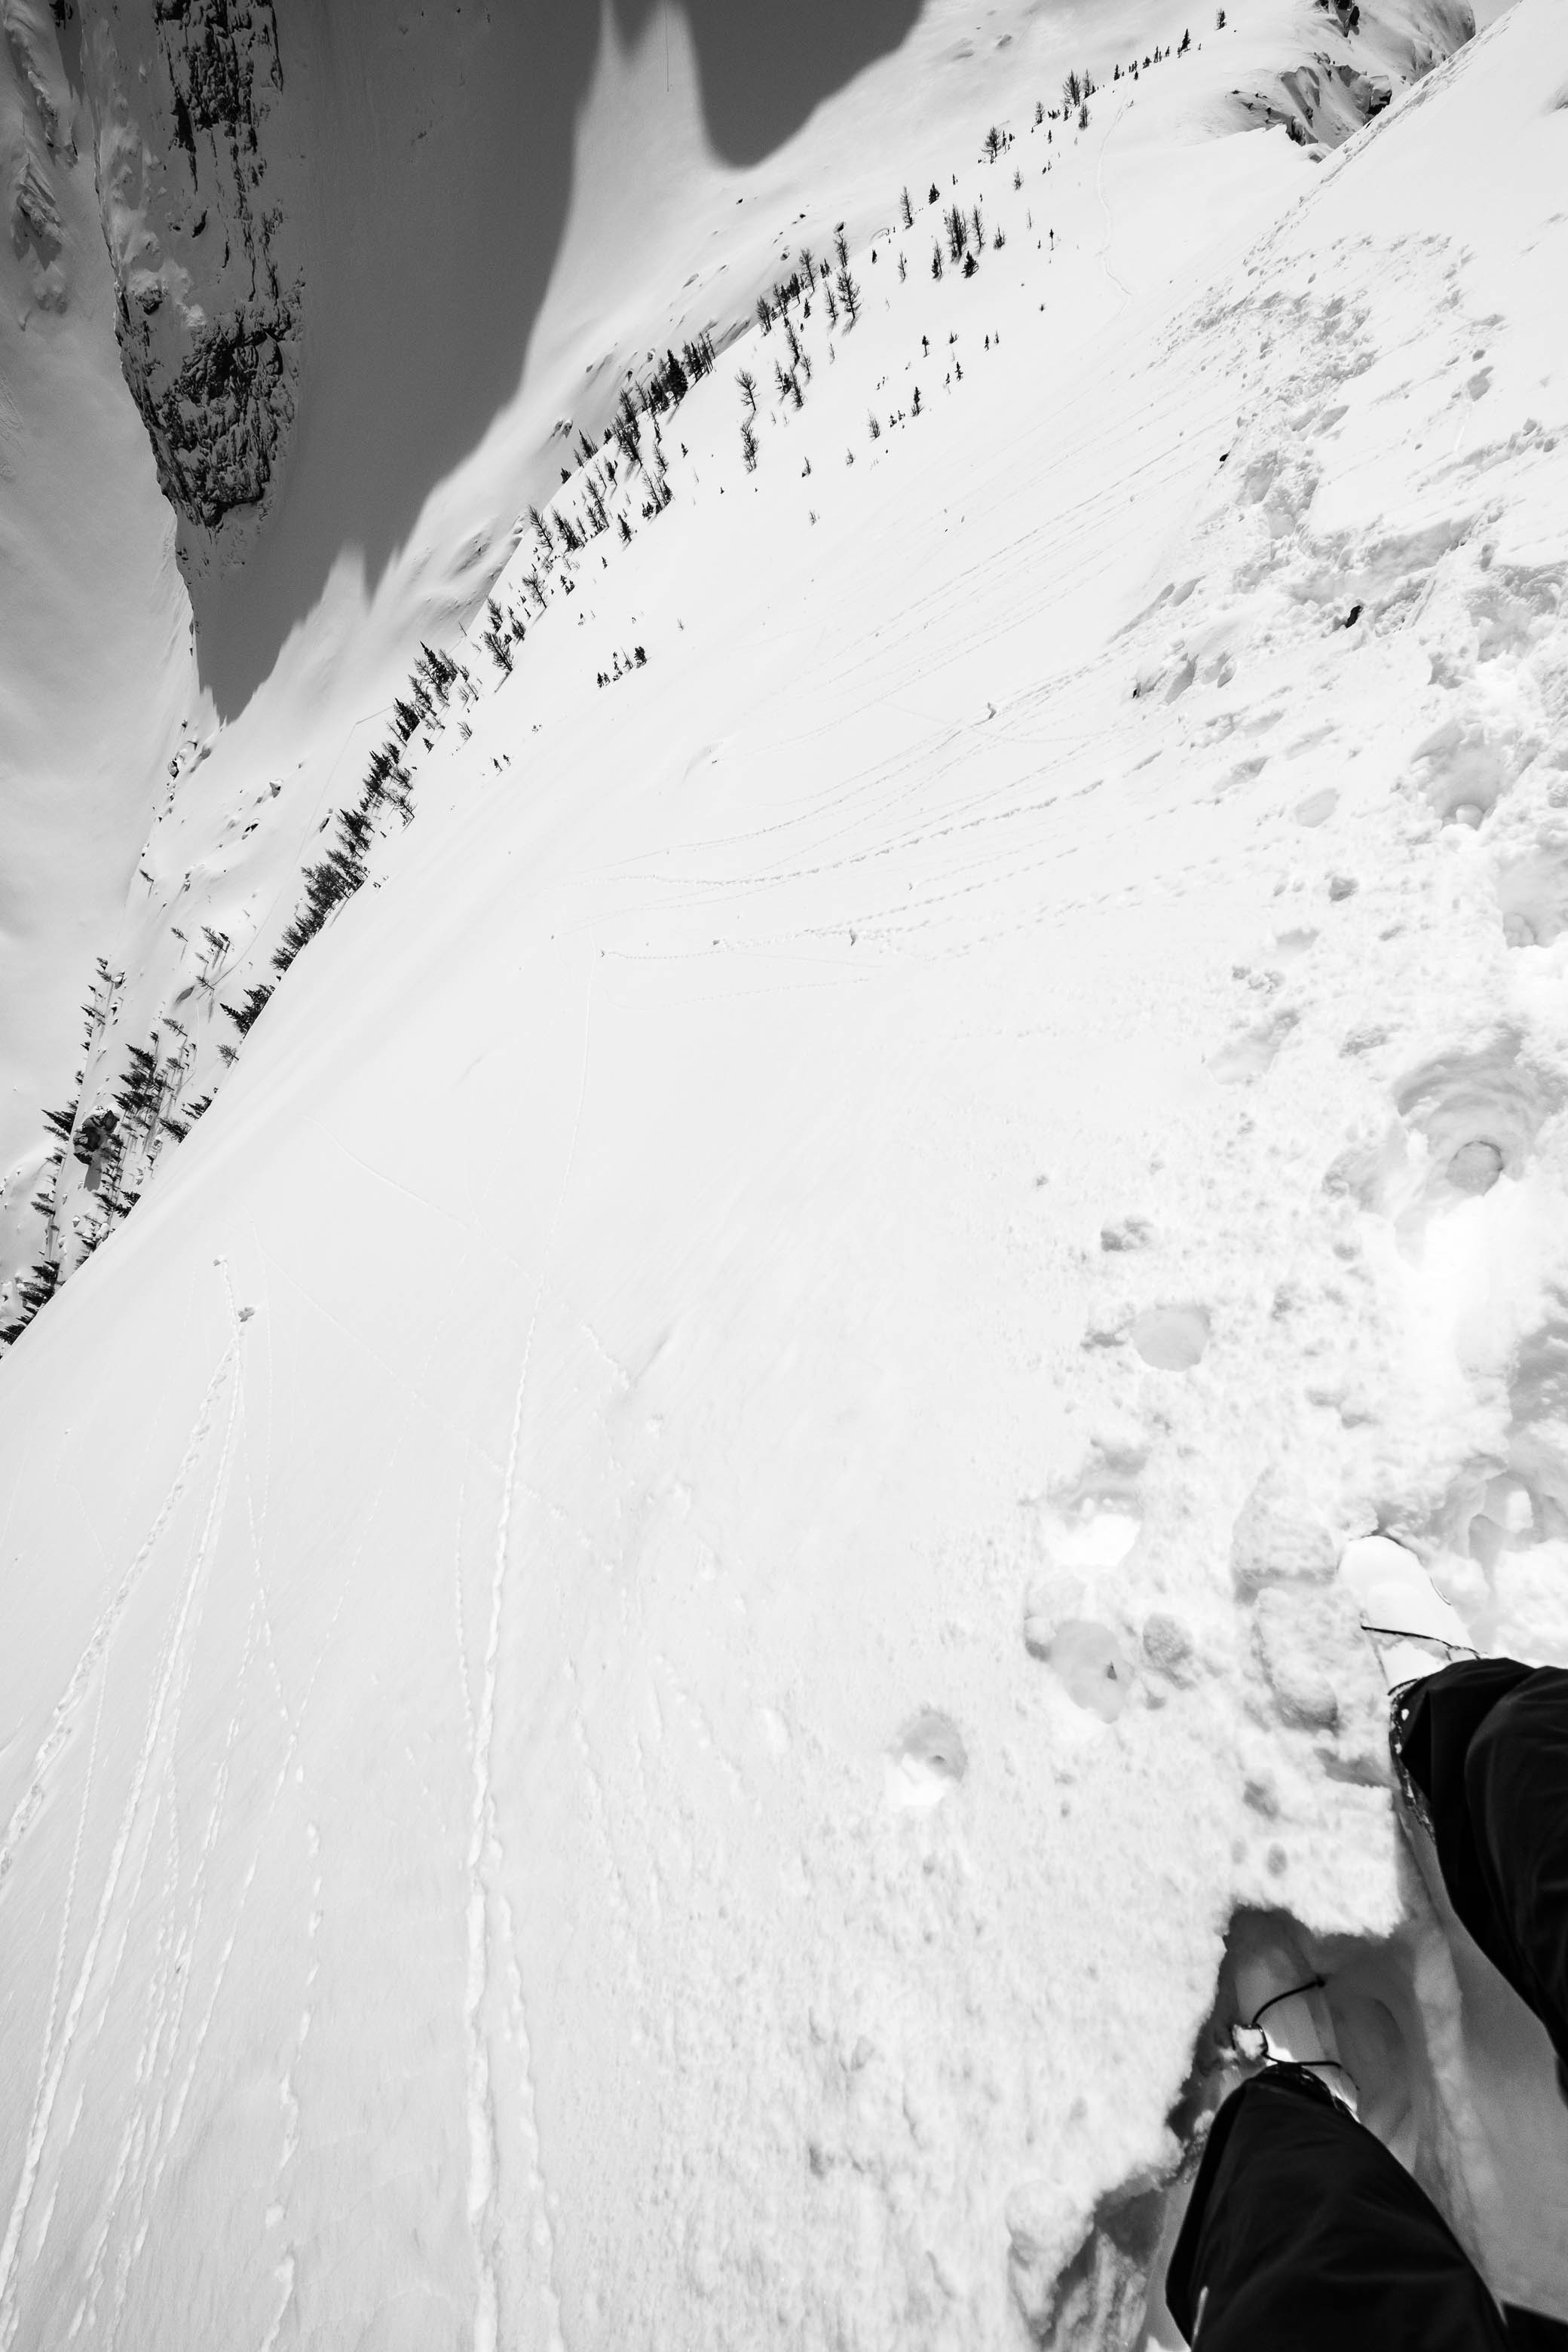
The final ascent is usually quite straightforward, with the summit ridge often being windblown (and therefore free of snow), but due to the recent dump that we received, this would not be the case for us...With a sheer, vertical drop on the left, and a steep snow slope on the right, Pig's Back was looking mighty daunting as we approached it, and I have to admit, I wasn't feeling overly confident with our chances of making the summit.
Almost immediately after starting up, the slope became too steep to safely continue on skis, so we wedged them into the slope and carried on on foot. The initial, steep slope actually turned out to be a lot easier than it looked, and we had no troubles ascending just below the ridge crest, breaking through a thin layer of snow and solidifying our steps on the rock beneath. The real "fun" began when we started traversing to the summit...I wanted to stay as close to the crest as possible - to avoid triggering an avalanche on the steep slope on our right - but the snow was significantly deeper up here, and breaking though a cornice, overhanging the sheer west face, became a serious concern! I tried to pick a happy medium between the two hazards, but about halfway along the traverse, I took a step that sank significantly more than my last and immediately froze. WHAT WAS I STANDING ON?!! I felt like I was a safe distance below the crest (or what I thought was the crest!), but when I took off my pole's basket to get a better probe, I didn't hit bottom...Completely in shock, I carefully backpeddled, continuing to probe until I found solid ground - about a foot behind me. 😳
Further probing led us down and around this section of the ridge, where I'm guessing there's a "cut-in" of the west face, completely camouflaged into the slope by a massive cornice. It could also be that there was just a big dip in the ridge, but I wasn't taking any chances!
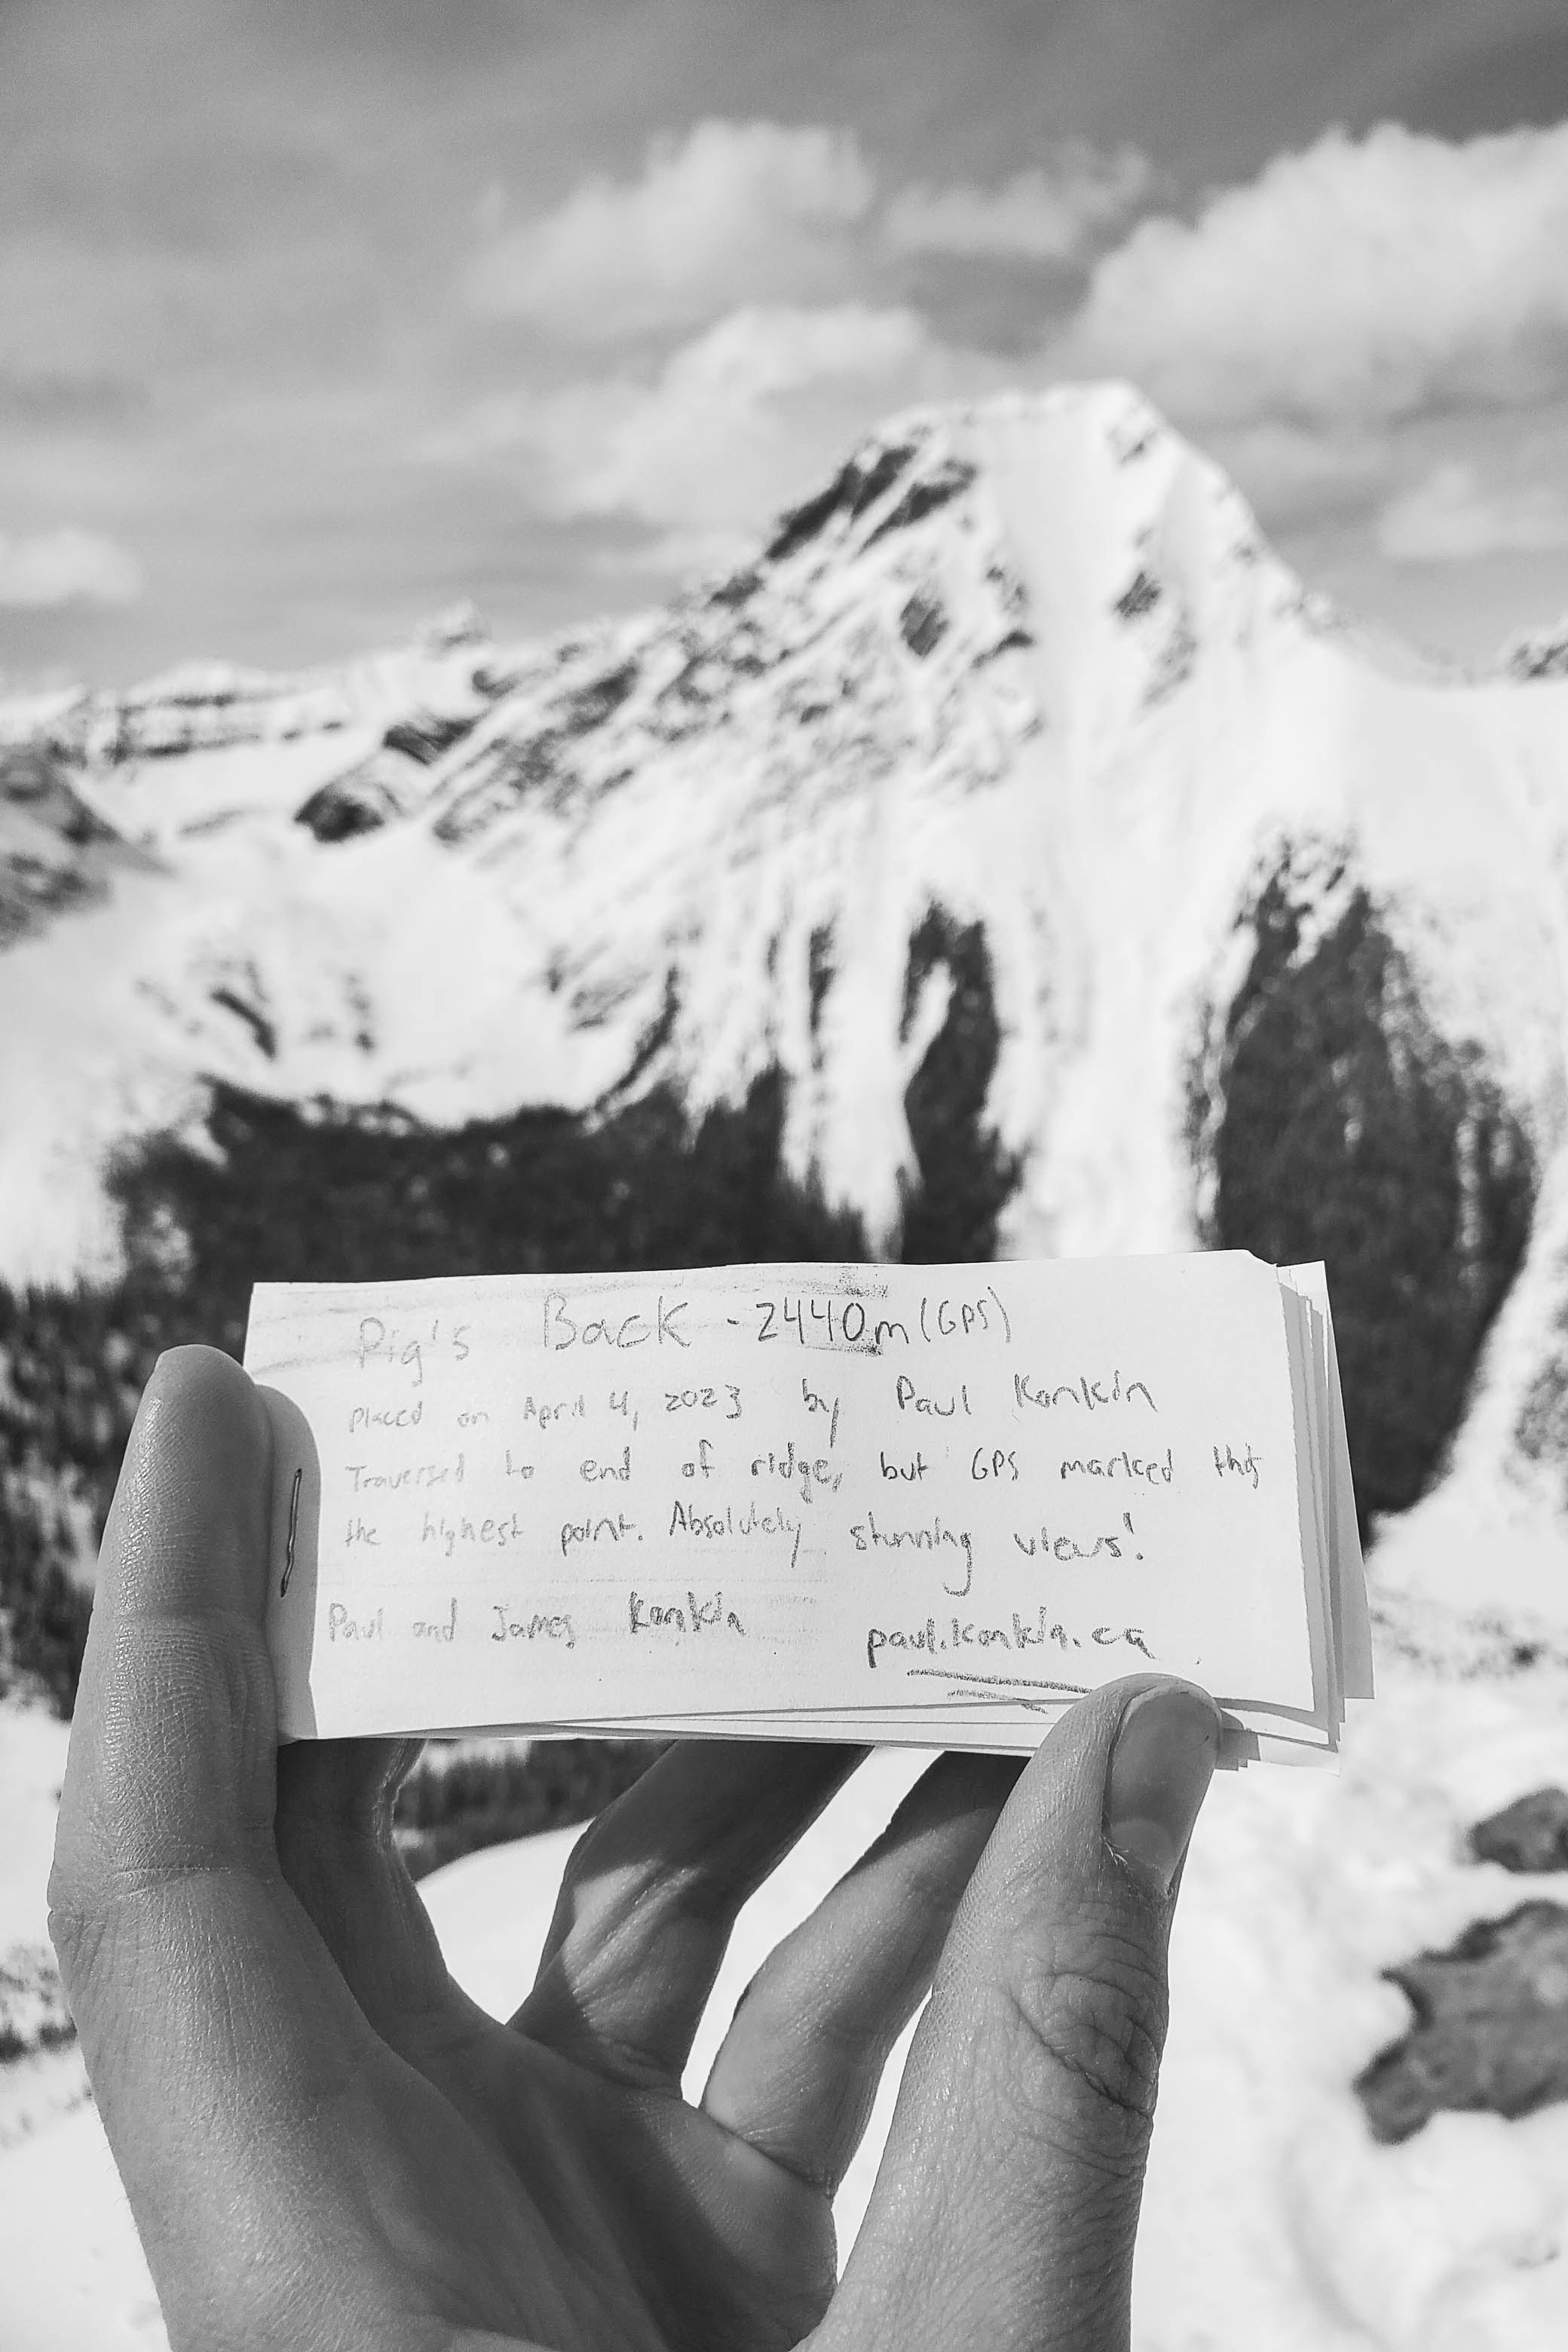
Following that "near miss", I diligently probed the remainder of the traverse with my basketless pole, and we were soon standing at the summit cairn accompanied by the most incredible 360 degree views we'd had all day! Being directly across the valley to the east, Commonwealth Ridge's route is readily studied from this vantage point, and recent avalanche activity on the crux traverse made me thankful I didn't choose to attempt that today!
I was fairly certain that we were already at the highest point, but since my map marked the summit to be about 300 m further along the ridge, I decided to continue trudging through the mid-shin deep snow just to be extra sure! We'd already passed the trickiest sections afterall, and the terrain up here eased off significantly, becoming a broad plateau that we easily followed to the minor highpoint at the northern end of the ridge.
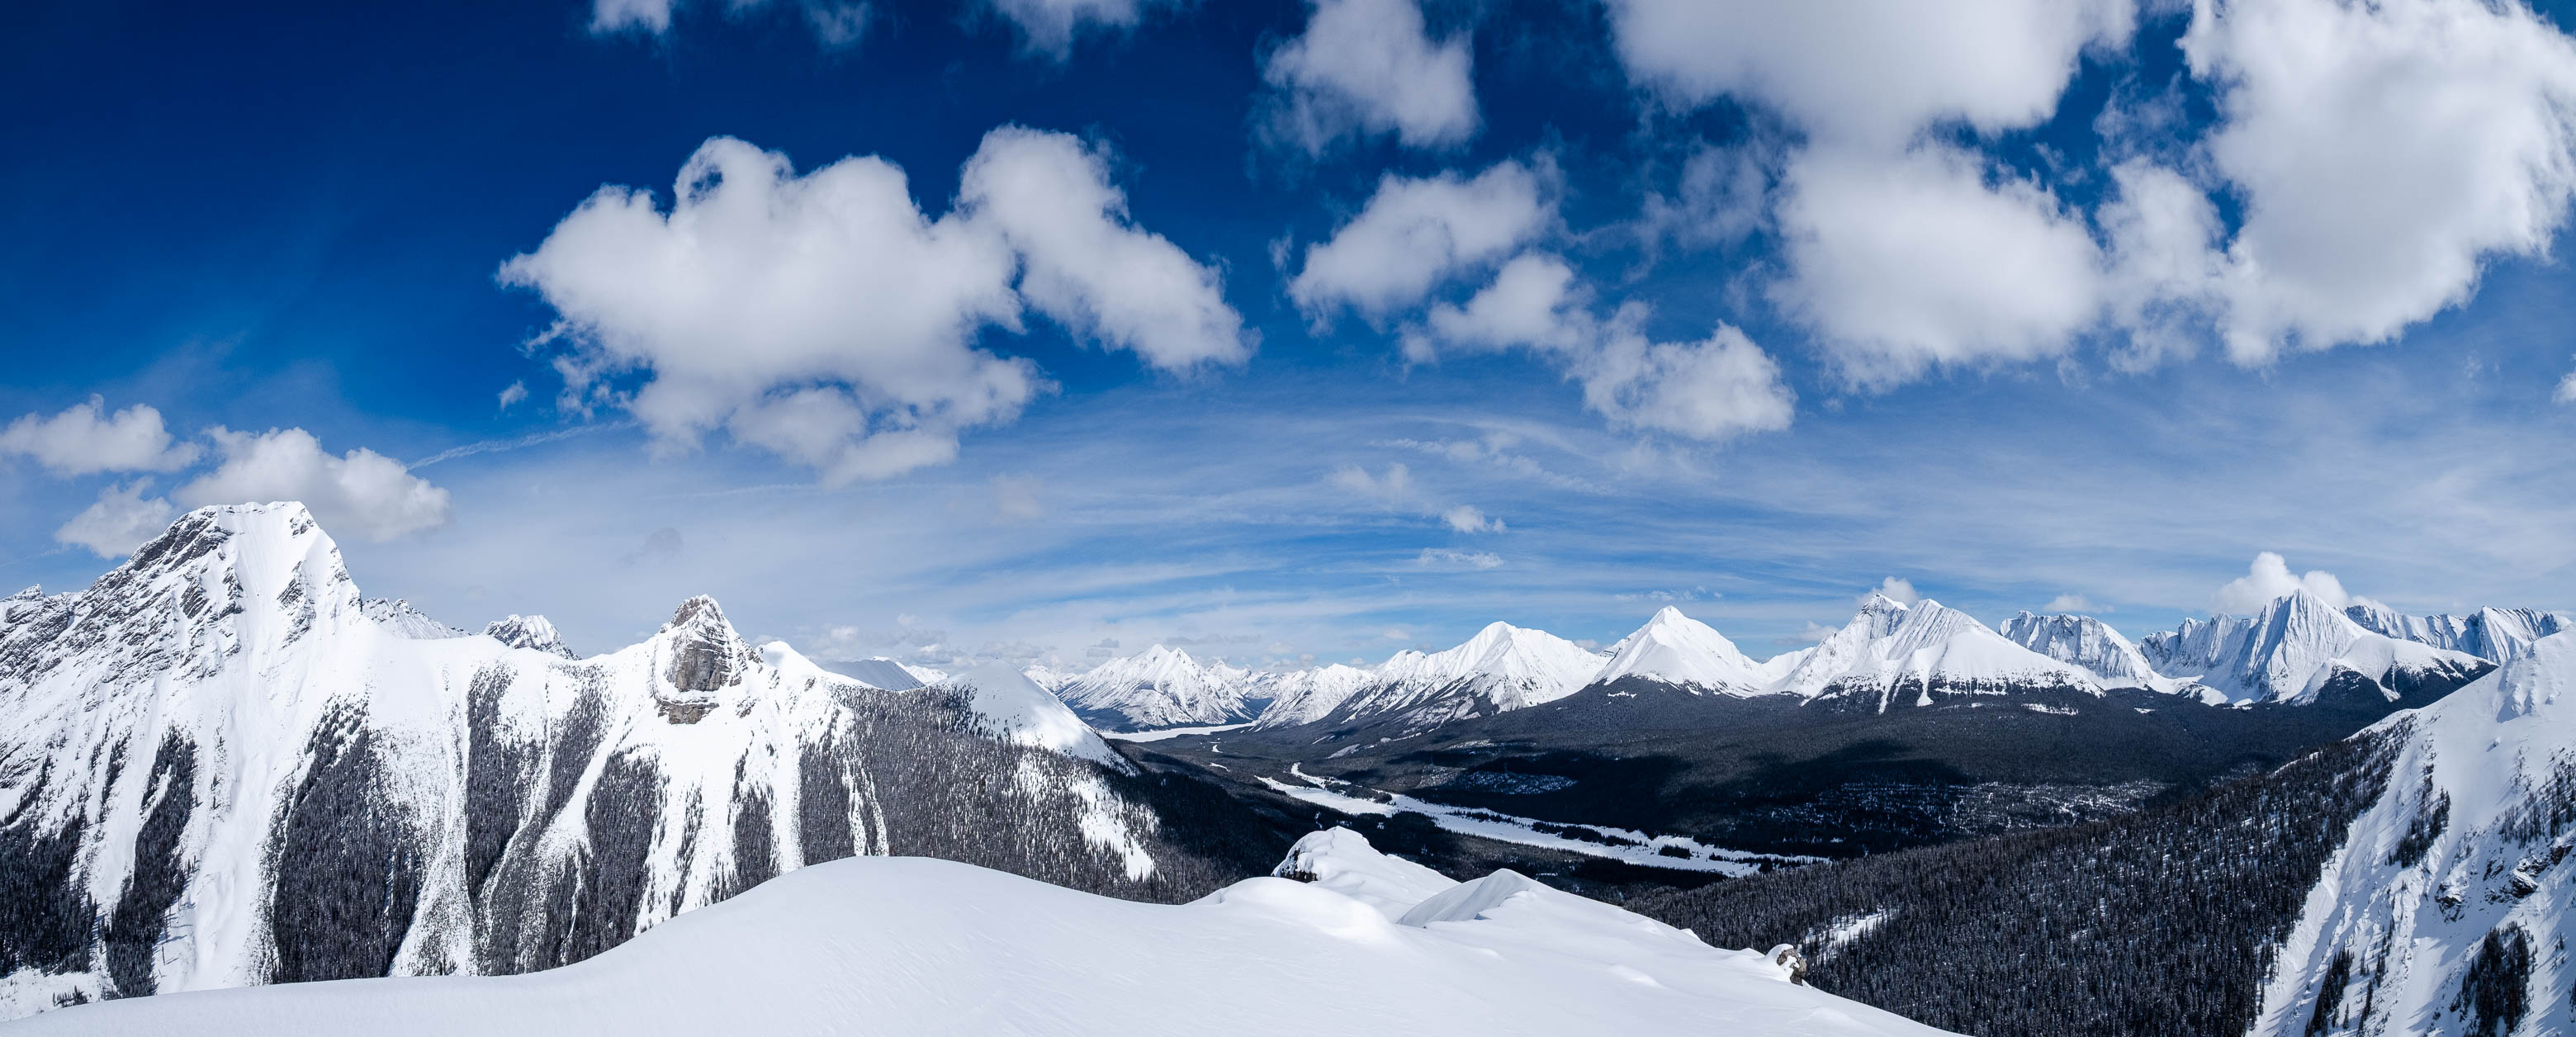
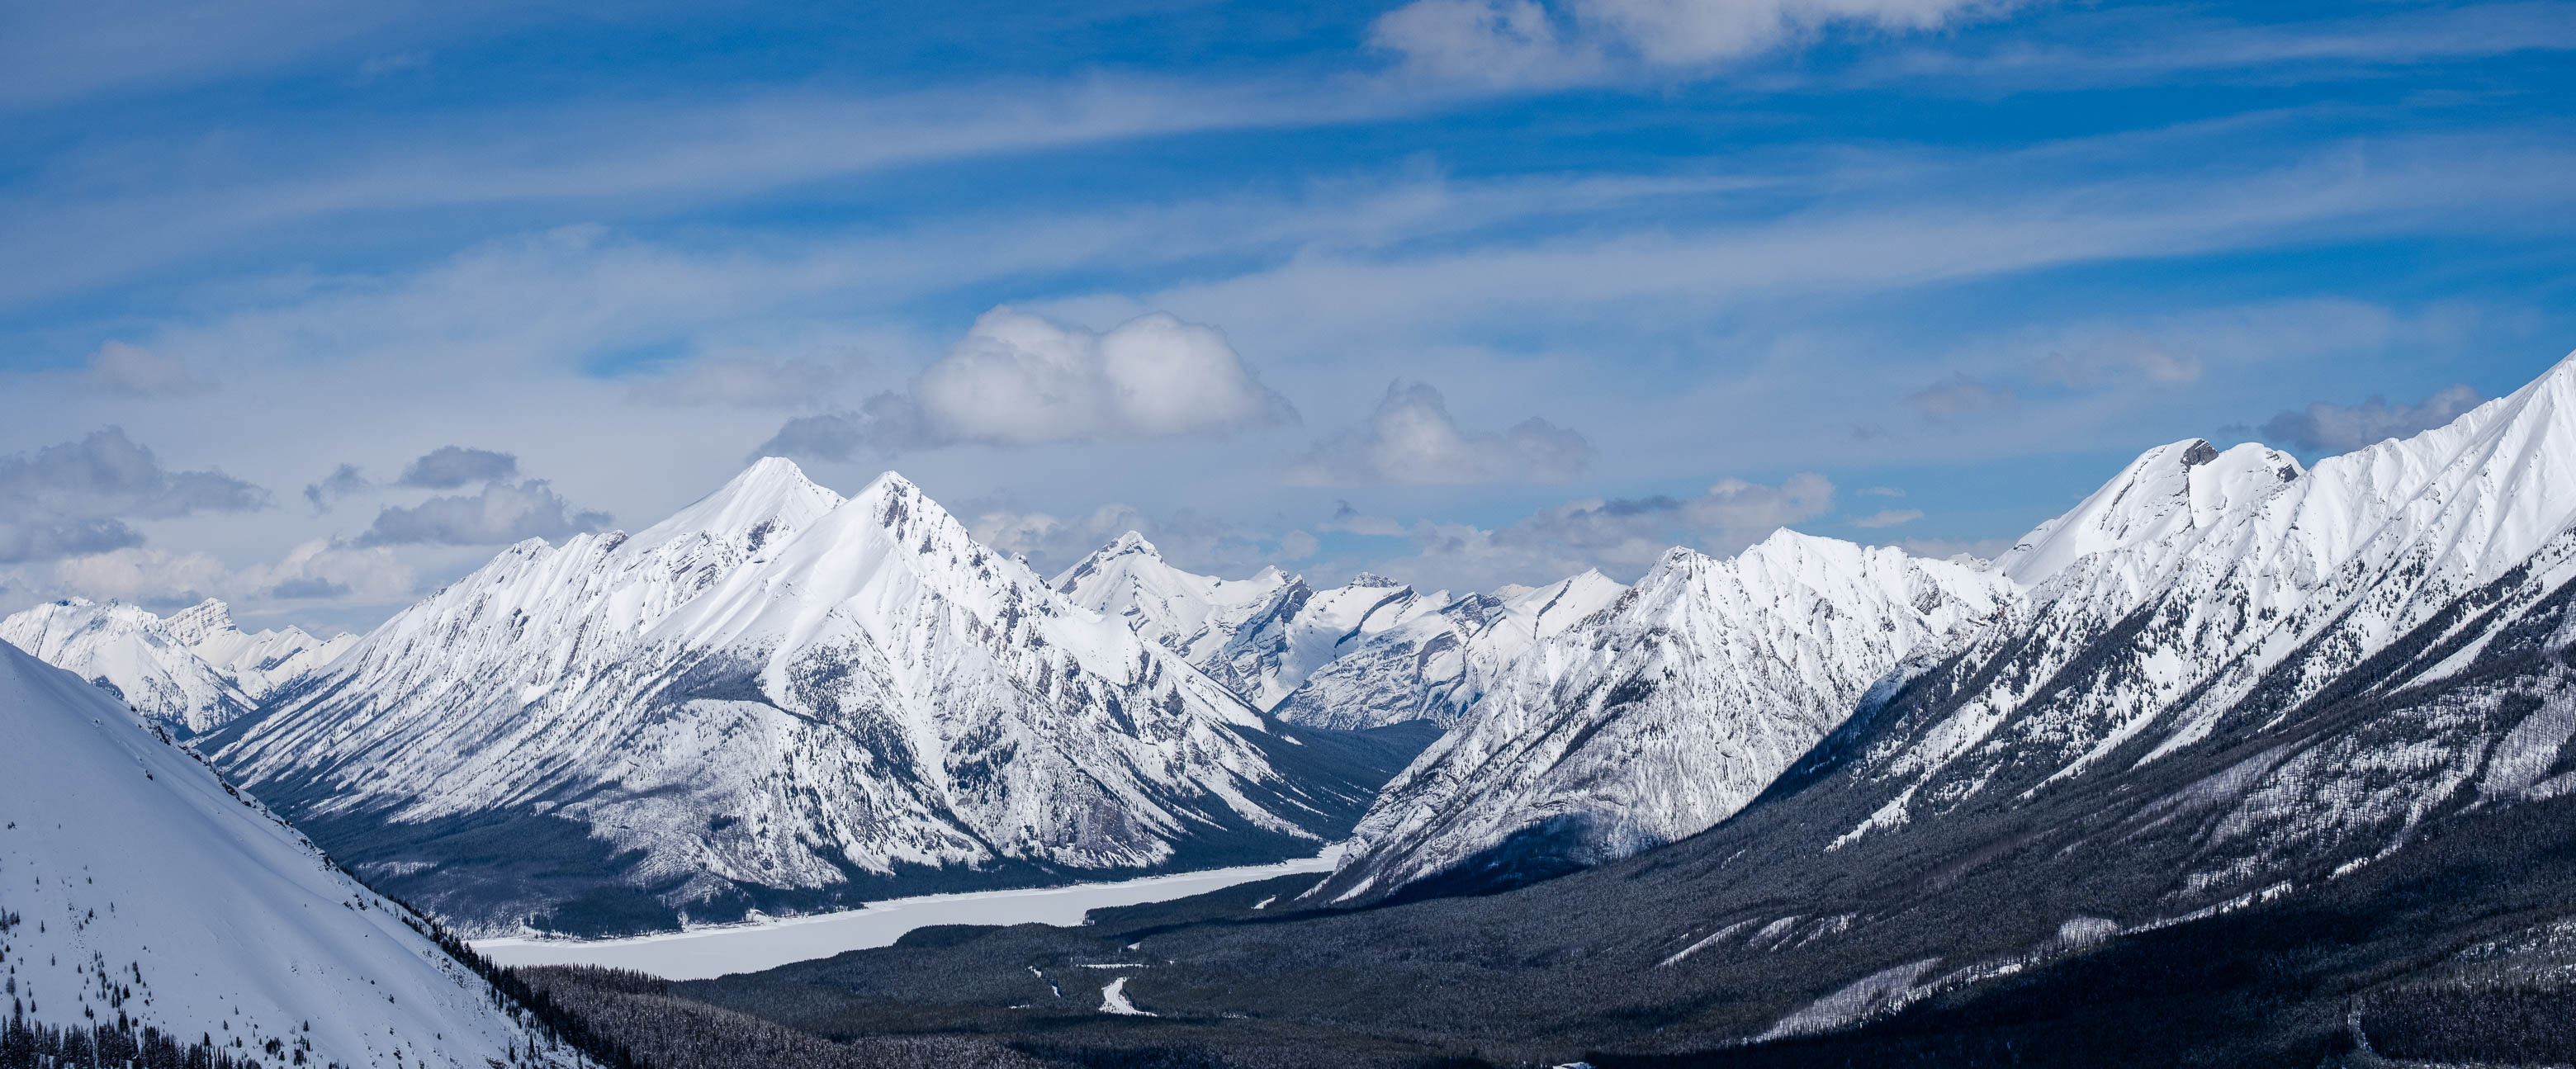
As I suspected, my GPS did indeed read a few meters lower, but this end of the ridge granted us a much better view down to Spray Lake, and I was happy we made the extra short trip. It was such a beautiful day, and I was in no rush to leave, but we still had the sun effect to consider, so we didn't linger too long before retracing our steps back along the ridge.
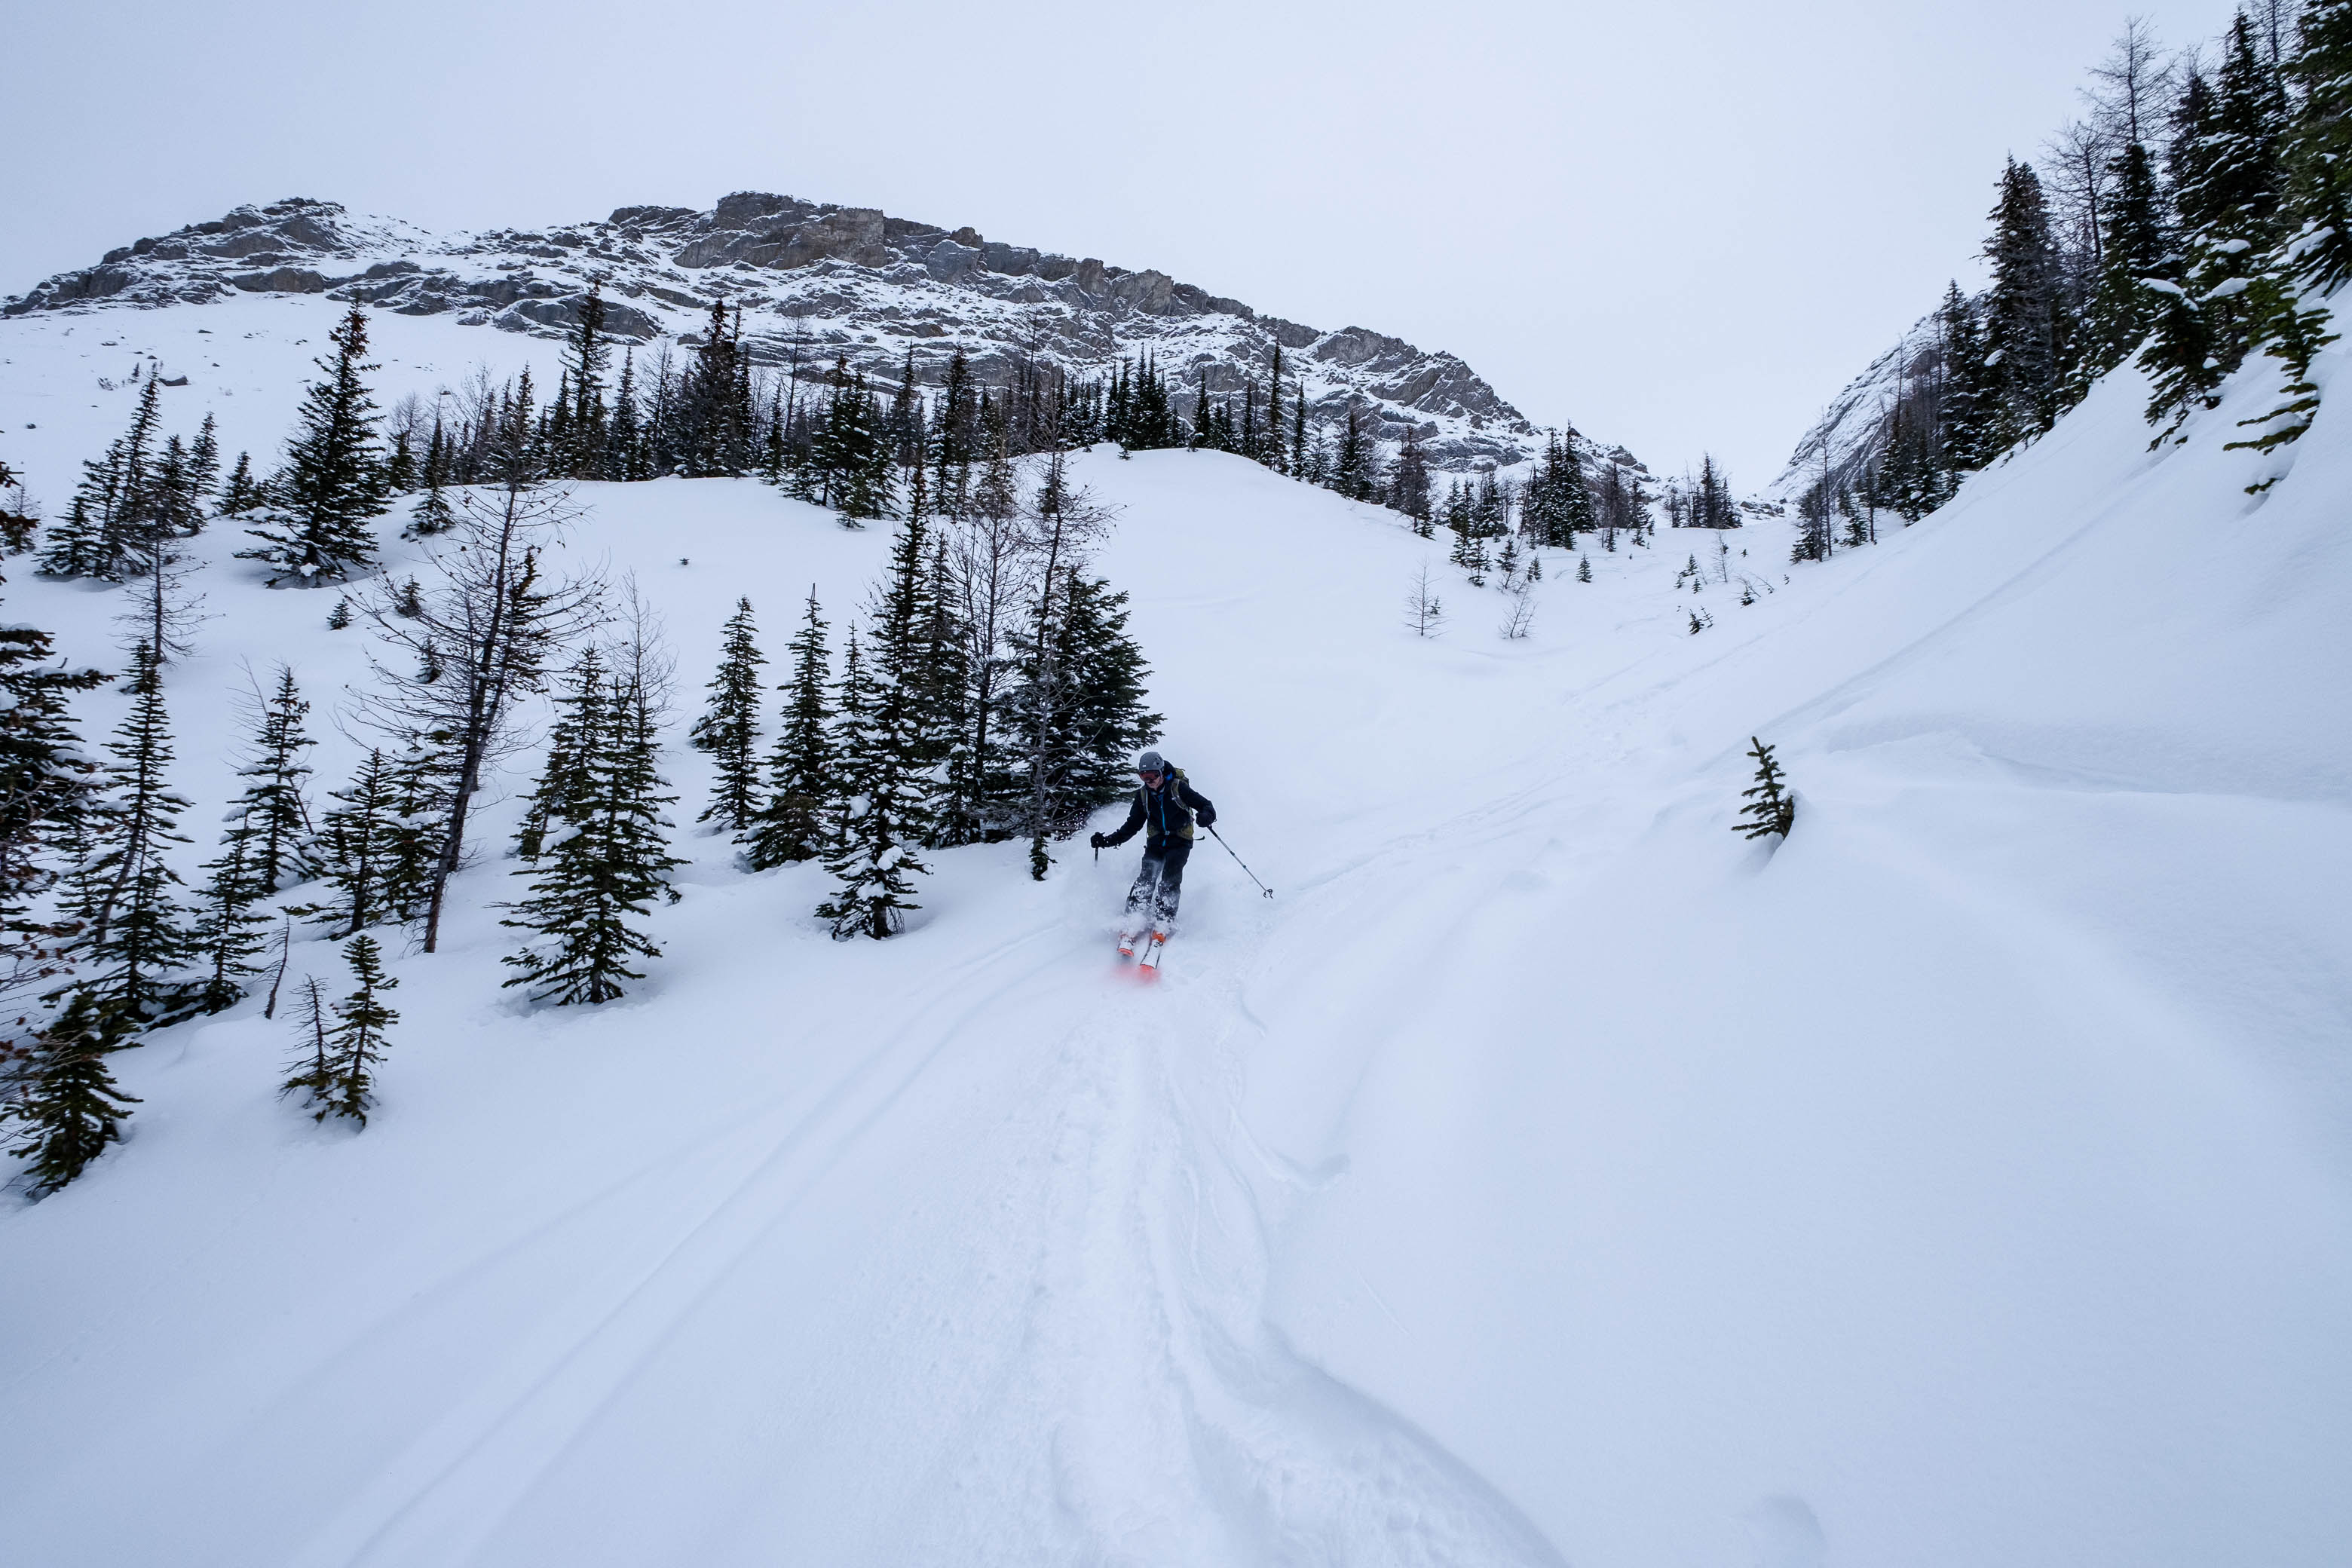
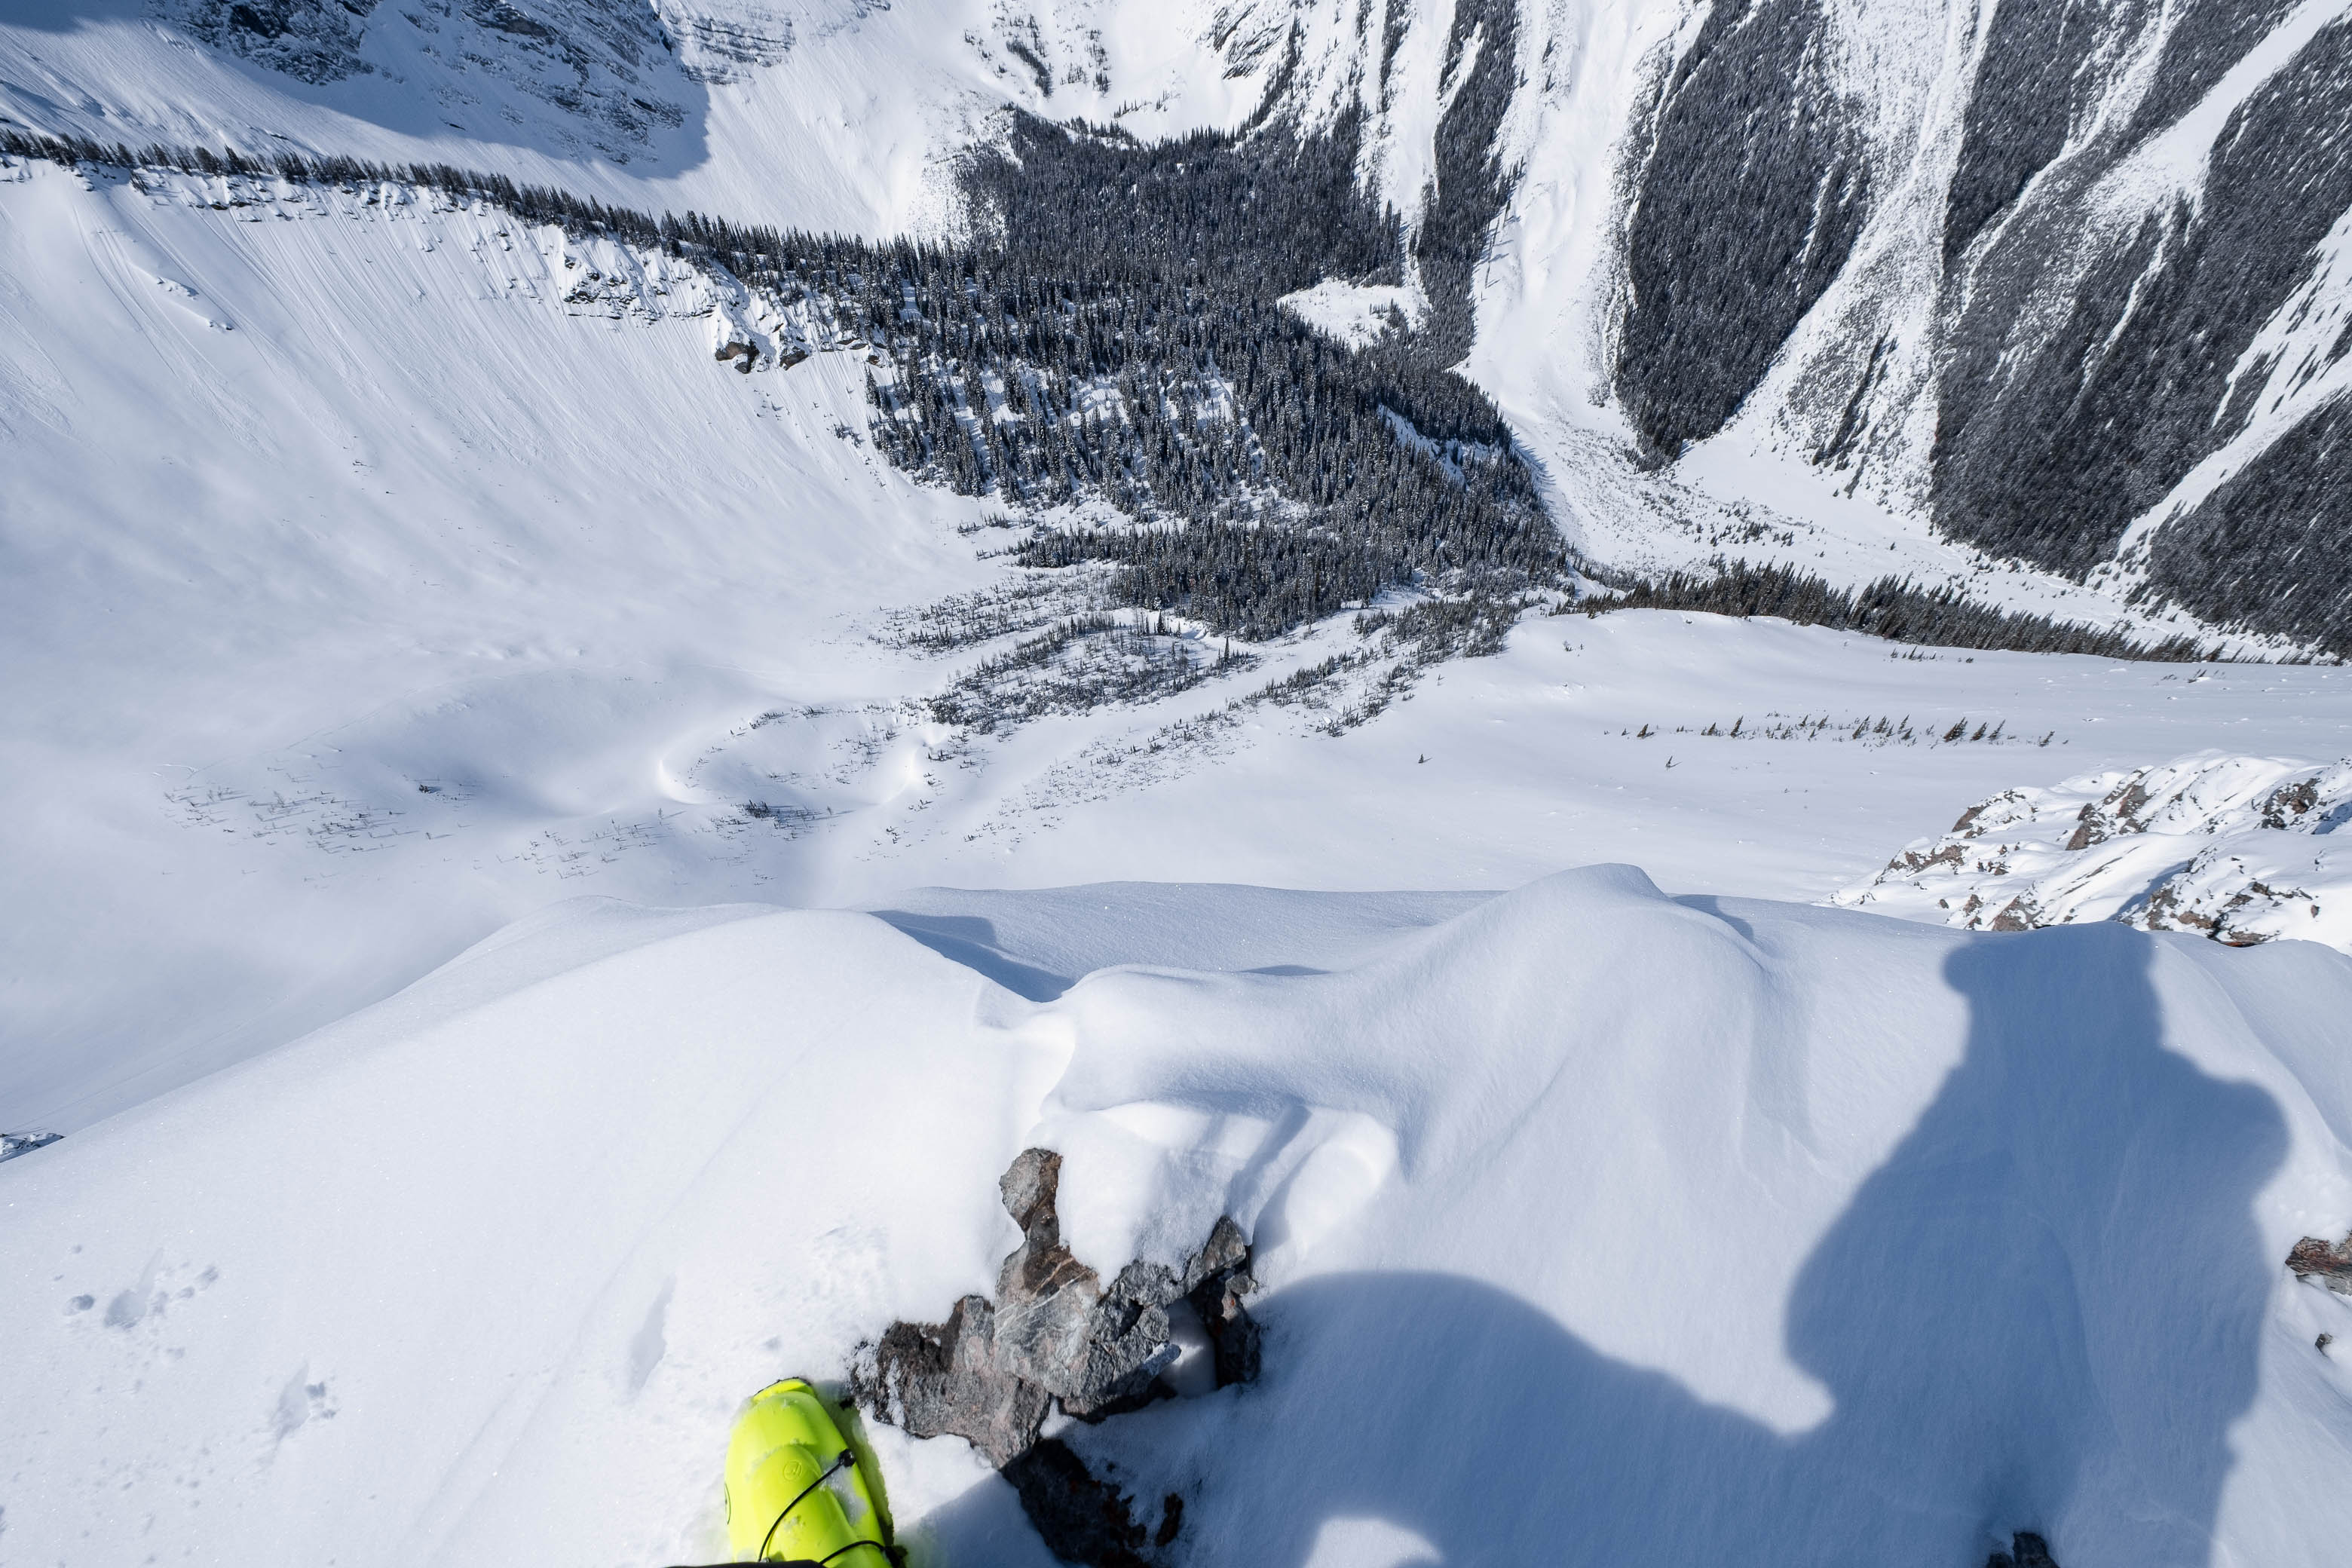
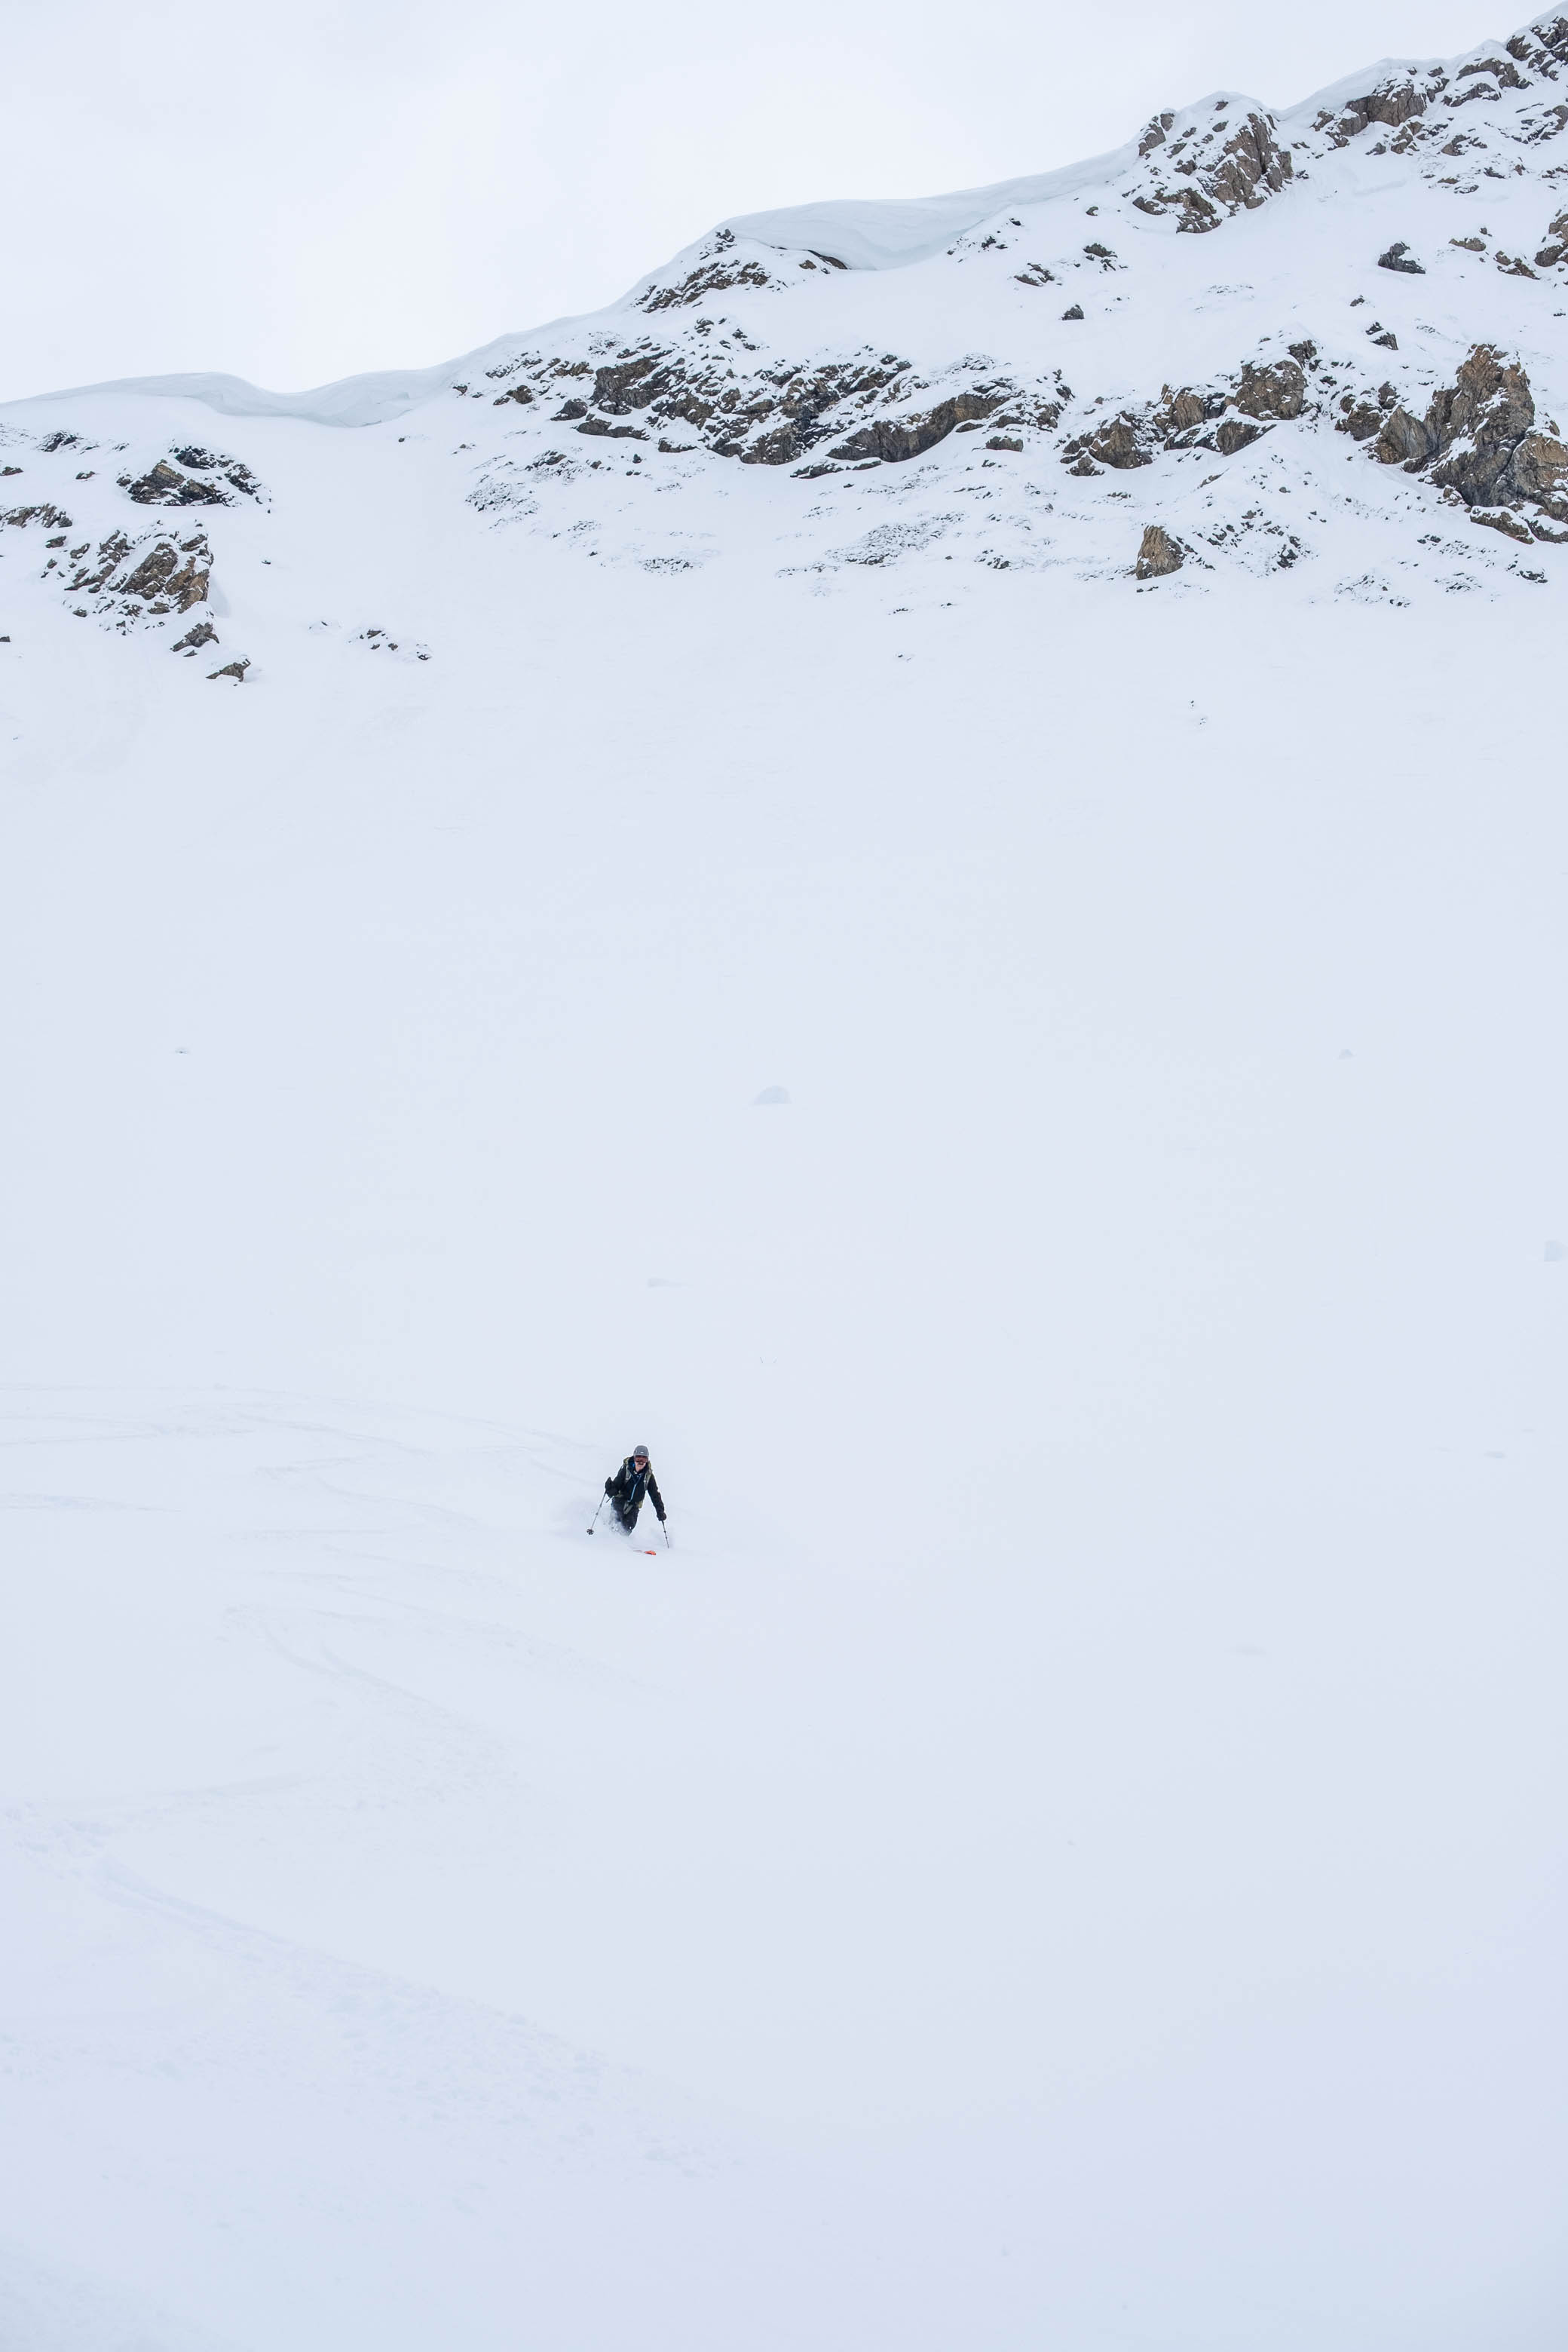
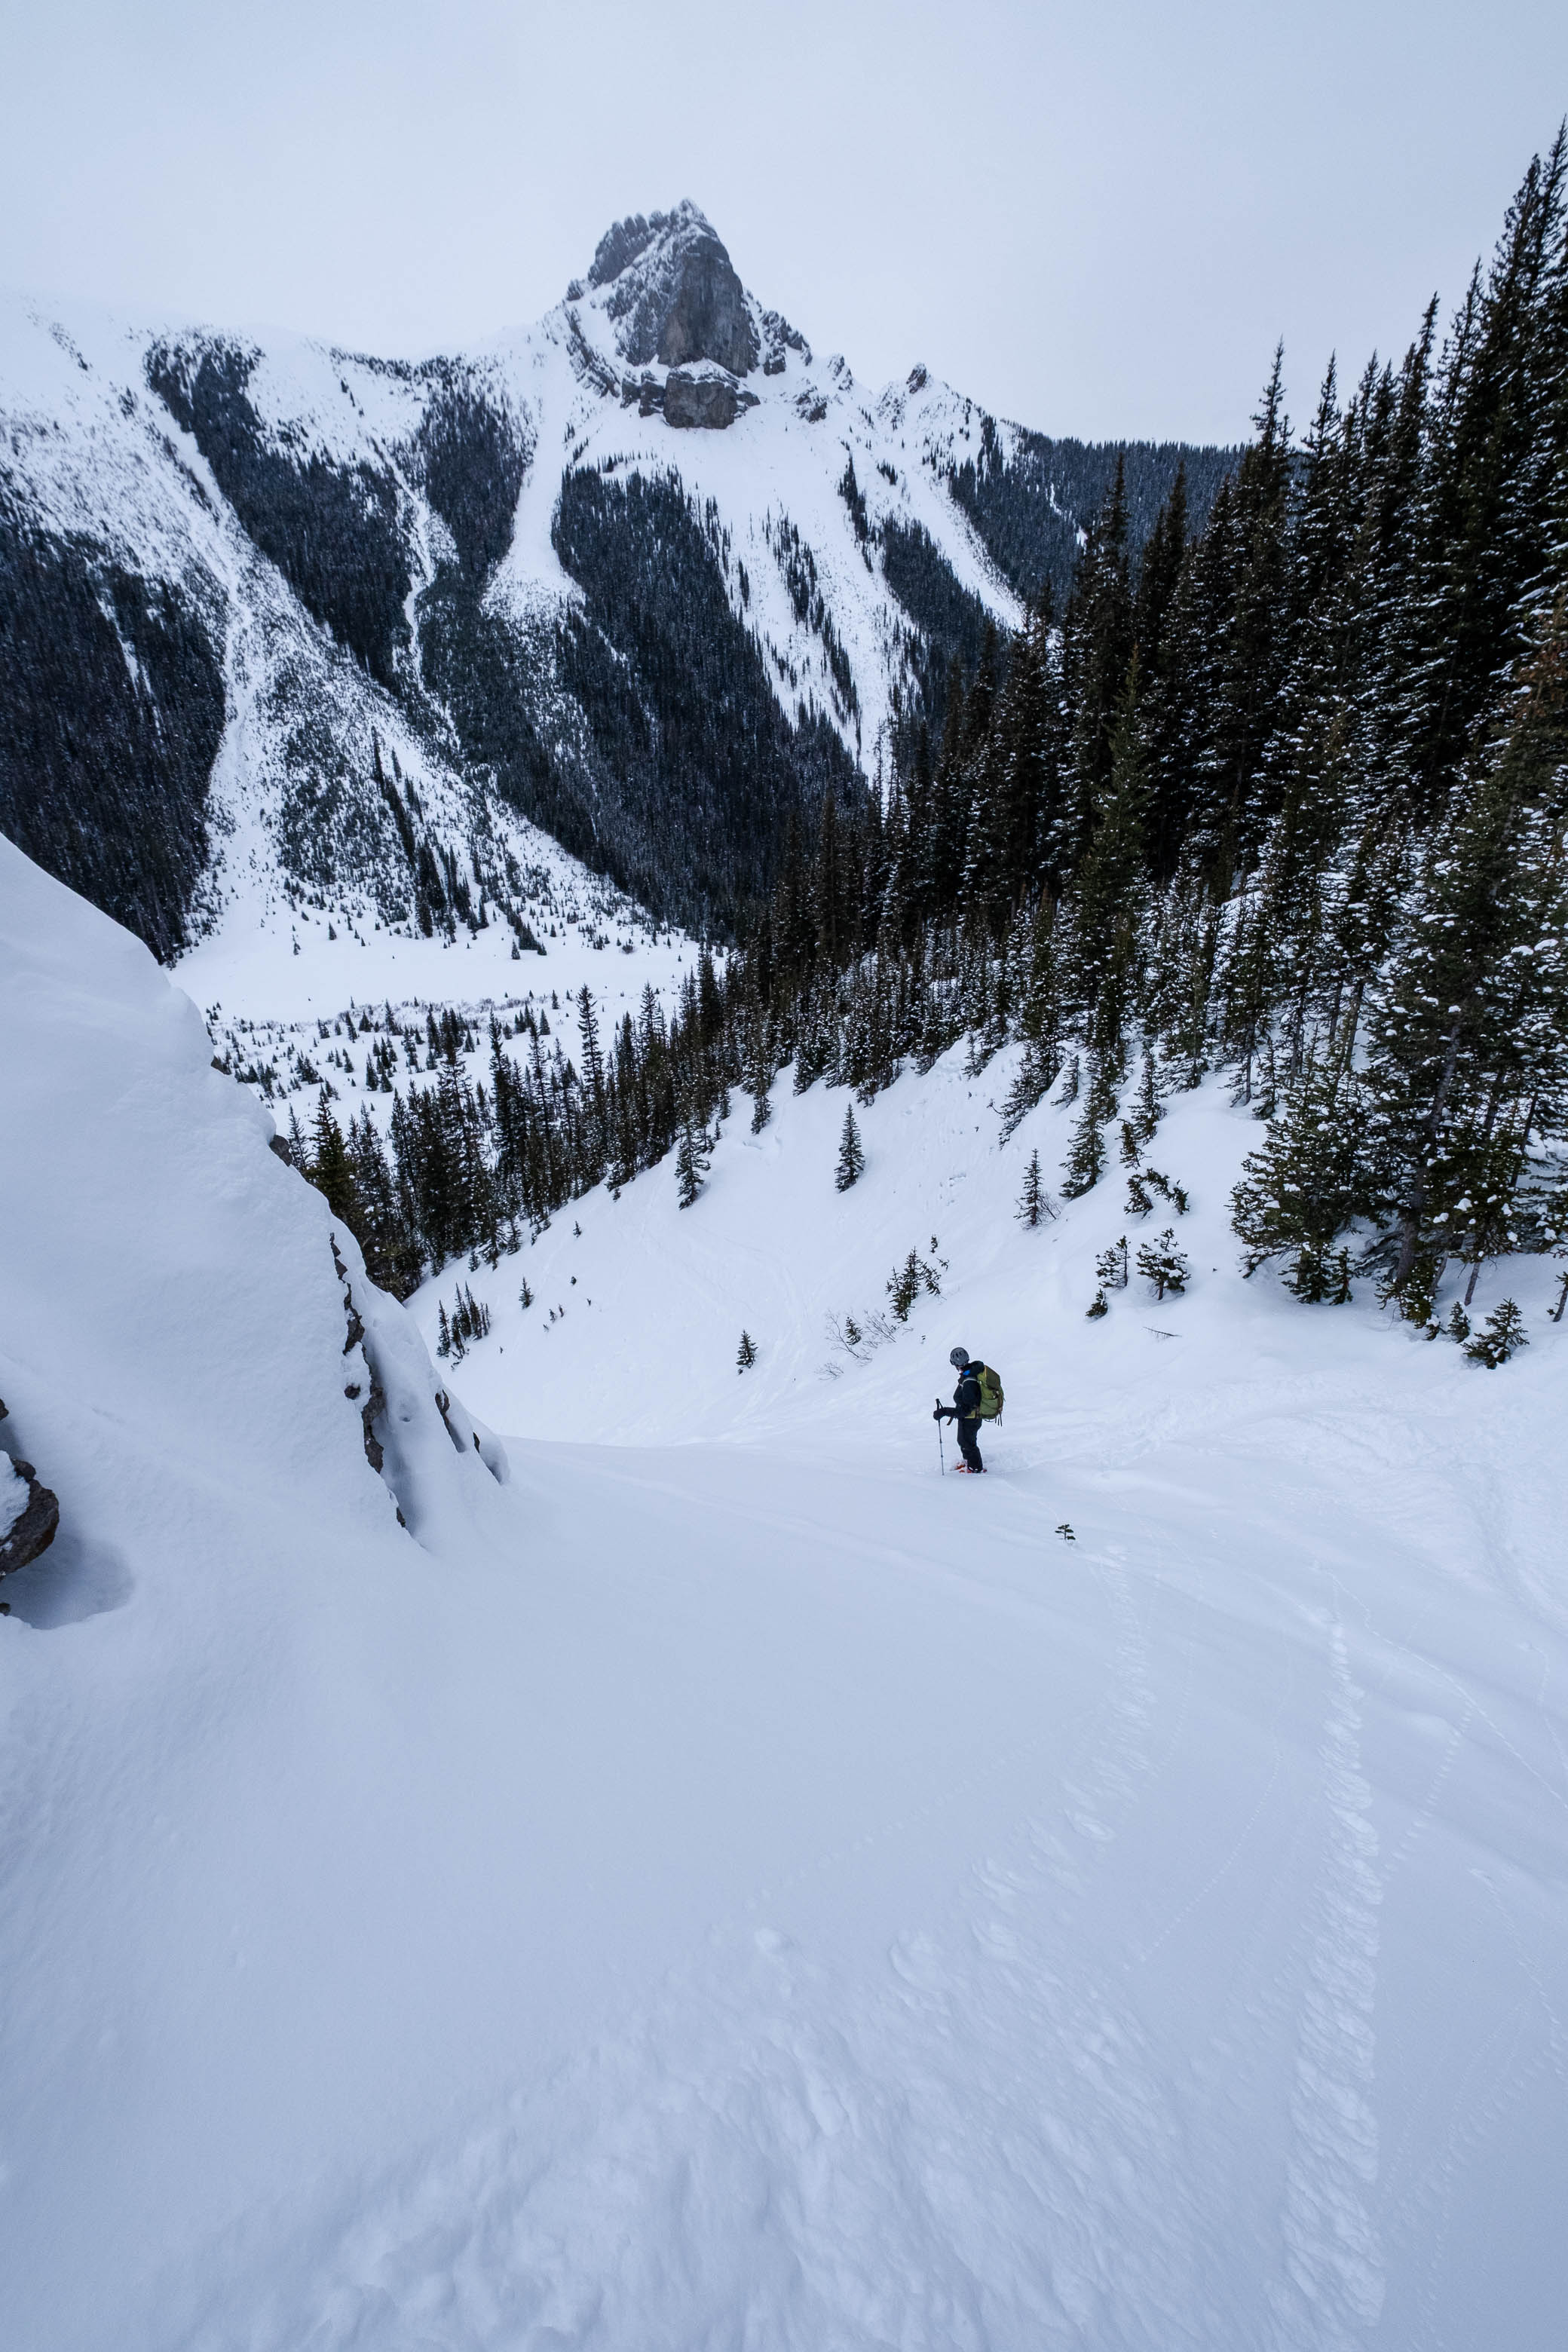
This trip had already been about as amazing as I could possibly hope for, but the best part was still to come! We arrived back at the col with an entire bowl of fresh powder waiting for us, and spent the rest of the day skiing five incredible laps, before continuing down the narrow drainage gully at the base of the upper valley.
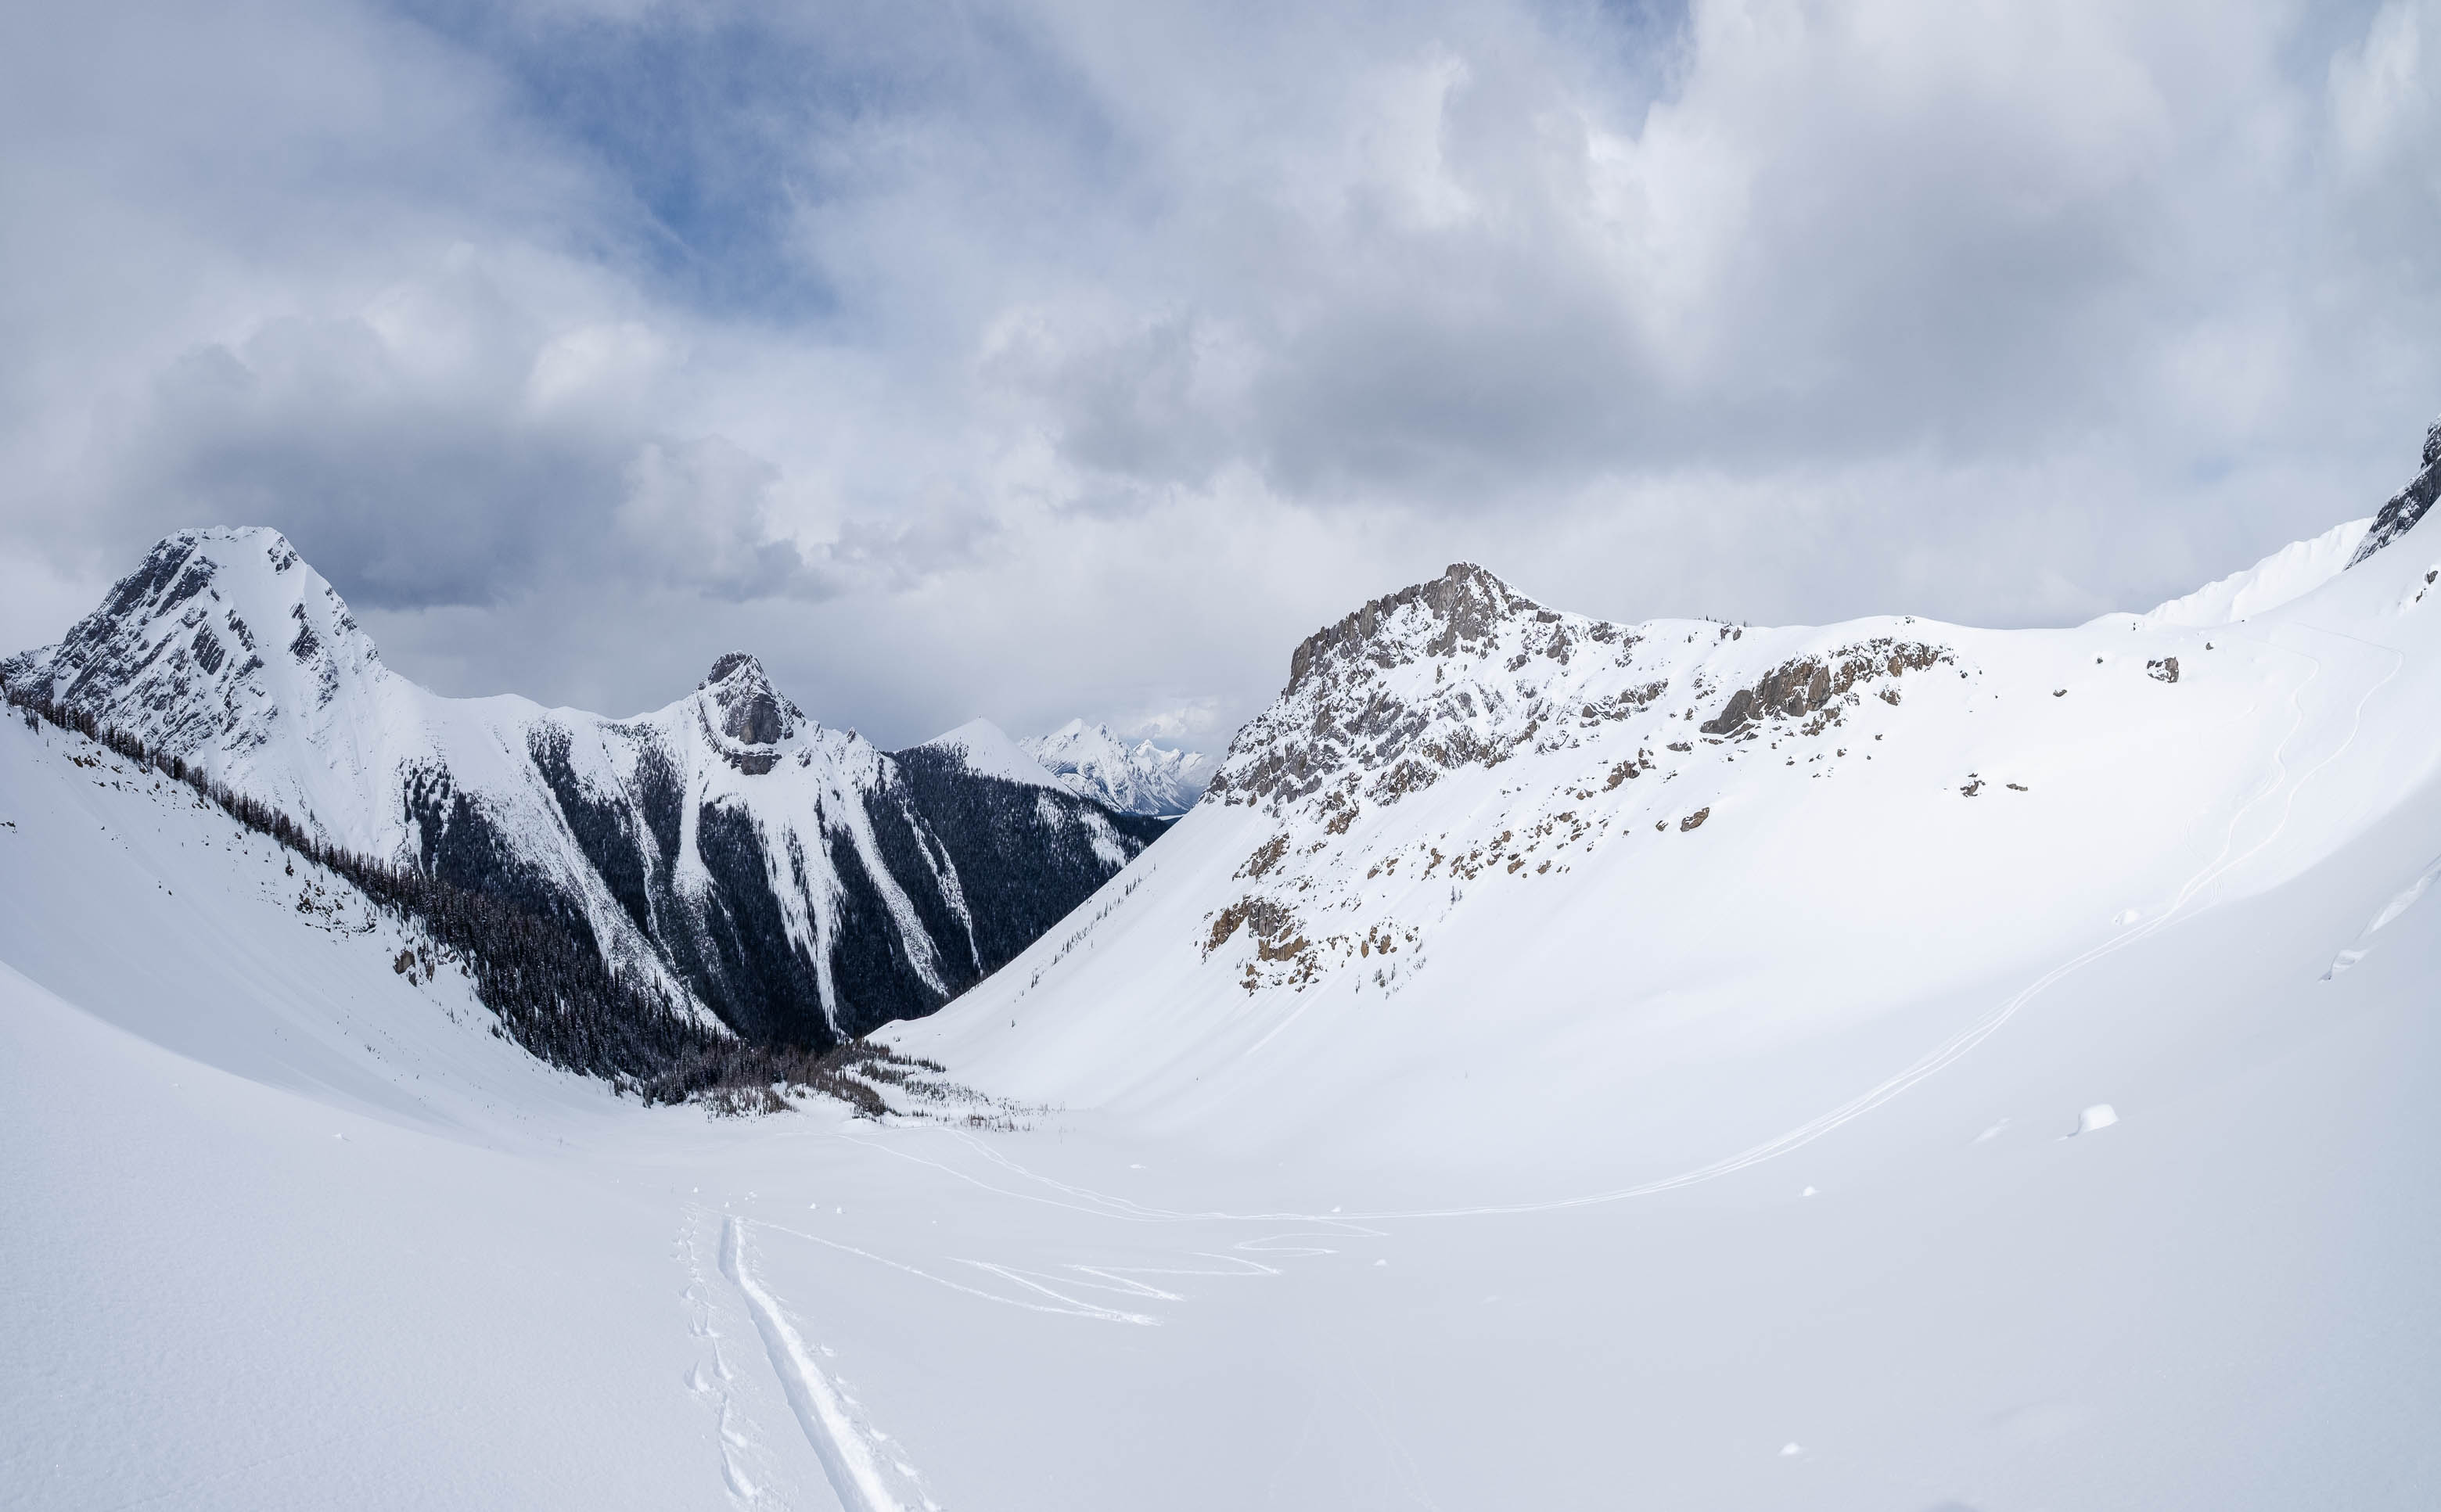
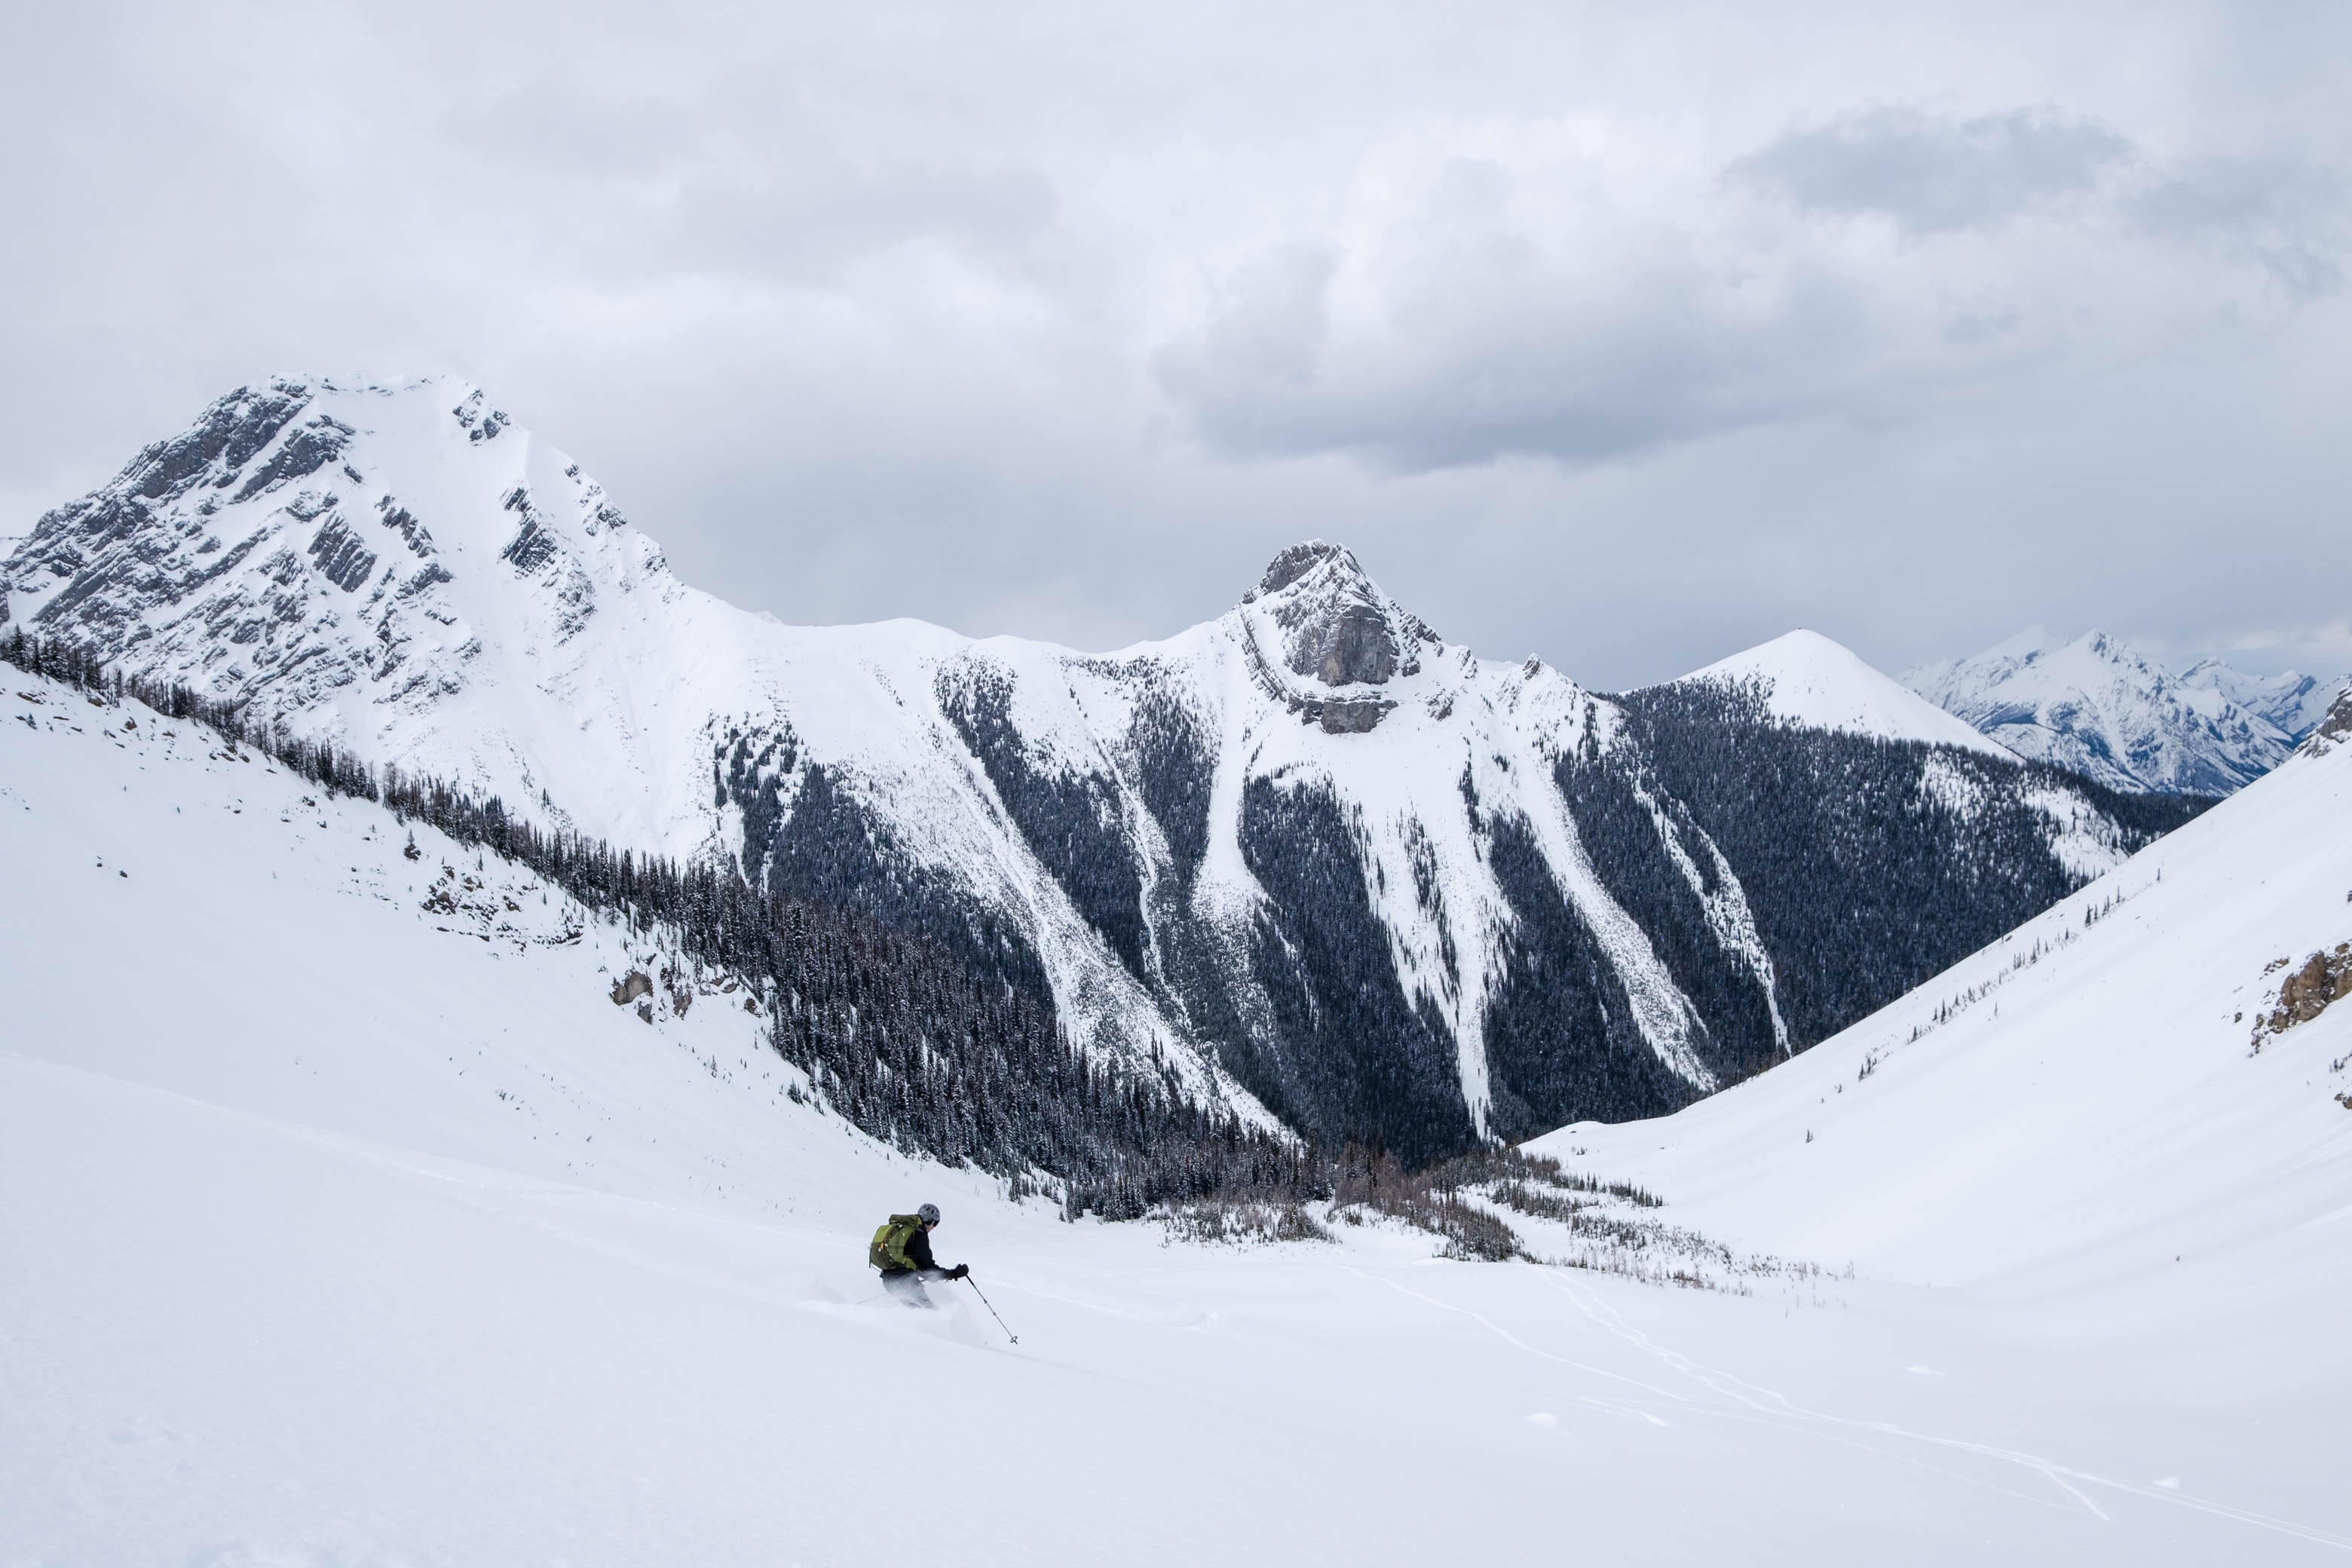
We honestly expected the drainage to be quite a survival skiing situation, but that wasn't the case at all! Filled with more of that beautiful fresh snow, and wide enough to actually make real turns, we were having a blast the whole run to valley bottom, and were sad that it ended so soon! It should be noted, however, that this gully is a prime example of an avalanche trap, so use your discretion, and don't take this alternate descent if you have your doubts about the snowpack stability!
The drainage conveniently dumped us out at Commonwealth Creek, which we easily followed east, completing a full circle around Pig's Back, and joining back up with our ascent trail at the junction I mentioned earlier.
Pig's Back has got to be one of my favorite, if not my favorite, ski ascents to date! A short and scenic approach (visiting Commonwealth Lake), a fun, keep you on your toes (depending on conditions) ridgewalk, an absolutely stunning summit panorama, and a full length ski descent to top it all off! This trip shouldn't be underestimated however, and does come with its fair share of risks! Use caution and make sure you pick a day with clear skies!
Photo Gallery
Disclaimer